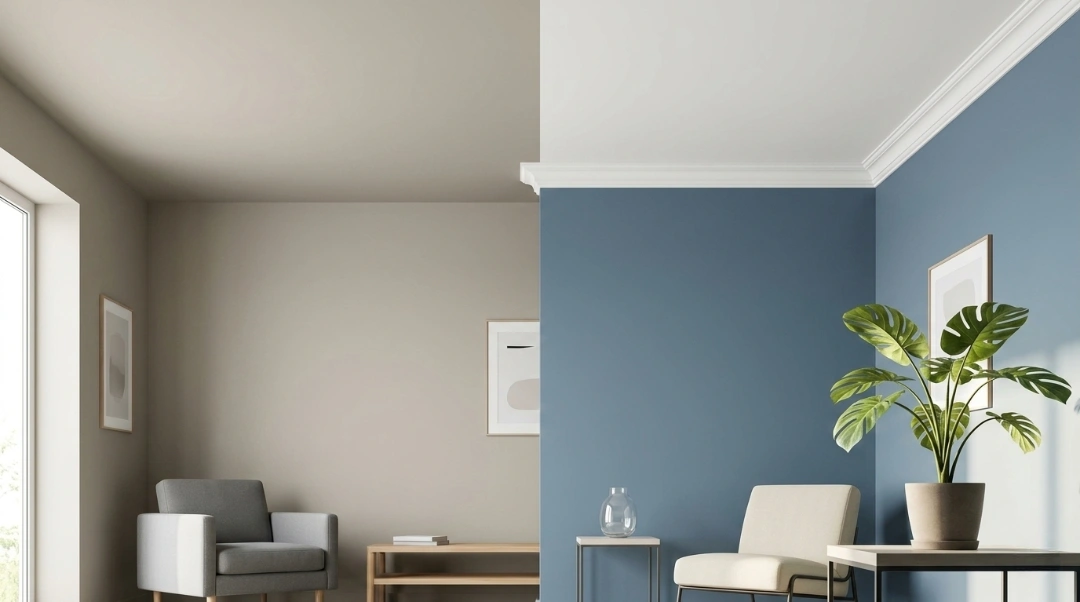
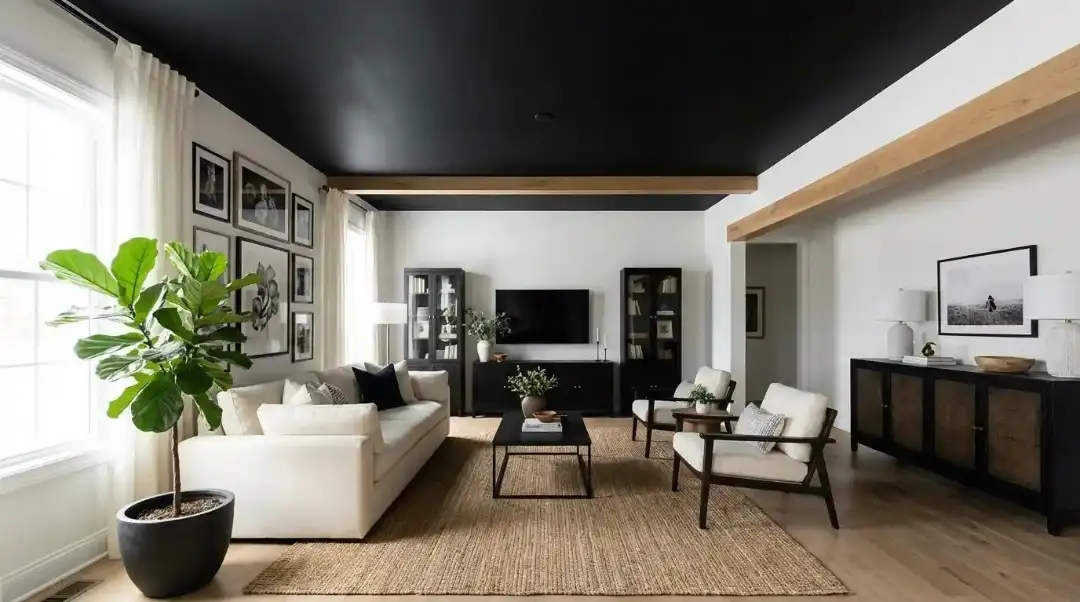
Textured walls give every area personality, depth, and charm. They turn plain walls into beautiful backgrounds. If you want to hide small flaws or just make your home look better, learning how to texture a wall with a sponge is a simple and cheap DIY project that will make your walls look like they were done by a pro. This guide will show you the different sorts of wall textures, how to use a sponge to get the best results, and expert advice to make sure your walls appear perfect.
Types of Textured Walls
It’s important to know about the many types of wall textures before you start looking at sponge wall texture. Each sort of texture has a purpose and makes a different visual effect:
- Knockdown Texture – This popular finish has a subtle, mottled appearance. It’s ideal for hiding minor wall imperfections.
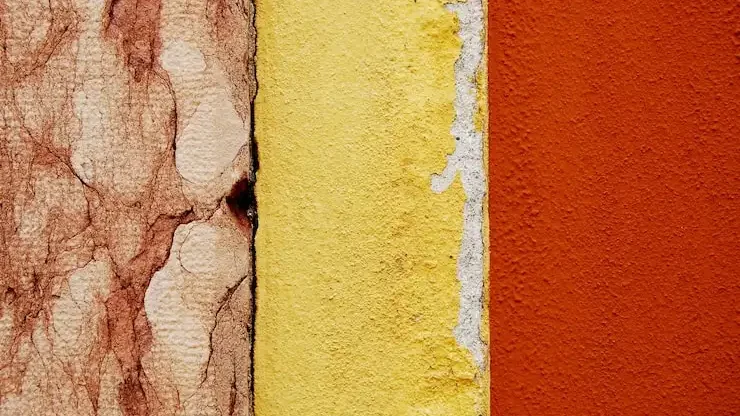
- Orange Peel Texture – Named for its resemblance to an orange peel, this texture works well in modern spaces and adds a soft pattern to the walls.
- Popcorn Texture – Commonly used on ceilings, popcorn texture offers a bumpy, acoustic surface.
- Skip Trowel Texture – A smooth, artistic finish with a slightly raised pattern, created with a trowel.
- Sponge Wall Texture – This is the most creative and versatile texture type. Using a sponge, you can achieve delicate patterns, layered effects, or bold designs, depending on your technique.
Wall texture using a sponge is the easiest for DIYers because it doesn’t take many instruments and you may change the pattern to fit the design of your room.
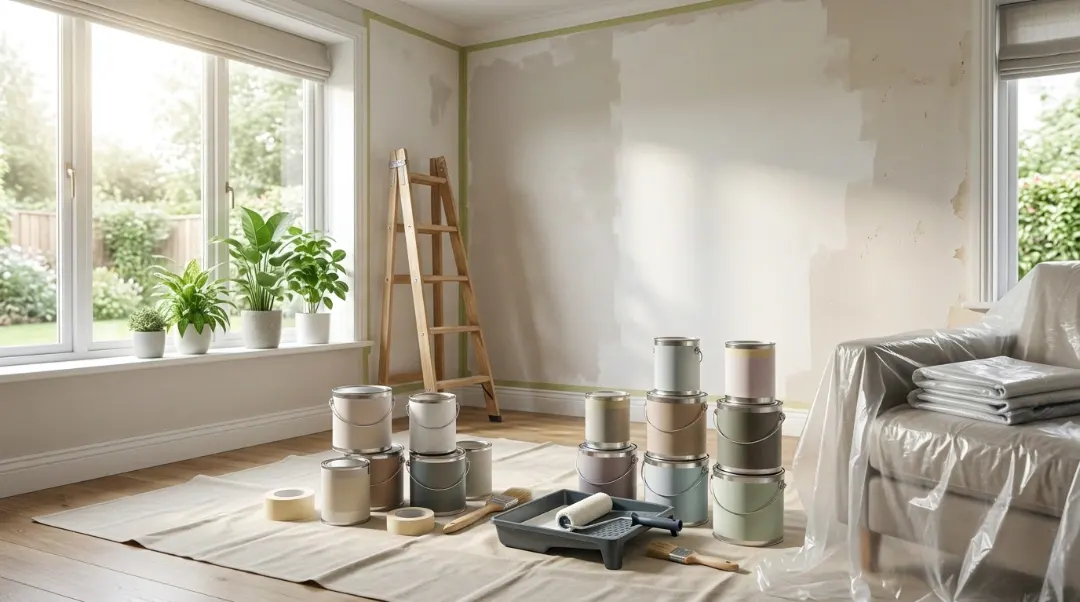
Materials Needed to Texture a Wall
Before we delve into the process, let’s gather the necessary materials:
- Sponge: Choose a natural sea sponge or a synthetic sponge specifically designed for texturing walls. The size of the sponge will depend on the desired texture and the area you plan to cover.
- Paint: Opt for a latex-based paint in your desired color. You can select a single color or create a custom blend for added depth.
- Paint tray or container: A shallow tray or container will make it easier to load the sponge with paint.
- Drop cloths or plastic sheets: Protect your floors and furniture by covering them with drop cloths or plastic sheets.
- Painter’s tape: Use painter’s tape to mask off any areas you want to keep free of texture, such as trim or outlets.
- Ladder or step stool: If your wall requires reaching high areas, ensure you have a stable ladder or step stool for safe access.
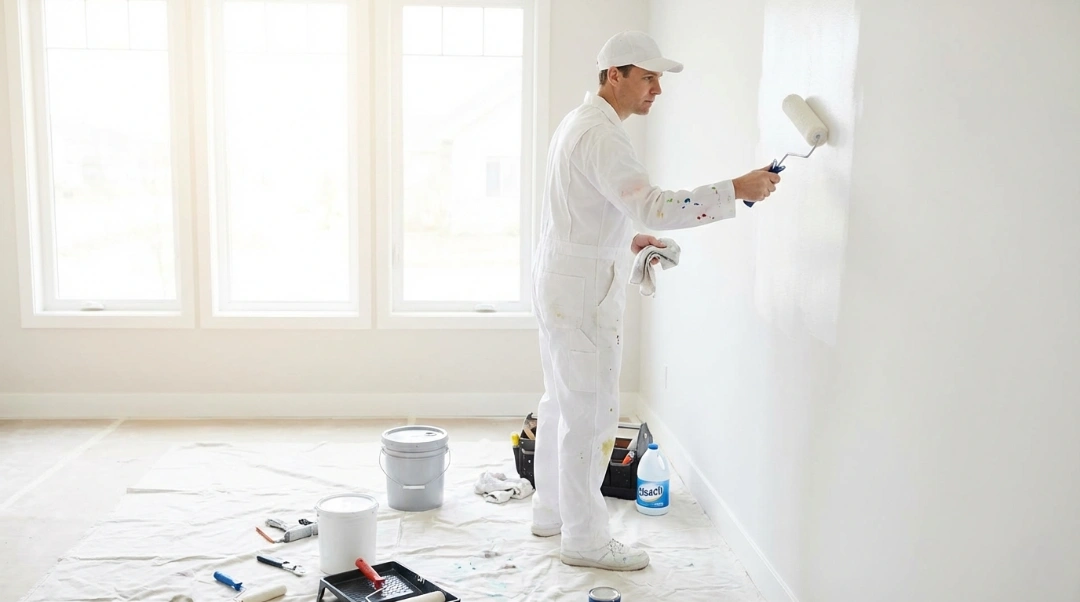
- Protective gear: Wear old clothing, gloves, and goggles to protect yourself from paint splatters.
Step-by-Step Guide of How To Texture a Wall
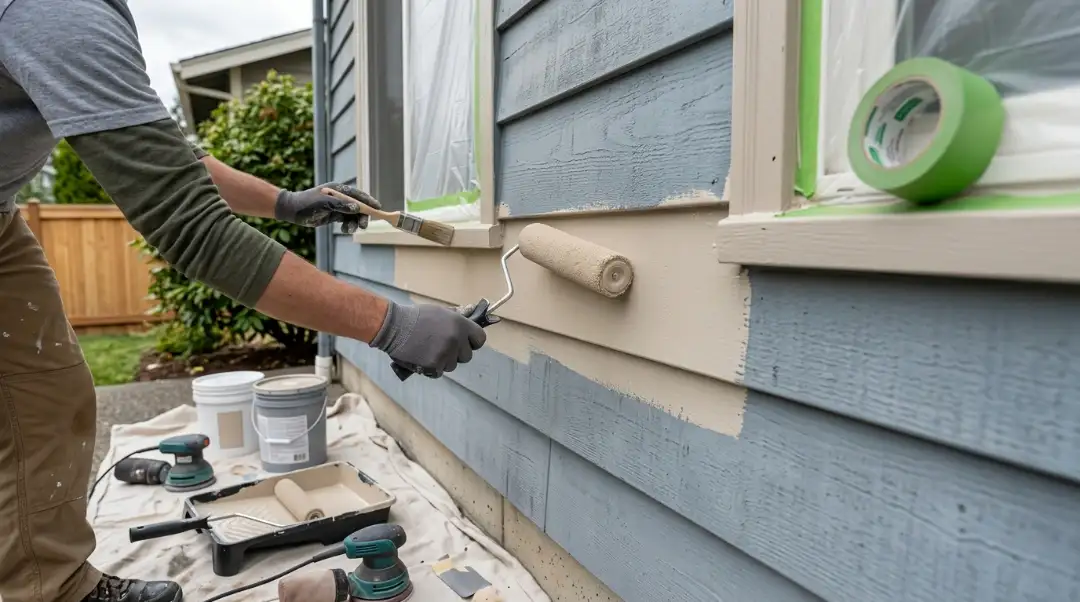
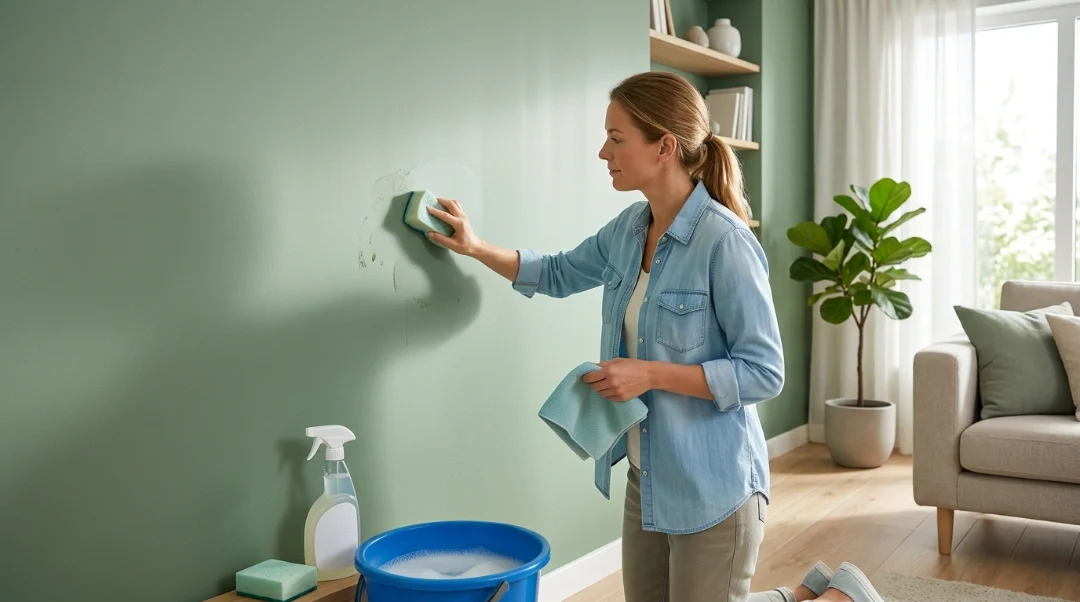
Prepare the wall: Clean the wall surface to remove any dirt, dust, or grease. This will ensure better adhesion of the texture and paint. Repair any cracks or imperfections with spackle or joint compound. Allow it to dry completely, and then sand it smooth. If your wall is new or has a porous surface, it is advisable to apply a primer before texturing. This will enhance the durability and adhesion of the texture.
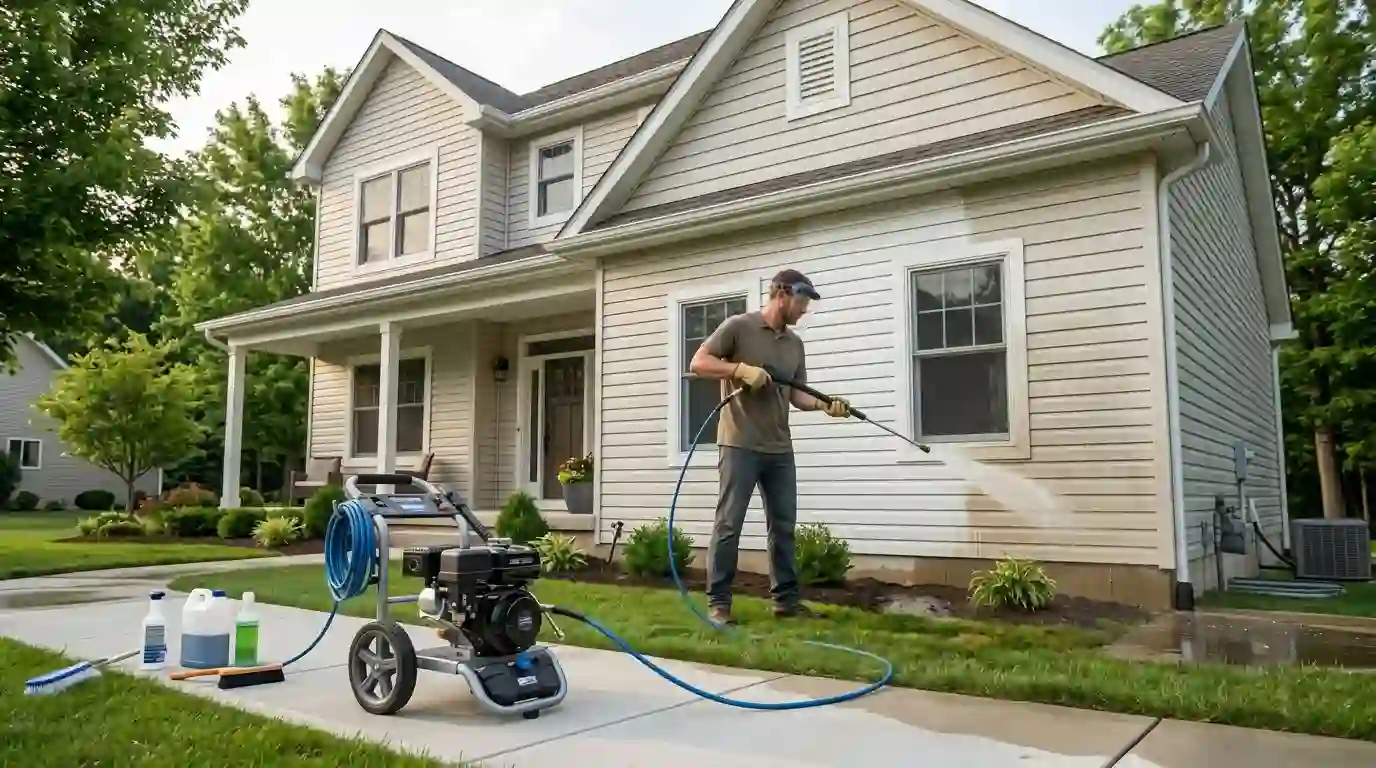
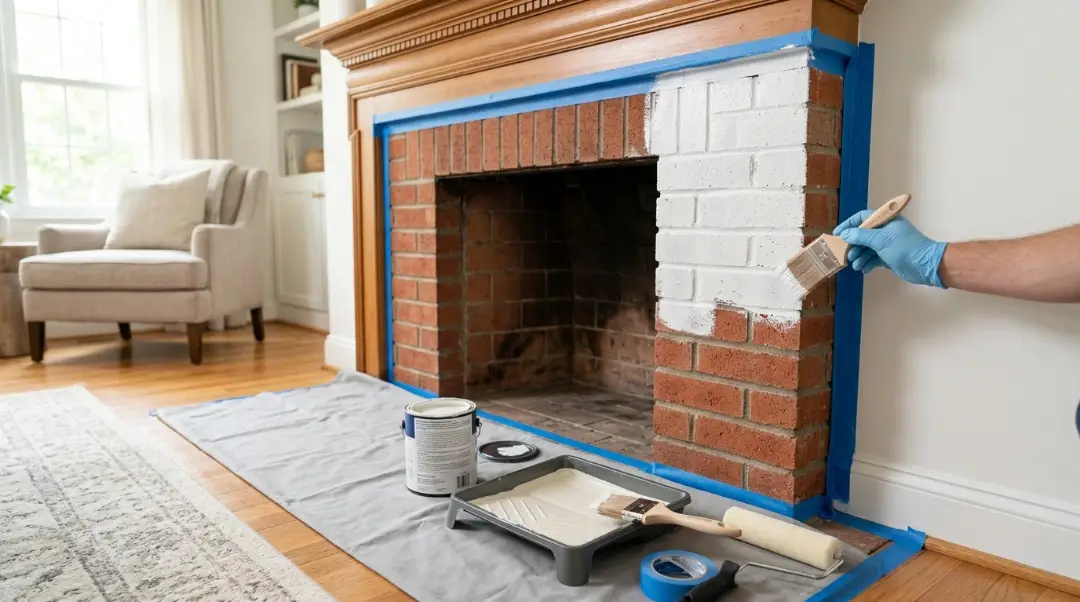
Protect the surroundings: Cover the floor and furniture with drop cloths or plastic sheets to prevent paint splatters and spills. Use painter’s tape to mask off any areas you want to keep free of texture, such as trim, baseboards, windows, or outlets.
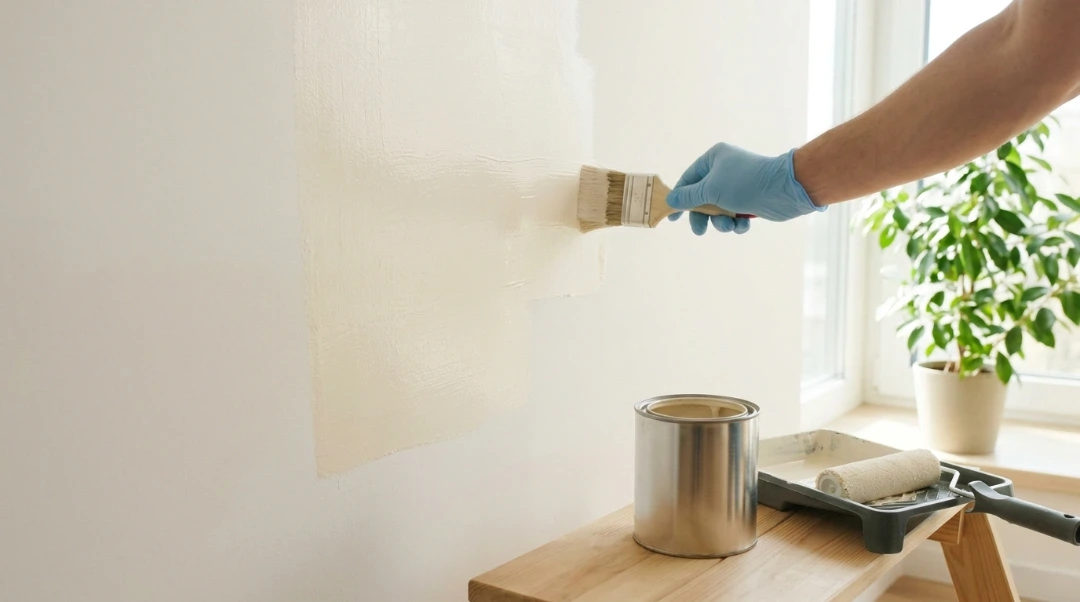
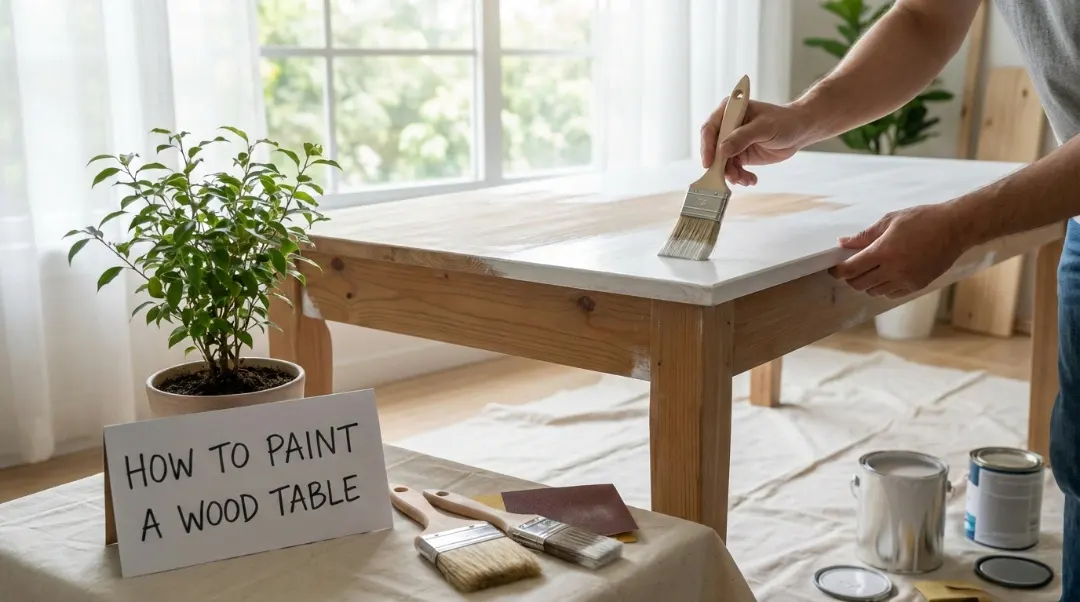
Prepare the paint: Pour the paint into a shallow tray or container. If desired, you can add a small amount of water to thin the paint slightly for easier application. Dip the sponge into the paint, ensuring that it is evenly saturated. Avoid overloading the sponge to prevent excessive drips or clumps.
Test the texture: Before applying the texture to the wall, it is a good idea to test it on a spare piece of cardboard or a small inconspicuous area. This will allow you to adjust the technique and gauge the desired effect.
Apply the texture
Starting from the top corner of the wall, press the sponge lightly against the surface, making gentle, dabbing motions. Rotate and vary the angle of the sponge to create a random pattern. Continue working in small sections, overlapping the edges slightly for a seamless texture. Work your way across the wall, moving from top to bottom and left to right. Maintain a consistent pressure and rhythm as you apply the texture to ensure uniformity. Periodically step back and assess the texture to ensure it is consistent. If necessary, blend any areas that appear too heavy or sparse by dabbing with a clean, dry sponge or using a feathering technique.
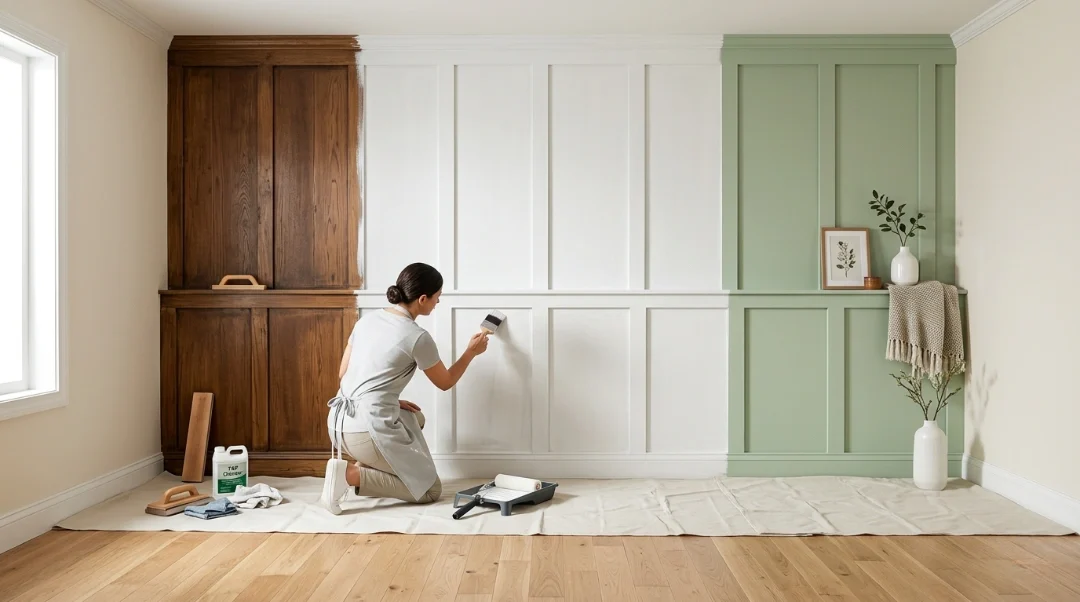
Allow to dry: Once you have completed the entire wall, allow the texture to dry completely according to the paint manufacturer’s instructions. This usually takes several hours or overnight. If desired, you can apply a coat of paint over the textured surface to further enhance the effect. Use a brush or roller, following the instructions provided with the paint.
Conclusion
Using a sponge to add texture to your walls is a fun and creative way to improve the inside of your home. There are infinite ways to use a sponge, from simple dabbing to more complex layering and blending. You can have walls that seem like they were done by a pro without employing a contractor if you follow these procedures and advice.
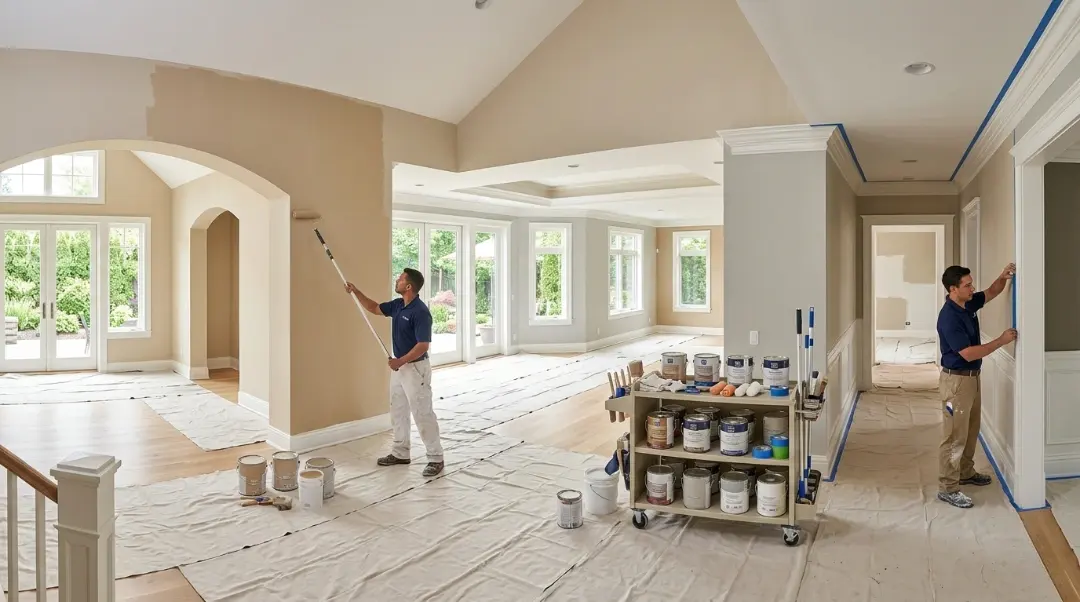
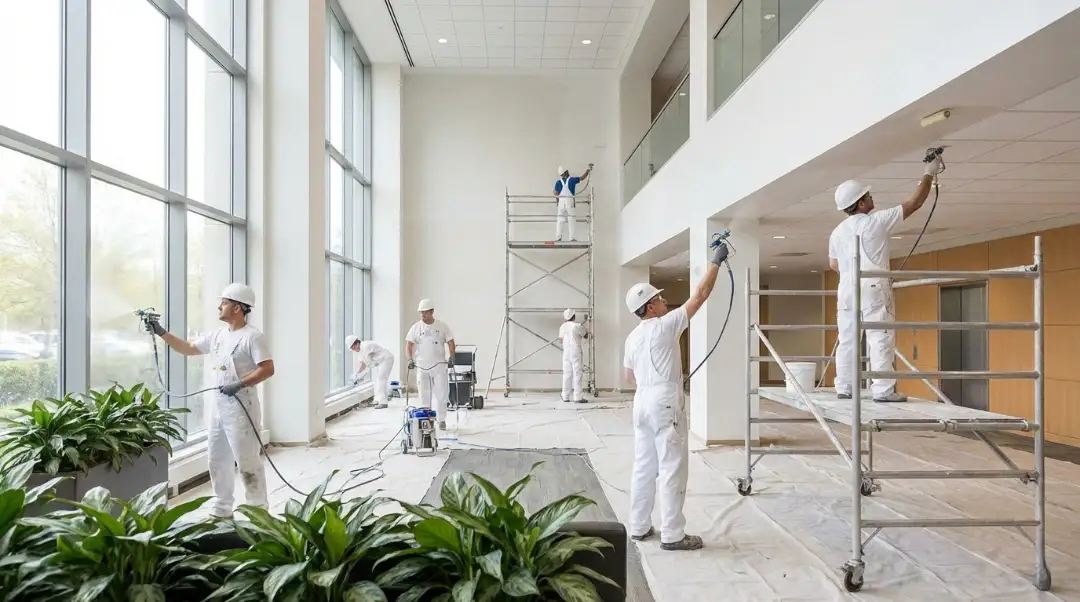
If you want to save time or want help from professionals, our team at Seattle Painting Expert offers professional Wall Texturing Services in Seattle. We will give your home a perfect finish that matches its style. We take care of every wall with care and skill, whether you want a subtle, delicate finish or strong, eye-catching textures.
FAQs
Can I use any type of sponge for wall texturing?
It is recommended to use either a natural sea sponge or a synthetic sponge specifically designed for texturing walls. These sponges have the right texture and absorbency to create the desired effects.
Do I need to prime the wall before applying texture with a sponge?
Priming the wall is optional but advisable, especially if the wall is new or has a porous surface. Priming helps improve the adhesion of the texture and ensures better durability of the final finish.
How do I clean the sponge after texturing?
Rinse the sponge with warm water immediately after use to remove any residual paint. Squeeze out excess water and allow the sponge to air dry. If necessary, you can use mild soap to clean stubborn paint residues.
Can I use multiple colors of paint with the sponge texturing technique?
Yes, you can create custom blends by mixing different colors of paint. Experiment with various color combinations to achieve unique and personalized textured effects on your walls.
Can I use the sponge texturing technique on ceilings?
Yes, you can use the sponge texturing technique on ceilings as well. However, ensure you have a stable ladder or step stool and take appropriate safety precautions while working at heights.
Can I remove or change the textured finish in the future?
The textured finish created with a sponge can be challenging to remove completely. If you plan to change the texture or go back to a smooth surface, it may require sanding or skim coating the wall.
Can I apply the sponge texture over wallpaper?
It is not recommended to apply the sponge texture directly over wallpaper, as the texture may not adhere properly. If you have wallpaper, it is best to remove it before applying the textured finish.
How long does it take for the textured wall to dry?
The drying time will depend on factors such as humidity, temperature, and the type of paint used. Typically, it takes several hours or overnight for the textured wall to dry completely. Refer to the paint manufacturer’s instructions for specific drying times.
Can I combine the sponge texturing technique with other texturing methods?
Yes, you can get creative and combine different texturing methods to achieve unique results. You can use a sponge to create a base texture and then add further details or effects using other tools, such as brushes or combs.
Do I need any special skills to texture a wall with a sponge?
No, you do not need special skills to texture a wall with a sponge. It is a relatively easy and forgiving technique that can be mastered with practice. Just follow the step-by-step instructions and unleash your creativity.