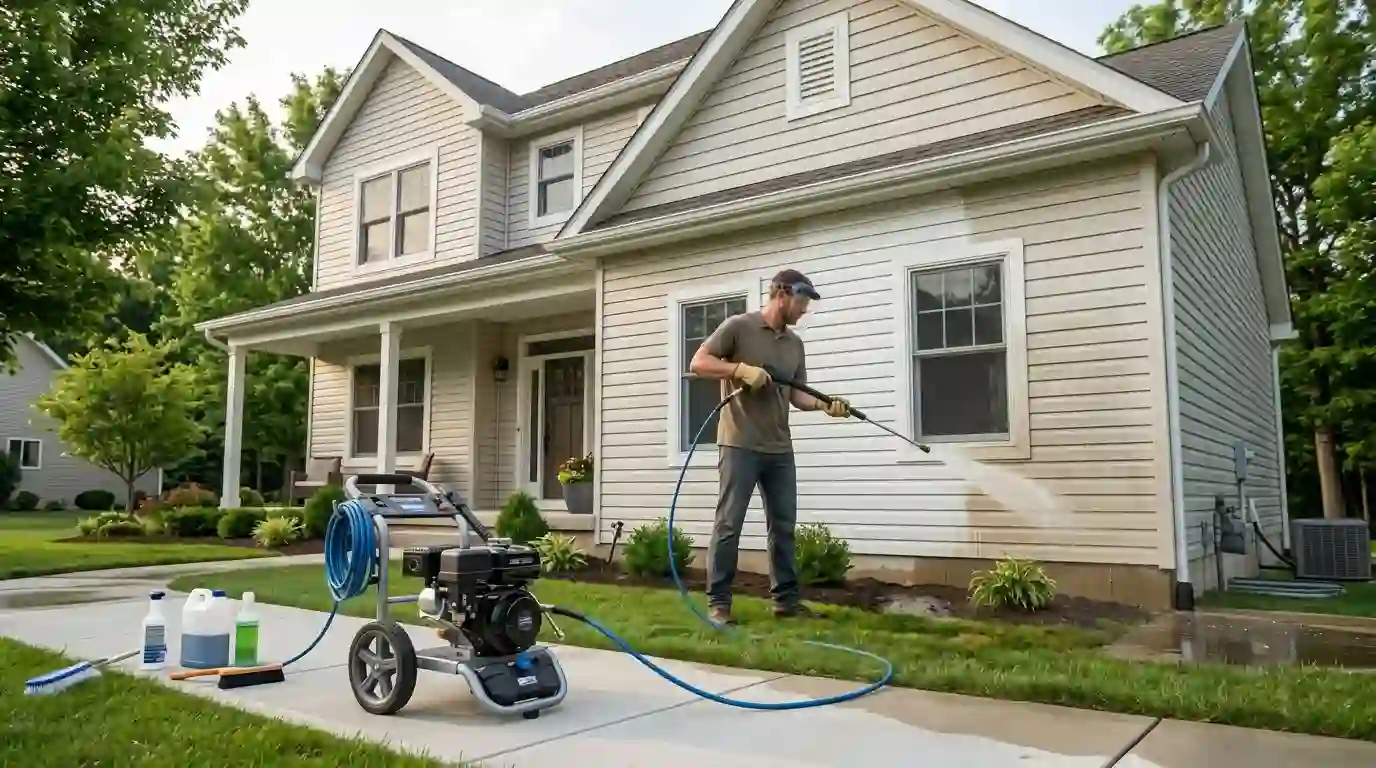
Before paint, there is painting. A lot of folks jump in and then feel bad about it. Whether the finish appears sharp or sloppy depends on how well you prep. You already know that preparation is just as important inside as it is outside if you’ve ever looked up how to pressure wash a house.
The short answer is to clear the room, fix the surfaces, clean the walls, sand the rough parts, tape the edges, and prime where needed. This guide breaks down how to prep a room for painting step by step so the final coat actually lasts.
What You’ll Need to Prep Your Walls for Painting

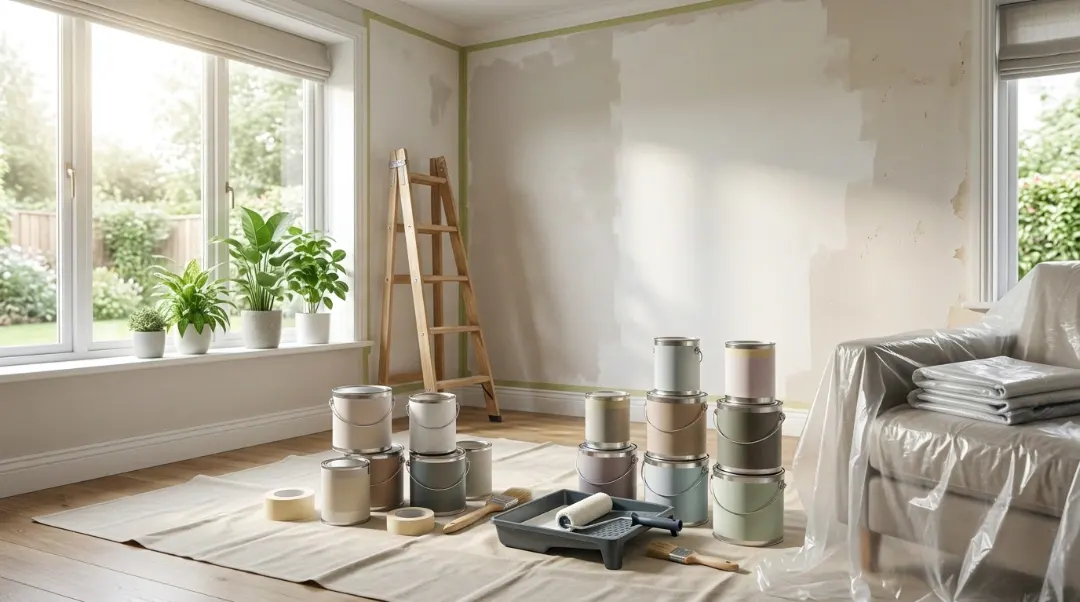
You need the necessary tools before you move a single chair. Don’t skimp on your supplies. Cheap tape bleeds, and low-quality drop cloths destroy carpets. Here’s a list of things you need to paint a room well:
- Protective Gear: Canvas drop cloths (avoid thin plastic for floors), painter’s tape, and a hand masker.
- Cleaning Supplies: Sugar soap or a mild detergent, microfiber cloths, and a vacuum with a brush attachment.
- Repair Tools: A 5-in-1 painter’s tool, spackling compound, and a flexible putty knife.
- Abrasives: 120-grit and 220-grit sandpaper or a sanding sponge.
- Hardware Removal: Screwdrivers for switch plates and a small container to keep screws from vanishing.
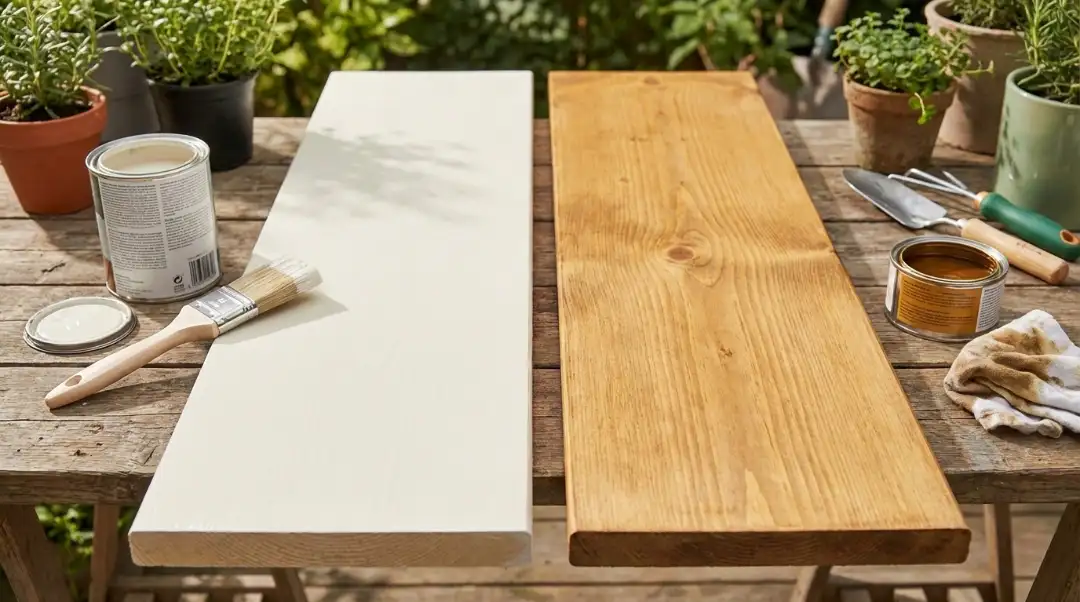
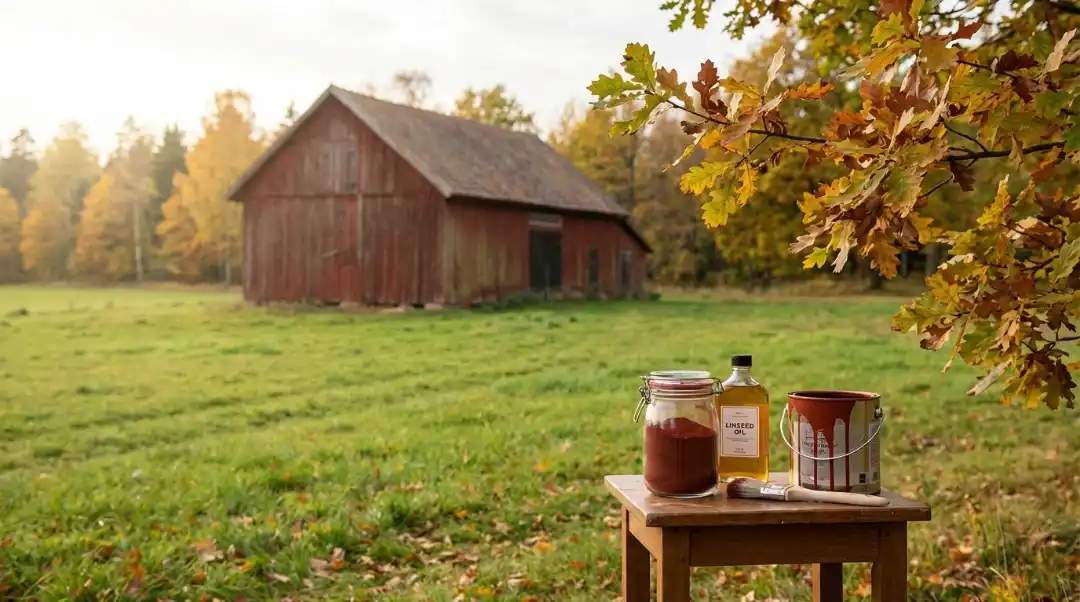
- The Secret Ingredient: A high-quality primer (especially if you’re covering dark colors or fresh drywall).
How to Prepare a Room for Painting in 8 Steps
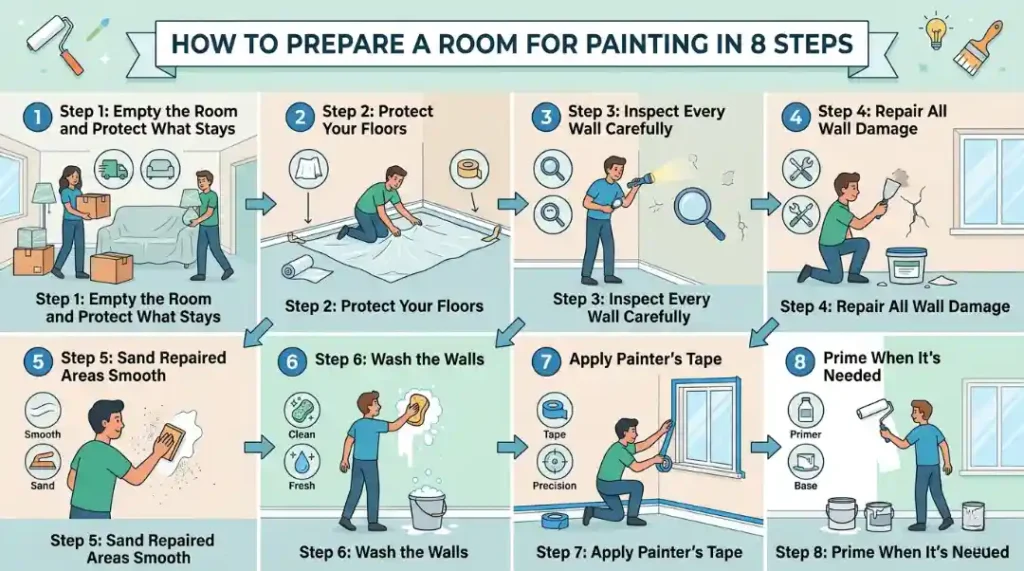
The best way to prepare a room for painting is to work top to bottom and inside out clear the space, protect surfaces, fix wall damage, clean thoroughly, tape edges, and prime where needed. Skipping any of these steps leads to paint adhesion failures, visible patches, or bleed-through stains that no second coat can fix.
Follow these steps in order. Each one sets up the next.
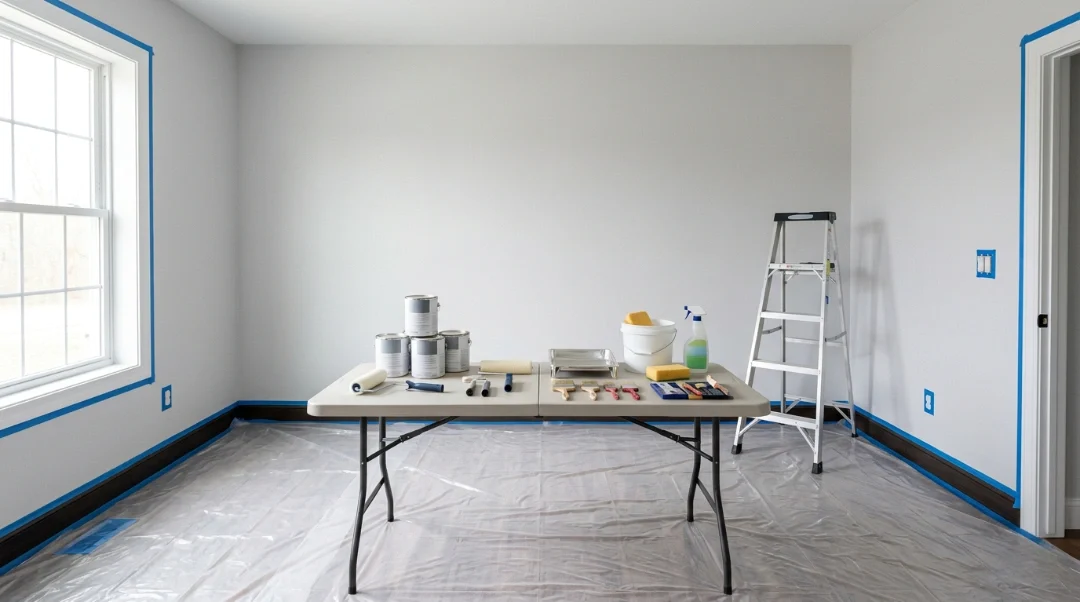
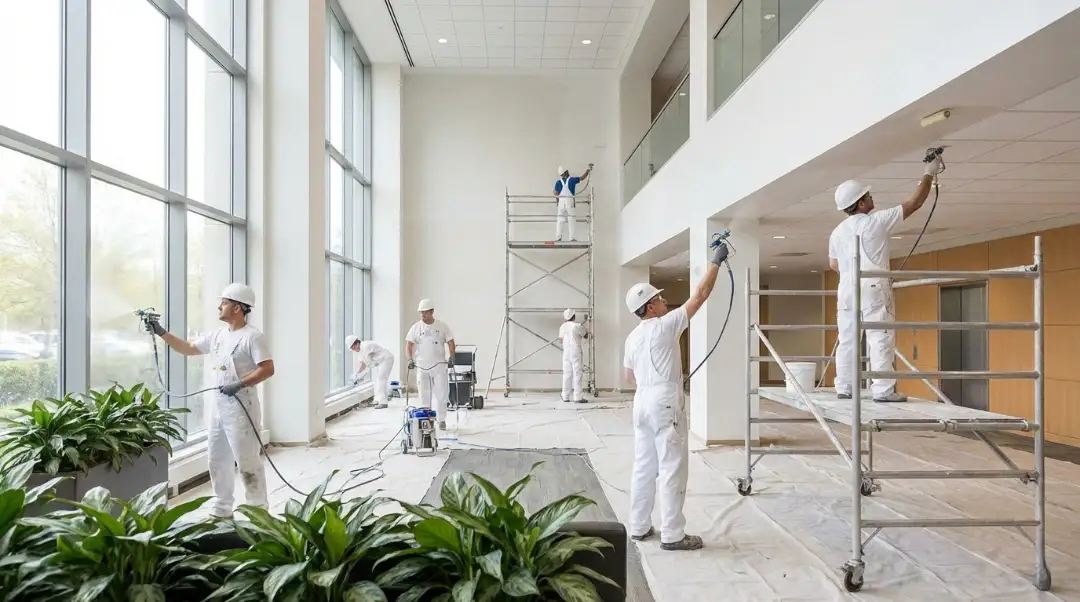
Step 1: Empty the Room and Protect What Stays
Take out whatever you can touch and move first. All of it: furniture, wall art, curtain rods, picture frames, and shelf brackets. The more vacant the room is, the easier it is to do each step that comes next.
If you have heavy things that won’t move, push them to the middle of the room and cover them entirely with canvas drop cloths. Paint mist goes farther than you think, and one wayward spritz of overspray can ruin cloth for good.
Using a screwdriver, take off all the outlet covers and switch plates. Put the screws and covers in zip-lock bags with labels on them. You’ll be glad you did when you put everything back together.
Step 2: Protect Your Floors
Cover the entire floor from baseboard to baseboard with canvas drop cloths. Tape the edges down so they don’t shift while you’re moving around.
Canvas absorbs drips and doesn’t slip under your feet like plastic sheeting does. It’s a small upgrade that makes a big safety difference on a ladder.
If the room has carpet, use adhesive carpet mask tape along the edges of the baseboards for a tight seal.
Step 3: Inspect Every Wall Carefully
Walk around the room slowly with good lighting. Look for nail holes, corner cracks, water stains, and any areas where old paint is peeling or bubbling.
Use small pieces of painter’s tape to mark every problem spot. Don’t trust your memory on this.
Some common problems are nail pops from framing shrinking, hairline cracks around corners from the home sinking, and water damage near window sills. Textured walls cover certain problems, but smooth walls show them all.
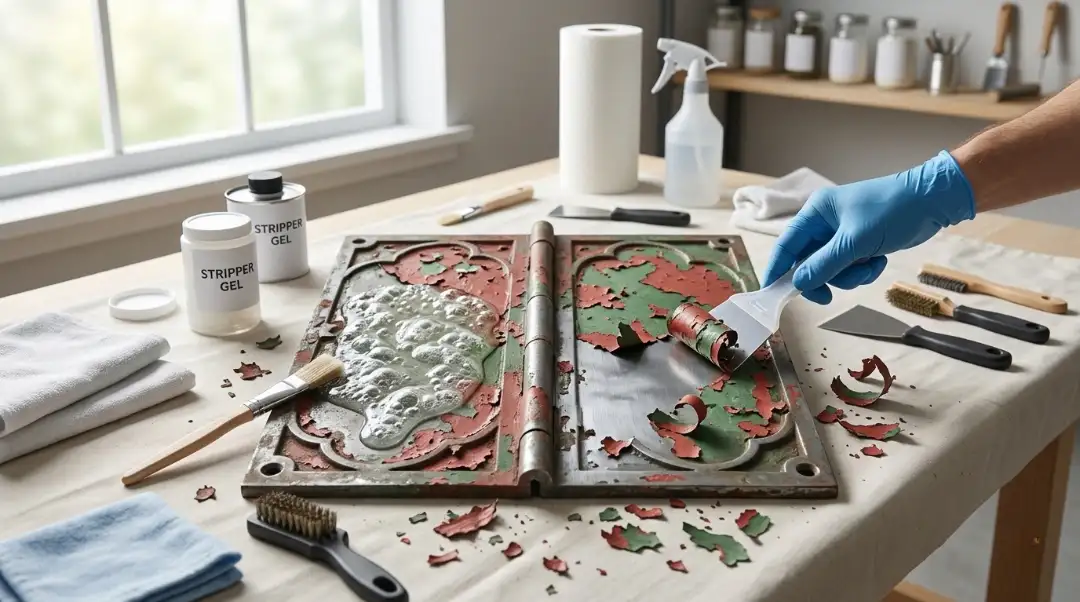
Step 4: Repair All Wall Damage
Before you open a paint can, you need to repair every problem in the room.
Use spackling compound to fill up minor cracks and nail holes. Press down hard with your putty knife and scrape off any extra so the patch fits perfectly. It should take 2 to 4 hours for it to dry completely.
You need to apply it twice to deep holes. The initial layer gets smaller as it dries, so put on a second thin coat when the first one is completely dry.
Water stains are different. Regular paint won’t cover them; it’ll only leak through. First, spray a stain blocker like Zinsser Bulls Eye right over the stain. Before filling or painting, let it dry completely.
Step 5: Sand Repaired Areas Smooth
Once repairs are dry and hard, sand them smooth. Start with 120-grit sandpaper, then finish with 220-grit for a surface that’s invisible to the touch.
Work in small circular motions and don’t press too hard. Excess pressure creates dips that show through paint.
If you’re painting over existing gloss or semi-gloss paint, lightly sand the entire wall. You don’t need to strip the old paint just rough up the surface enough so the new coat has something to grip.
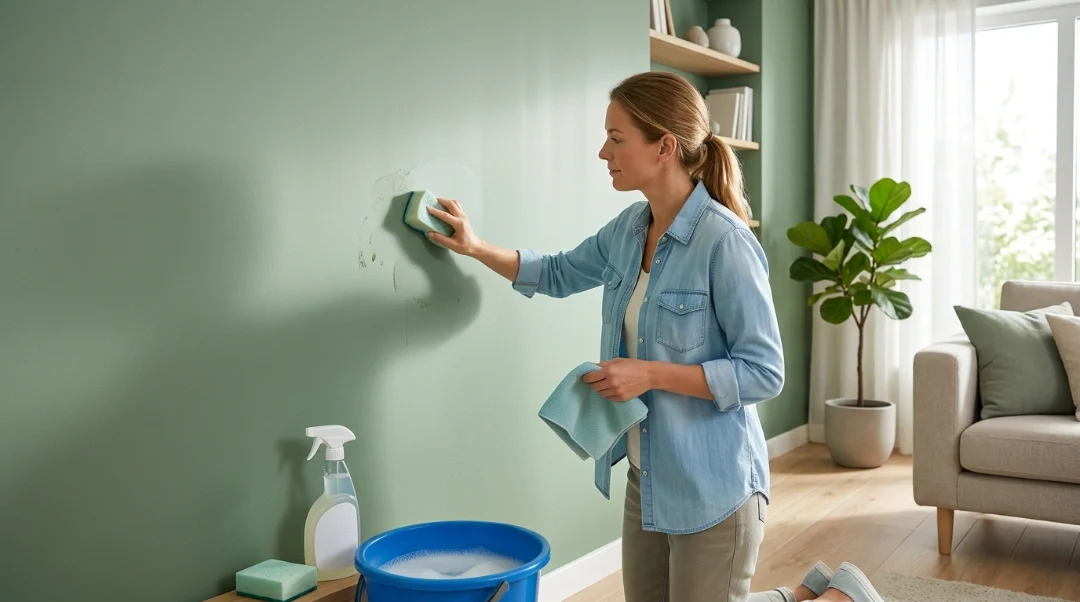
Step 6: Wash the Walls
Washing a wall before painting is the step most beginners skip and it’s why their paint peels.
Grease, dust, and grime break the bond between paint and wall. Mix warm water with a small amount of mild soap. Wring your sponge damp, not dripping, and wipe from top to bottom.
Pay close attention to areas around light switches, door handles, and kitchen walls where grease builds up. Wipe again with clean water to remove soap residue. Let the walls dry fully before moving to the next step.
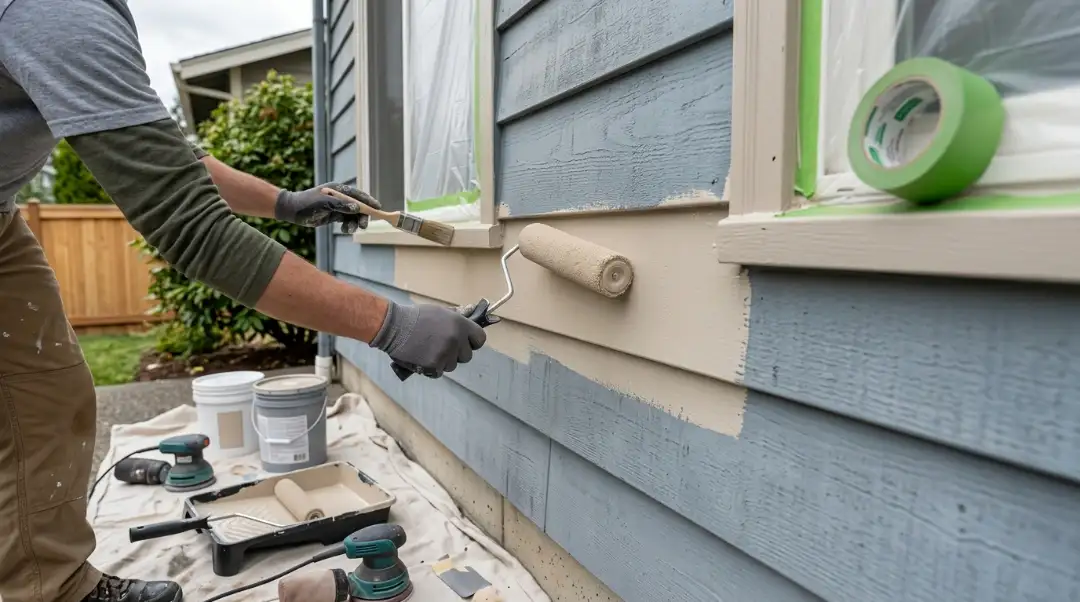
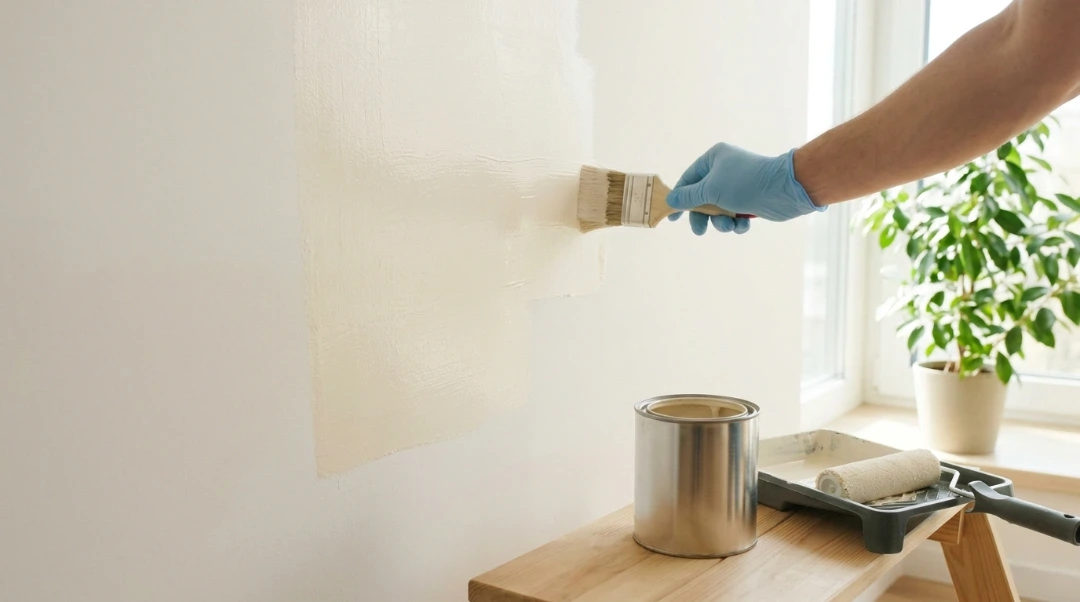
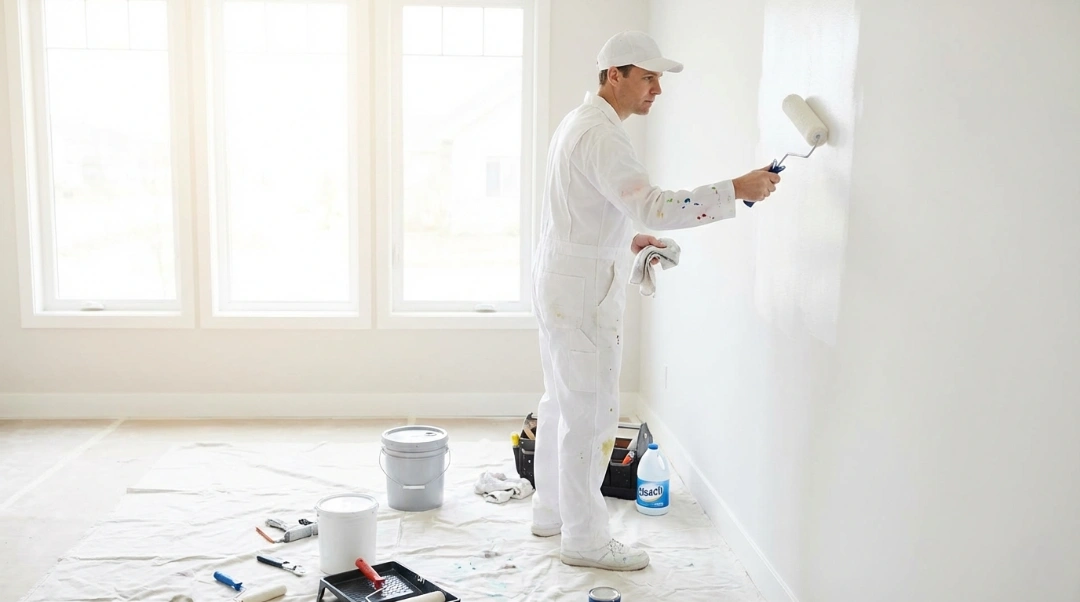
Step 7: Apply Painter’s Tape
The difference between clean, professional lines and messy, amateur lines is good taping.
Use painter’s tape to cover the baseboards, ceiling lines, window trim, and door frames. Press down hard along each edge and run your finger or a credit card down the tape to make sure it is tight.
Don’t leave tape on for more than a few days. When you take off old tape, it might become brittle and tear off the paint behind it.
Step 8: Prime When It’s Needed
Not every wall needs primer, but skipping it on the wrong surfaces causes real problems.
Use primer on: bare drywall, fresh plaster, heavily patched areas, water-stained spots, and any surface you’ve treated with stain blocker. For new plaster, mix a mist coat 70% paint, 30% water to seal the porous surface before full coats.
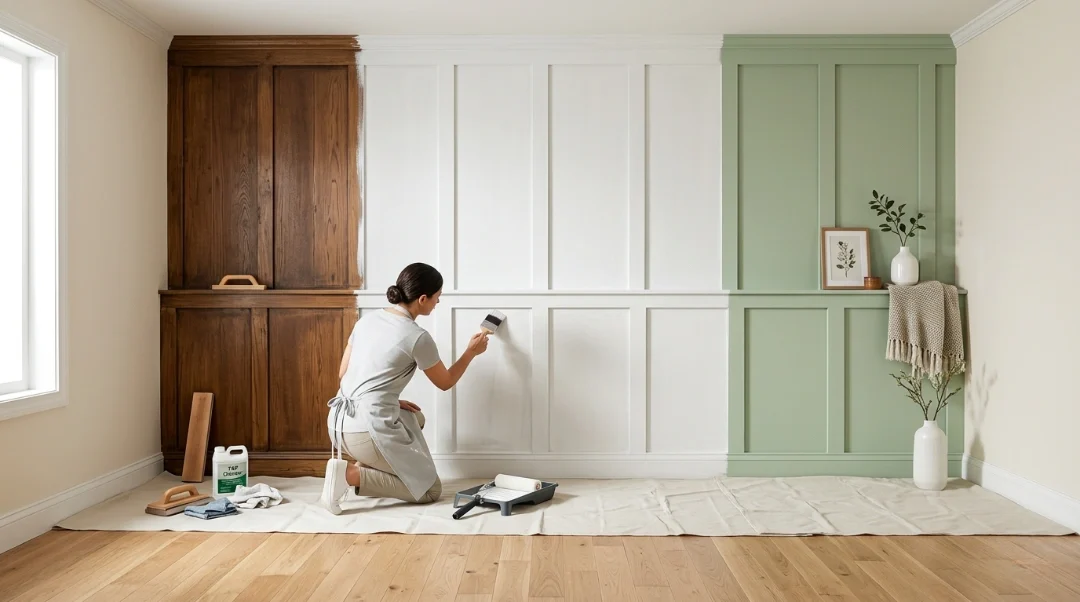
Tips for Prepping Different Wall Surfaces
How to prepare for painting changes depending on what your wall is made of. Here’s a quick breakdown.
New Drywall: Always prime. Bare drywall is extremely porous and will absorb paint unevenly, creating blotchy patches. A full coat of primer sealer solves this.
Gloss or Semi-Gloss Walls: Sand completely until no shine remains. Check from different angles any glossy spot left will cause the new paint to slide off over time.
After Wallpaper Removal: Wash off all adhesive residue with warm soapy water. Wallpaper paste creates a barrier that stops paint from bonding. Inspect for cracks and gouges the wallpaper may have been hiding.
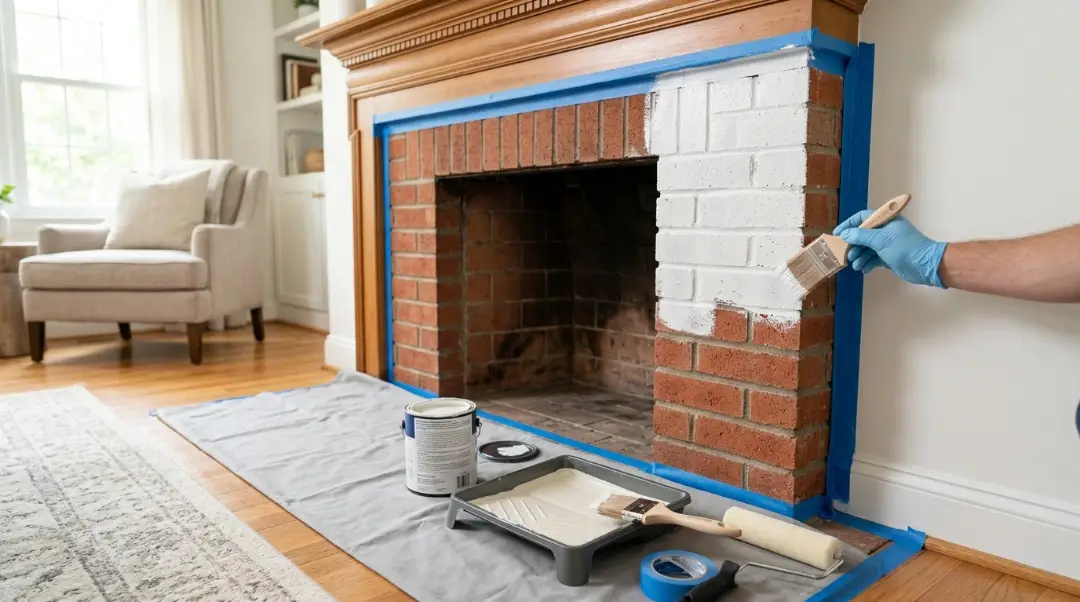
Brick or Masonry: Use a highly diluted mist coat (70% water, 30% paint) for the first application. This seals the porous surface without filling the texture. Follow with two full-strength coats.
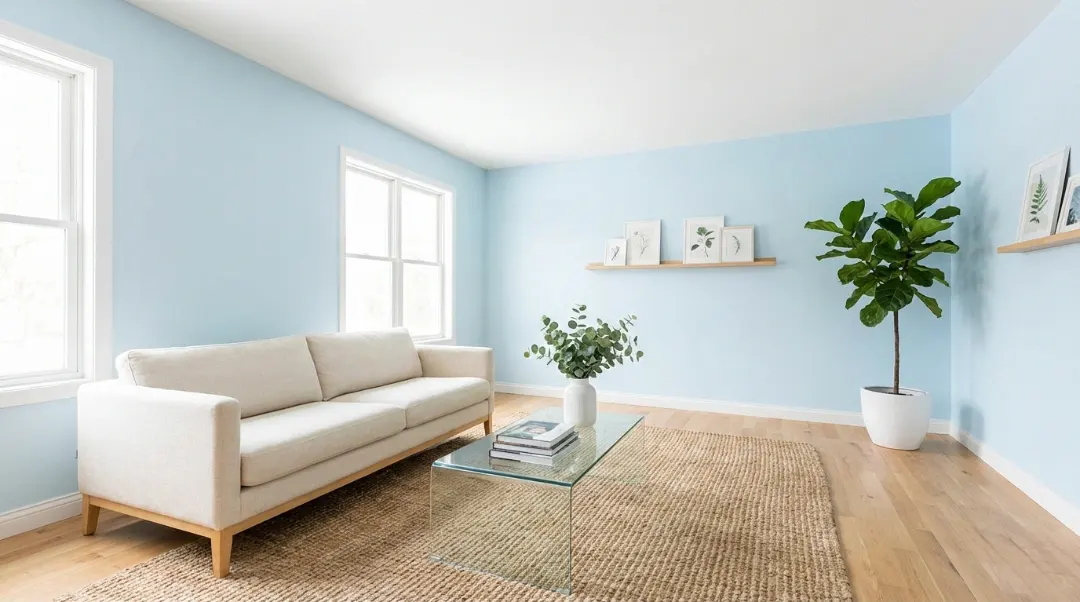
Previously Painted Walls in Good Condition: Clean, sand lightly if glossy, fill holes, and you’re ready. No primer needed unless you’re making a dramatic color shift from dark to light.
Common Mistakes to Avoid
I’ve seen a lot of “oops” moments in my 5+ years of writing for the trade. Avoid these to save your sanity:
- Over-Sanding: You aren’t refinishing a deck. If you sand too hard, you’ll tear the paper face of the drywall.
- Using the Wrong Tape: Masking tape (the tan stuff) is for boxes, not walls. It has a high-tack adhesive that will pull your old paint right off.
- Ignoring the Ceiling: Which room is hardest to paint? Usually, the one where you forgot to prep the ceiling. If you’re doing the whole room, always start at the top. Drips fall down, not up.
- Rushing the Dry Time: If your spackle is still cool to the touch, it’s wet. Painting over wet spackles causes the paint to bubble.
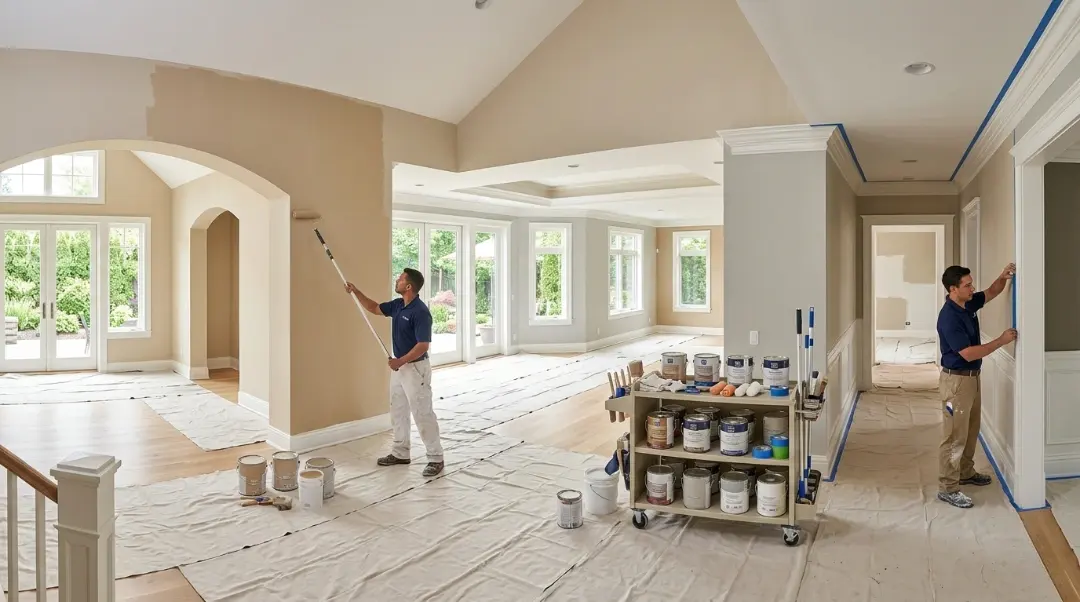
How Long Does Room Prep Actually Take?
A standard bedroom takes 3 to 4 hours for complete preparation. Rooms with water damage, wallpaper removal, or extensive repairs need a full day.
Budget the prep time separately from painting time. If you want to understand the full project timeline, check out our guide on How Long Does It Take to Paint a Room it breaks down everything from prep to final coat so you can plan your project realistically.
Ready for a Professional Finish?
How to prep a room for painting is a skill that gets better every time you do it. The steps aren’t difficult, but they do take time and attention. If you’d rather hand it off to a team that does this every day, Inter Color Painting LLC offers full-service Interior Painting Services Seattle handling every stage from surface prep to final coat, so you get results that last.
Conclusion
Painting is easier, and the effects endure longer when you do it right. Take your time and do these things, and your walls will show how hard you worked.
That’s the true difference when you learn how to get ready to paint the right way.
It’s worth obtaining professional aid if you want to avoid the hassle or have a perfect finish. Inter Colour Painting LLC takes care of everything from the prep work to the last coat with care and accuracy.
Are you ready to begin? Contact us today to talk about your project and obtain a free quote.
FAQs About Room Preparation for Painting
How do you get a room ready to be painted?
The easiest method to get a room ready for painting is to empty it out, protect the floors, fix any damage to the walls, clean every surface with mild soapy water, sand it smooth, put painter’s tape on the trim and baseboards, and prime any bare or patched parts before painting.
Can I paint straight onto drywall?
No. Bare drywall is too porous and absorbs paint unevenly. Always apply a primer sealer first. Without it, your finish coat will look blotchy no matter how many layers you add.
What room is the hardest to paint?
The hardest rooms to clean are the bathrooms and kitchens. Adhesion is difficult when there is a lot of moisture, not enough air flow, and surfaces that attract grease. Before painting, these rooms need to be cleaned well and have a primer that won’t let moisture in.
Do you cut in twice when painting?
Yes, for the best results. Cut in once before rolling, then cut in again after your first rolled coat to catch any spots where the roller got too close to trim or corners.
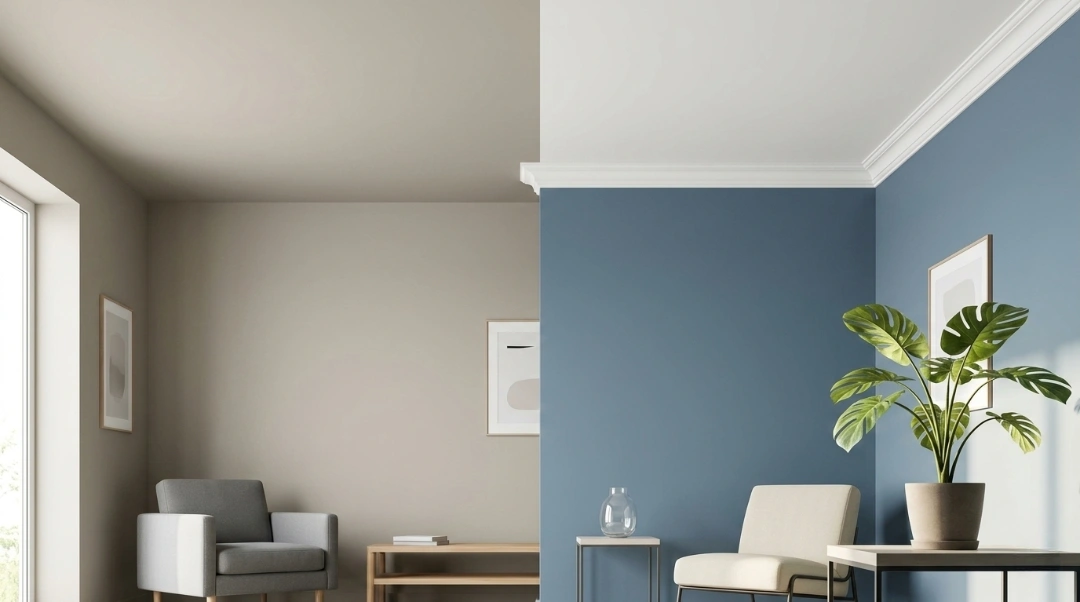
What colors make a room look expensive?
Deep, saturated tones like navy, forest green, charcoal, and warm terracotta tend to look the most high-end. Flat or matte finishes on walls with semi-gloss on trim amplifies that effect significantly.
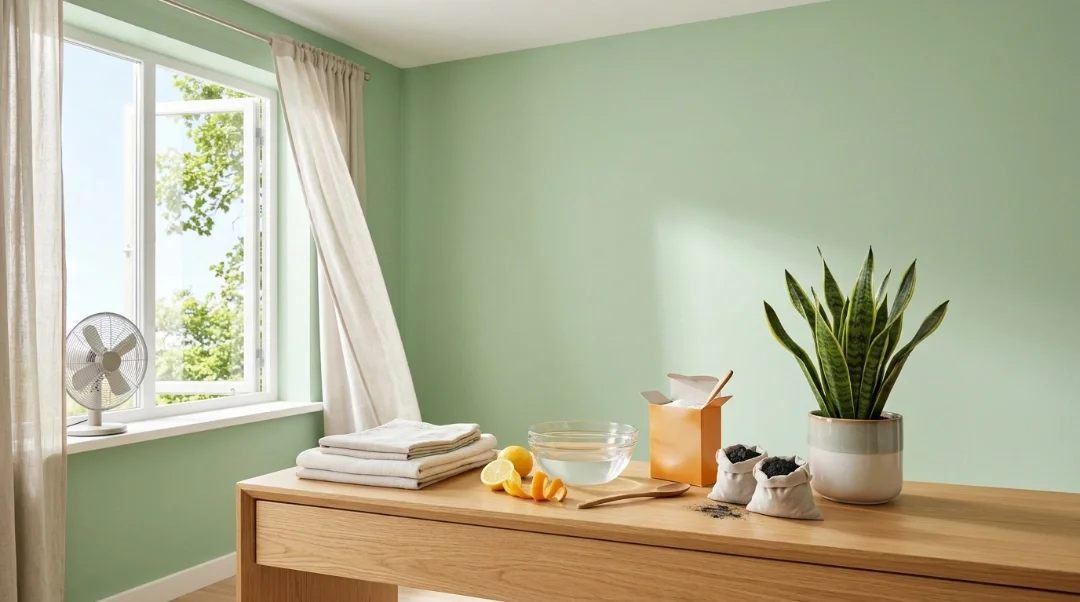
What color should you avoid in a bedroom?
Bright red and neon-toned colors tend to overstimulate the mind, making relaxation harder. Cool, muted tones like soft blue-grey, warm white, or sage green are far better choices for sleep quality.