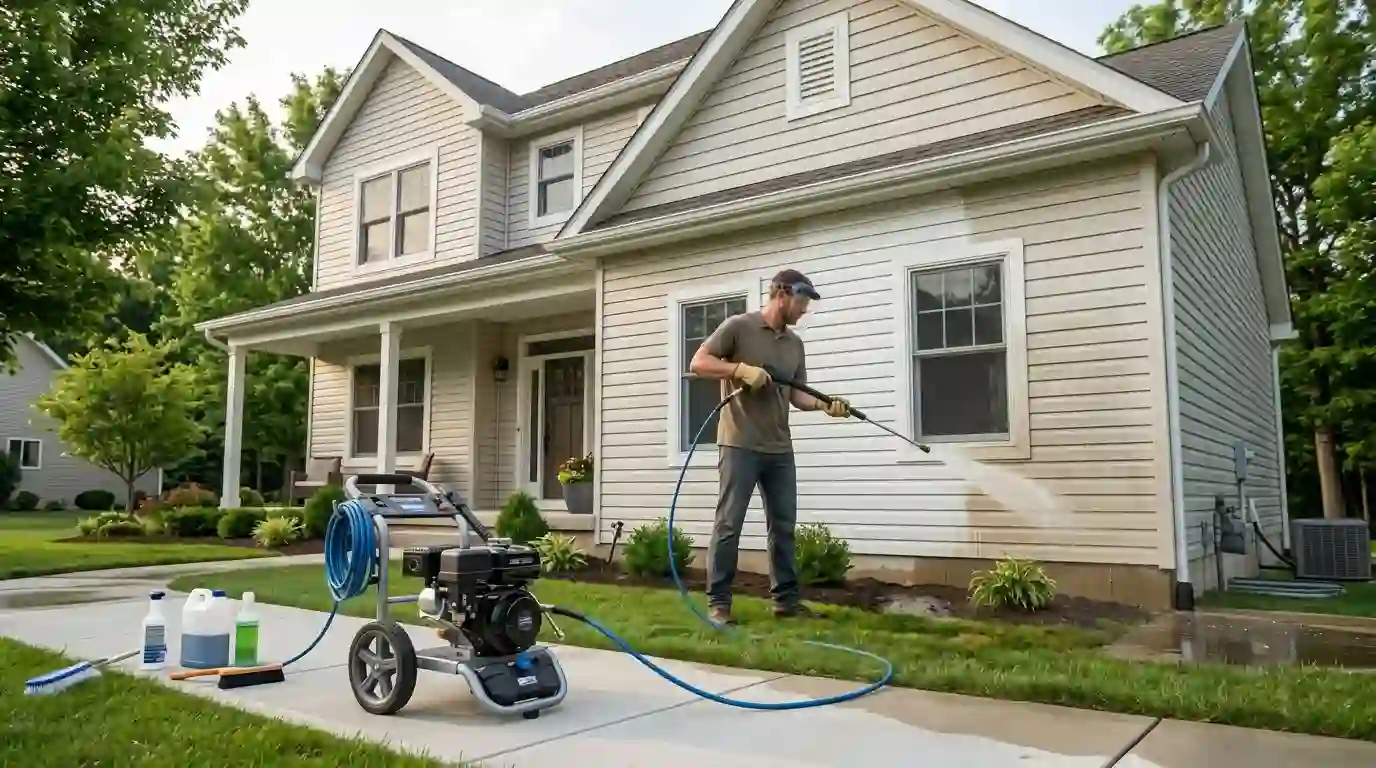
Wood paneling can make a room feel dated. Dark grooves and glossy surfaces often absorb light and make spaces feel smaller. Many homeowners search How to Paint Wood Paneling because replacing it is expensive, while painting offers a faster and affordable update.
If the paneling is solid and in good condition, paint can completely refresh the room. This guide explains how to paint wood paneling step by step, when sanding is necessary, what paint works best, and how to avoid common mistakes. By the end, the process becomes clear and manageable.
Is Painting Your Paneling the Right Choice?
Yes, painting wood paneling is almost always worth it. It’s faster and cheaper than removing the panels, avoids damage to the wall surface underneath, and can completely change how a room feels. Most DIYers finish the project in one to two days with a budget of $50 to $150 in materials.
What is the one exception? If your paneling is badly warped, moldy, or water-damaged, painting it won’t cure the problem. In that situation, it’s better to take it out.
But if the structure is strong and you don’t like how it looks, painting paneling walls is a weekend effort that is much more than it seems.
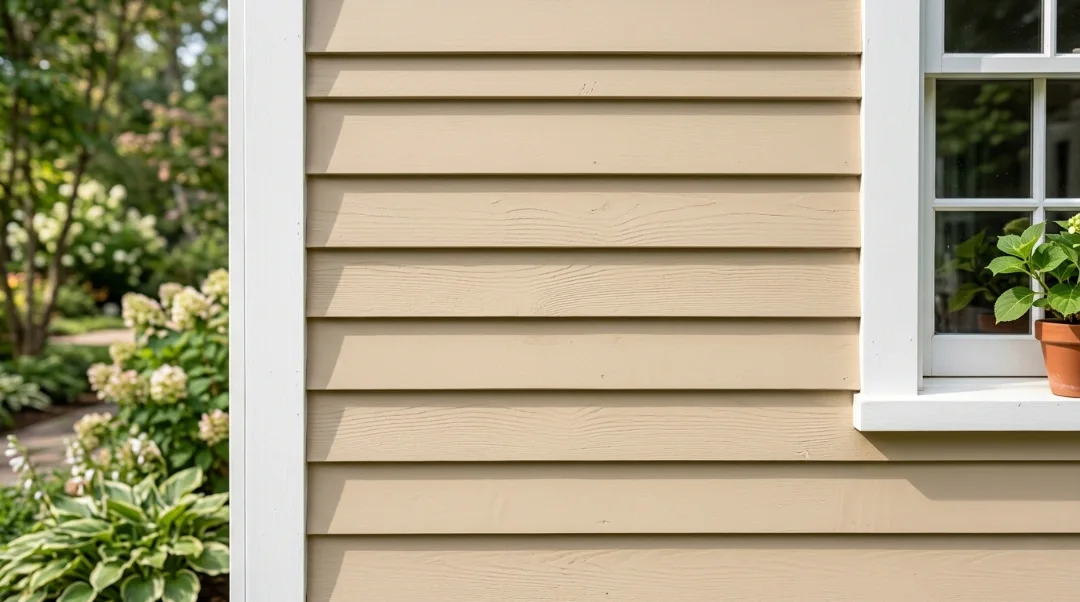
Types of Wood Paneling
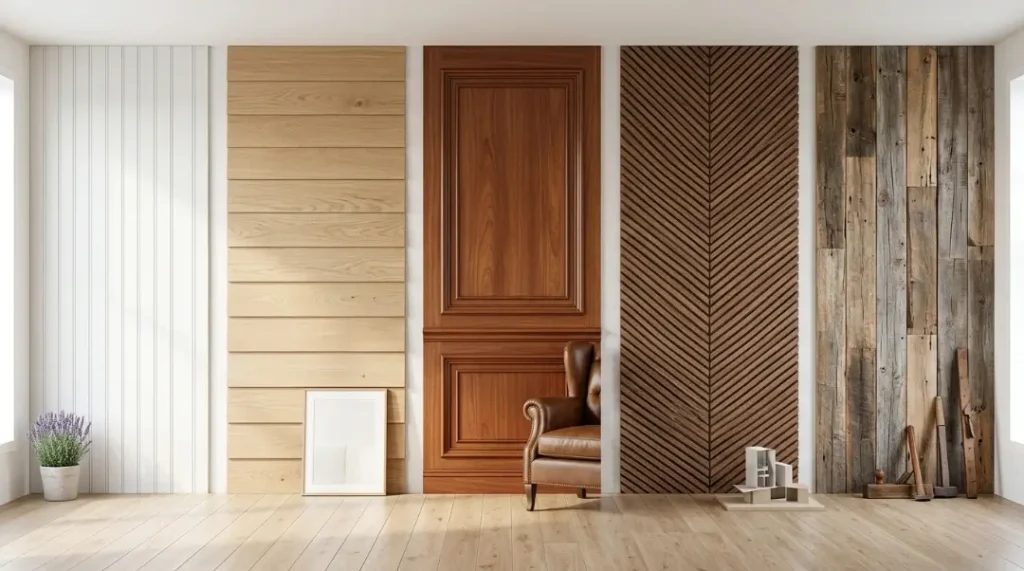
Not all paneling is the same. Here are the four main types you’ll run into:
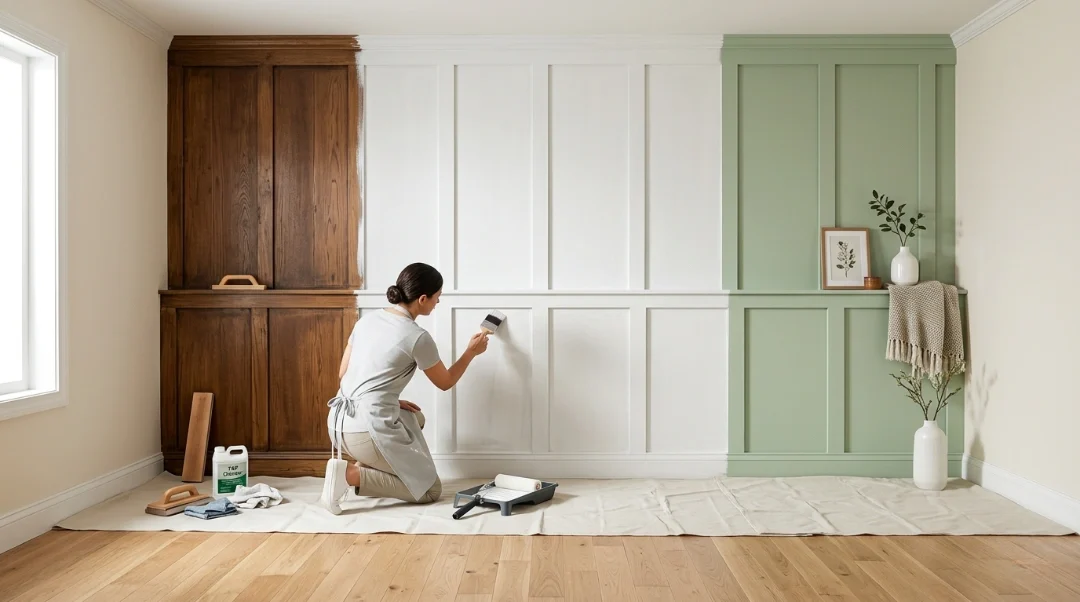
- Hardwood paneling: Real solid wood panels. Strong, takes paint well, but tannin-rich woods like cedar or redwood need an oil-based stain-blocking primer.
- Veneer paneling: A paper-thin wood grain layer applied to fiberboard or particle board. Be very careful with sanding. Sand through that thin surface layer and you’ll expose raw fiberboard underneath.
- Laminate or faux paneling: A printed wood-grain surface, usually on MDF or fiberboard. Needs a bonding primer specifically engineered for glossy or non-porous surfaces.
- Board and batten / wainscoting: These are structural or decorative panel styles, not materials. They’re often solid wood or MDF and paint like a standard wall.
Can You Paint Wood Paneling?
You may paint over wood paneling as long as you get the surface ready first. Painted paneling peels, bubbles, or looks uneven because you didn’t prime it first. Paint sticks well on hardwood, veneer, laminate, and even fake paneling if you use the correct primer and clean the surface first.
Before you take up a brush, you need to know what kind of paneling you have. You need to use the right primer for the right material; if you don’t, the paint won’t stick later.
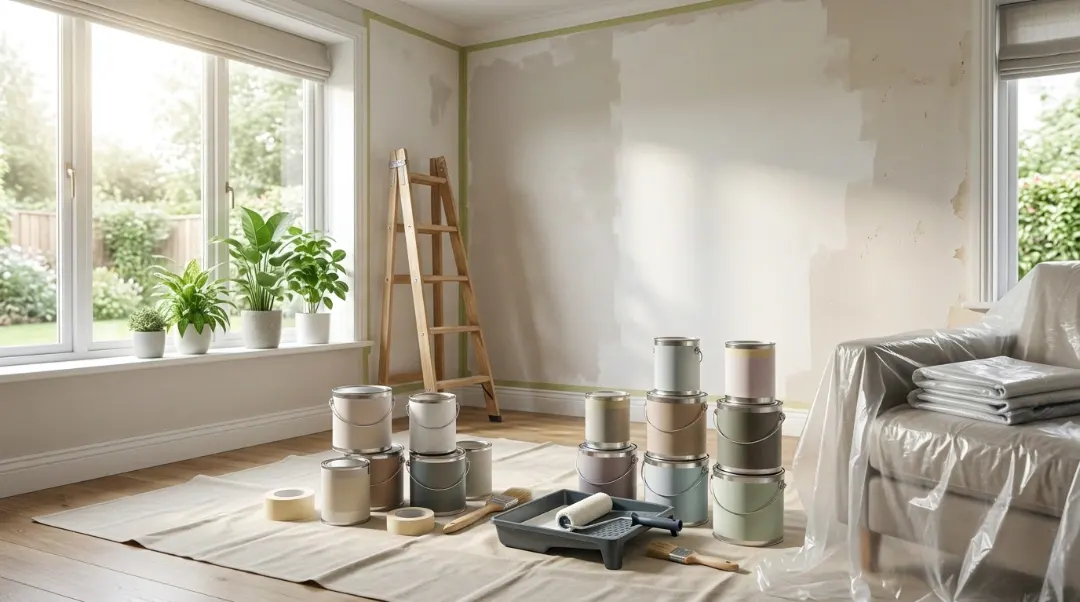
Tools and Materials Needed
To get a professional result, don’t skimp on your equipment.
| Tool | Purpose |
| TSP Cleaner | Removing grease and wax |
| Bonding Primer | Ensuring the paint sticks |
| Angled Brush | Getting into the grooves |
| Short Nap Roller | Smooth application on flats |
| Wood Filler | Fixing cracks and holes |
| Satin Latex Paint | The final durable finish |
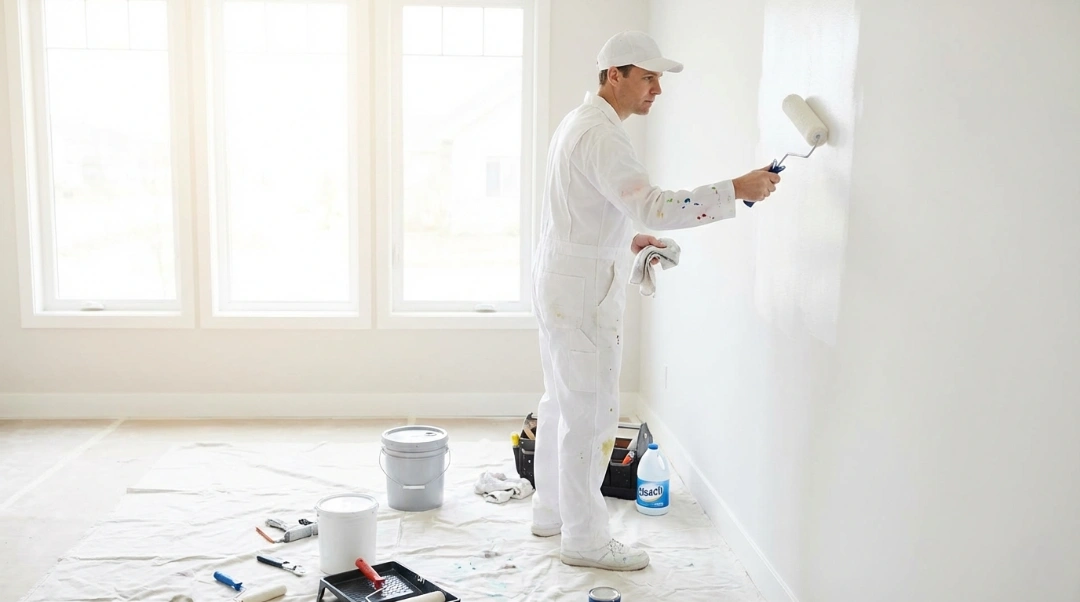
How to Paint Wood Paneling (Step-by-Step)
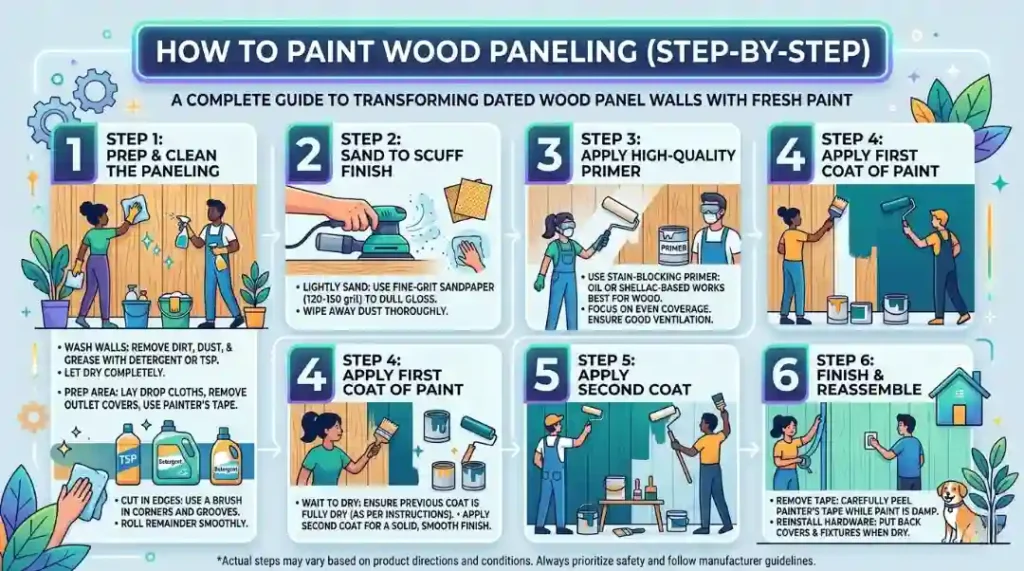
Follow these 6 simple steps to paint wood paneling like a pro
Step 1: Assess and Identify Your Paneling Type
Before buying any supplies, figure out what you’re working with. Find an exposed panel edge by removing an HVAC grate or a piece of baseboard molding. This tells you whether you have veneer, solid hardwood, faux paneling, or composite material underneath.
The material determines your primer choice. Get this wrong and the paint won’t stick, no matter how many coats you apply.
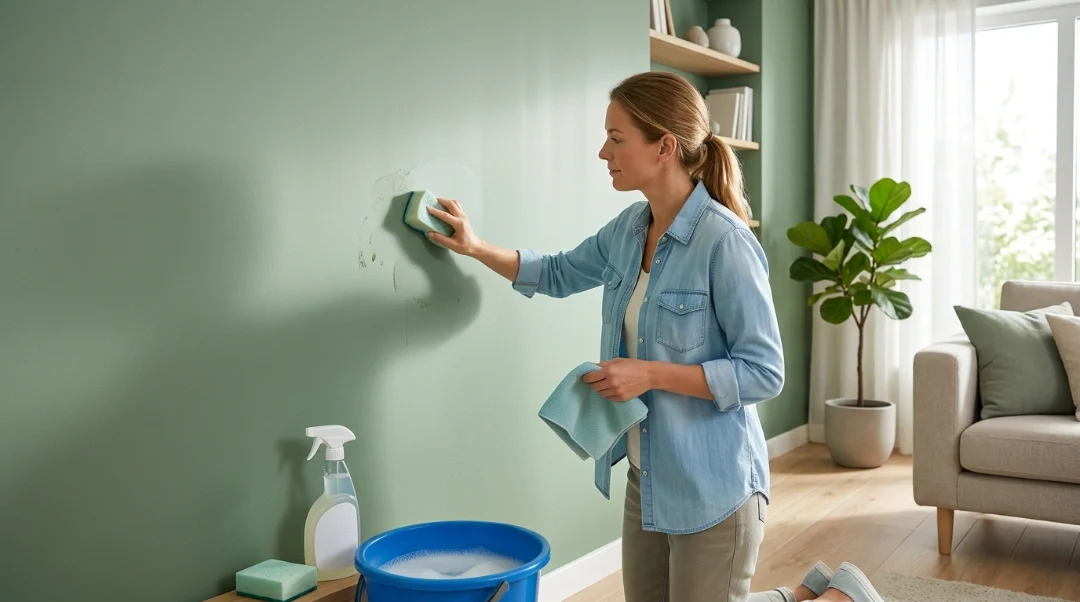
Step 2: Clean the Paneling Thoroughly
Before you do anything else, use a degreasing cleaner to get rid of all the grease, dirt, and residue. Years of dust, cooking oils, and cleaning products build up and make a barrier that keeps paint from sticking to the surface completely.
Use a clean rag to wipe down the whole surface and let it dry completely. Light sanding will assist if the surface still seems shiny after cleaning.
Step 3: Fill Holes, Cracks, and Gaps
Use wood putty to fill any nail holes, nicks, or cracks in the panels. Smooth with a putty knife, let it dry, and sand the repair flush with 220-grit sandpaper. Wipe away dust with a damp cloth.
For panel seams, use caulk rather than spackle. Caulk is flexible and moves slightly as the panels shift with humidity. The spackle is rigid and will crack at the seams over time.
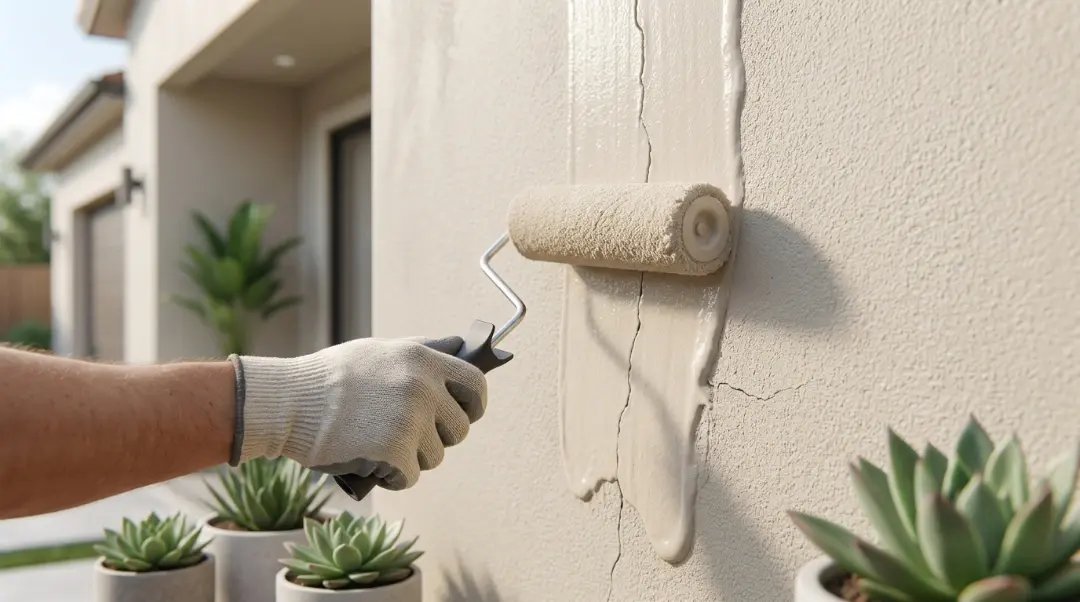
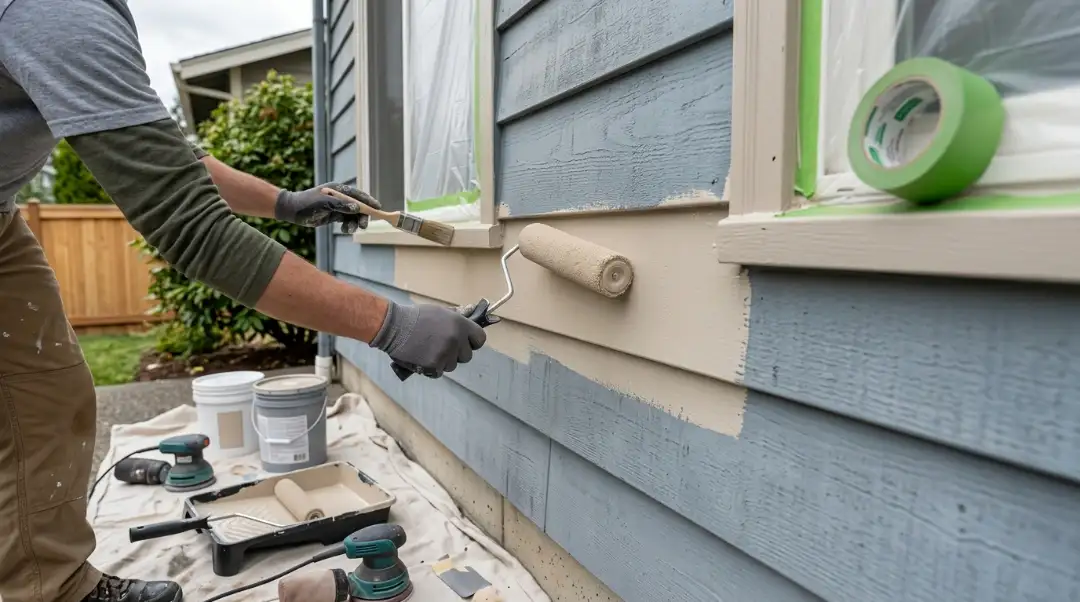
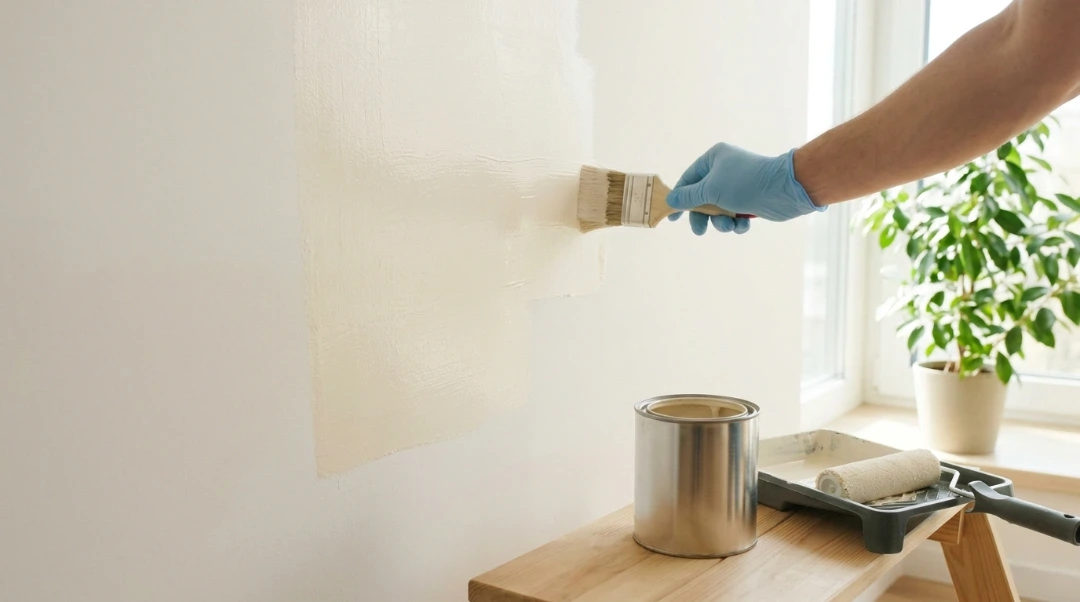
Step 4: Apply the First Coat of Primer
Prime the paneling before you paint. This step is non-negotiable. Primer blocks wood tannins from bleeding through, seals the surface, and gives paint something to grip. Without it, dark wood grain bleeds through even light paint colors.
Here’s which primer works best by paneling type:
- Veneer or laminate paneling: Use a bonding primer like Insl-X Stix Primer, engineered to adhere to glossy, non-porous surfaces.
- Hardwood paneling: Use a stain-blocking primer like Insl-X Aqua Lock Plus or Fresh Start High-Hiding Primer.
- Cedar or redwood paneling: Use an oil-based primer such as Fresh Start All-Purpose Primer. These woods have high tannin content that water-based primers can’t always block.
Apply primer with a roller on flat surfaces and an angled brush for grooves and corners. Let it dry completely before moving on.
Step 5: Spackle the Grooves (Optional For a Smooth Finish)
If you want your paneling to look like a flat drywall wall, fill the grooves with joint compound after the first coat of primer has dried. Apply with a spackling knife, let it dry, then sand smooth with 220-grit sandpaper.
If you want to keep the grooved look, skip this step and go straight to the second coat of primer.
Step 6: Sand, Vacuum, and Tack
After filling and curing, use 220-grit sandpaper to lightly sand the whole surface. You’re not taking anything off; you’re merely making a rough surface that helps the paint stick and smooths out any drips from priming.
Use a vacuum to get rid of dust, and then use a tack cloth or damp rag to wipe everything down. Before moving on to the next stage, let it dry all the way.
TIP: Always wear a dust mask and goggles when sanding. Old paneling can have paint or finish layers from decades ago.
How to Paint Wood Paneling Without Sanding
If you use a good bonding primer and clean the surface well first, you can paint wood paneling without sanding it. Sanding always makes things stick better, but it’s not always necessary on solid hardwood or fake paneling if the surface is clean and the primer sticks well.
The steps are to clean the surface, fill up any holes, apply bonding primer, let it dry, and then paint it with two coats. Try the primer on a small area first. You need to sand it before you can do anything else if it beads up or peels.
If you don’t sand veneer panels, you take a bigger risk. The thin surface layer doesn’t hold primer as well as solid wood does.
Best Paint for Wood Paneling
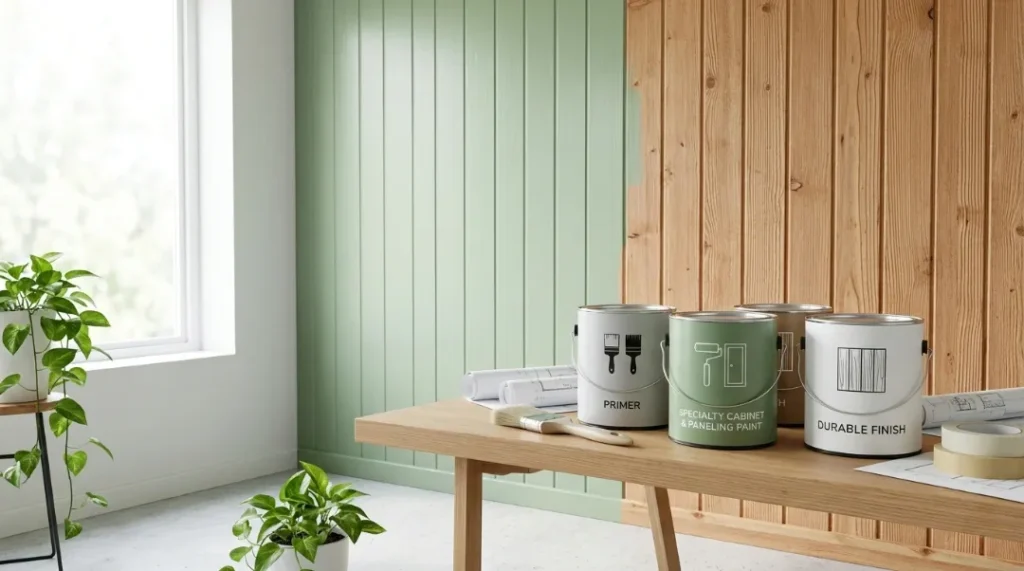
Waterborne alkyd paints are the best choice for painting paneling. They apply like latex paint but cure to a harder, more durable finish. They resist scuffs, are easy to clean, and hold up much longer than standard latex in high-traffic rooms.
Standard interior latex paint also works well and is widely available. Look for a formula labeled “interior wall and trim” or “high-hiding” for best coverage over dark paneling.
For finish, satin or eggshell sheens work best on paneling walls. They’re easier to clean than flat/matte and less reflective than semi-gloss. Use semi-gloss on trim pieces, board edges, and wainscoting cap rails, as these areas get more physical wear.
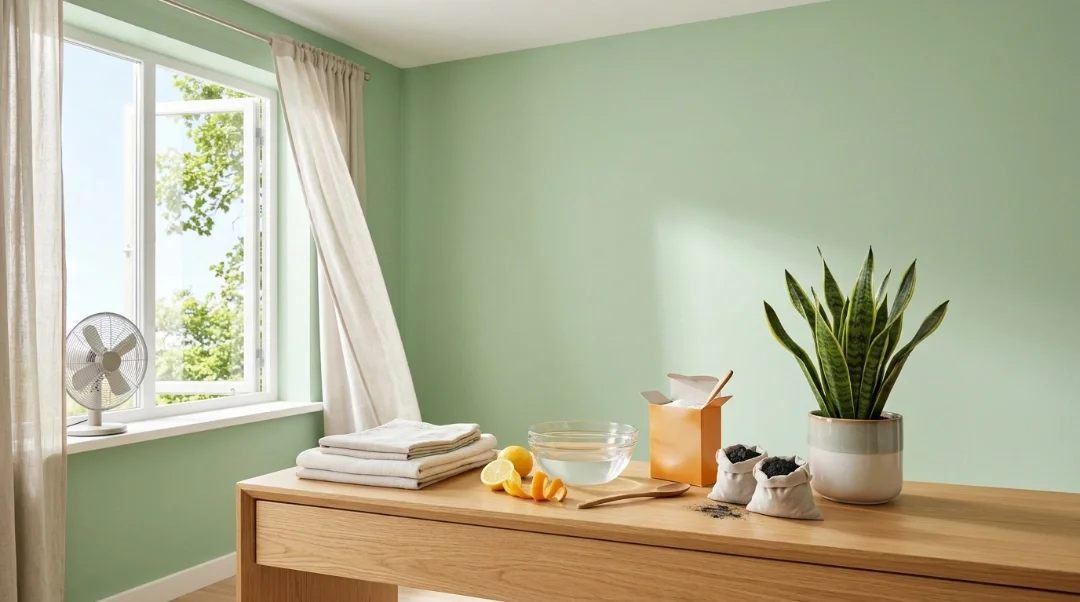
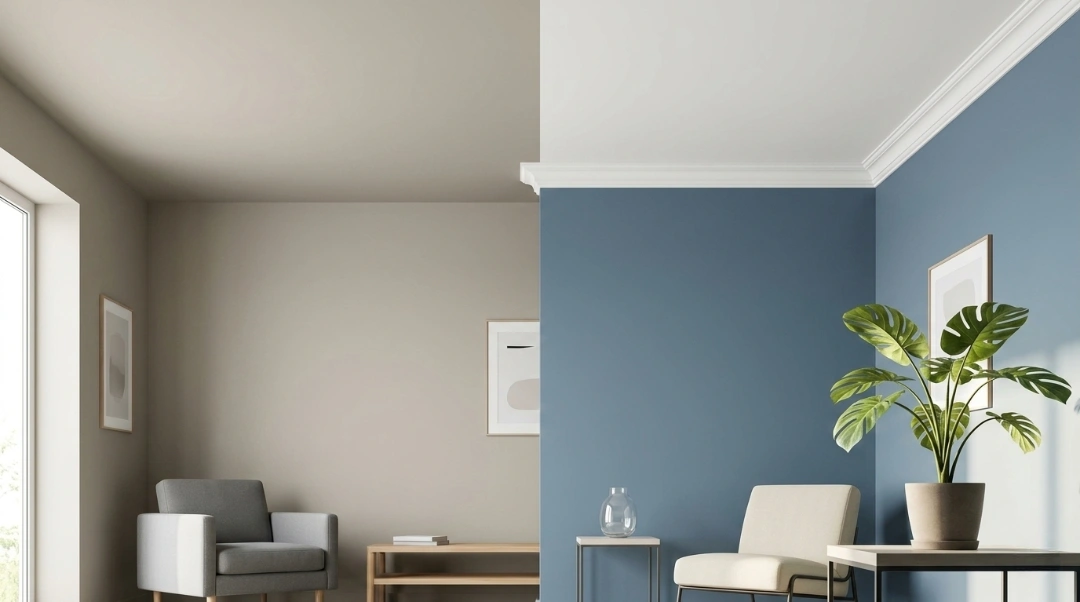
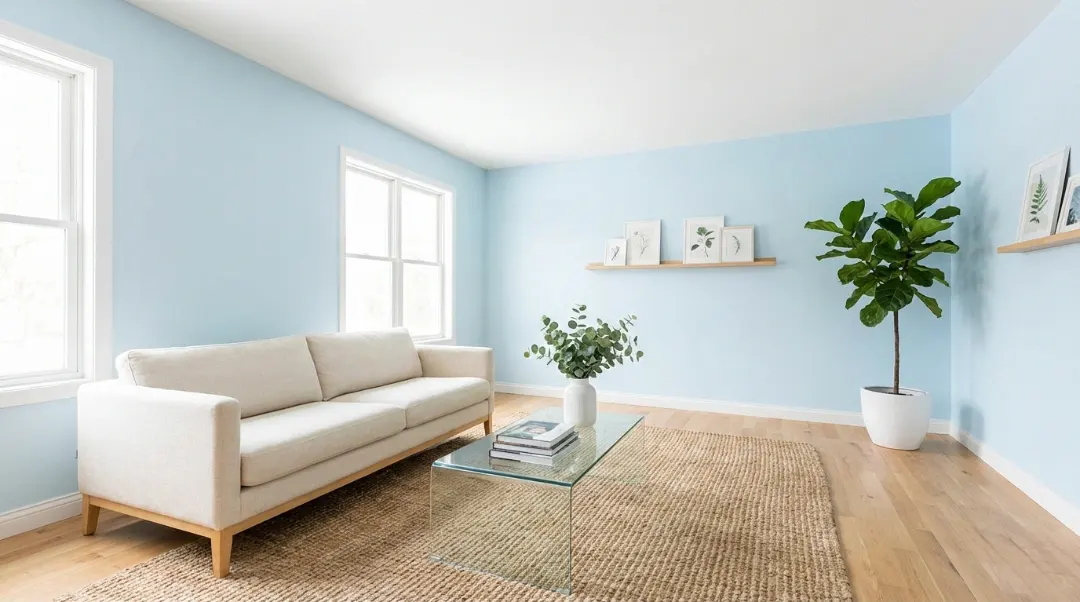
What Color to Paint Wood Paneling?
White and off-white shades are the most popular choices for painted wood paneling because they open up the room and create a clean, modern look. Light grays, warm creams, and muted navy blues also work well depending on the room’s natural light and furniture.
Before committing to a color, buy a small sample and test it directly on a primed section of the paneling. Wood grain can slightly alter how a color reads on the wall compared to a flat paint chip.
Here are some directions worth considering:
- White or off-white (e.g., Chantilly Lace, Simply White): Brightest result, great for low-light rooms and basements.
- Warm gray or greige (e.g., Revere Pewter, Agreeable Gray): Neutral and versatile, works with almost any furniture style.
- Deep navy or charcoal: Bold choice for a home office or library feel. Works best in rooms with good natural light.
- Soft sage or clay: Trending in 2024-2025 interiors for earthy, relaxed spaces.
Cost to Paint Wood Paneling
Painting wood paneling yourself typically costs between $50 and $150 in materials for an average-sized room (roughly 12×12 feet). Hiring a professional painter adds labor costs of $200 to $600 depending on room size and location.
Here’s a rough material cost breakdown:
- Primer (1 gallon): $20 to $45
- Interior paint (1 to 2 gallons): $30 to $70
- Roller covers and brushes: $15 to $25
- Sandpaper, spackle, caulk: $10 to $20
- Drop cloth and tape: $10 to $15
The total project time is typically 4 to 8 hours spread across two days. Day one covers cleaning, priming, and filling. Day two handles sanding, re-priming, and painting.
Common Mistakes to Avoid When Painting Paneling
These are the errors that turn a promising project into a repaint:
- Skipping primer. Paint will not adhere properly to raw wood paneling, especially veneer or laminate. Always prime first.
- Using spackle on seams. Spackle cracks at panel seams as the wood expands and contracts. Use caulk for seams, spackle for grooves.
- Not cleaning the surface. Grease and grime act as a release agent. Paint lifts right off a dirty surface.
- Applying thick, single coats. Two thin coats always look better than one thick one. Thick coats drip and dry unevenly.
- Painting wet wood. If you’ve cleaned with a wet cloth or worked in a humid basement, wait for the surface to fully dry before priming.
- Choosing the wrong sheen. Flat paint on paneling looks chalky and marks easily. Satin or eggshell gives a far better result.
Should You Paint or Remove Wood Paneling?
If the paneling is in good shape and you want to modernize the room quickly and cheaply, paint it. Take it down only if there is mold, water damage, or if you need to get to the wall to add insulation or wiring. Painting is usually the best thing to do.
Taking down paneling is untidy, takes a long time, and typically shows unfinished drywall that requires more patching and painting anyway. Painting is faster, cheaper, and doesn’t have that surprise at all.
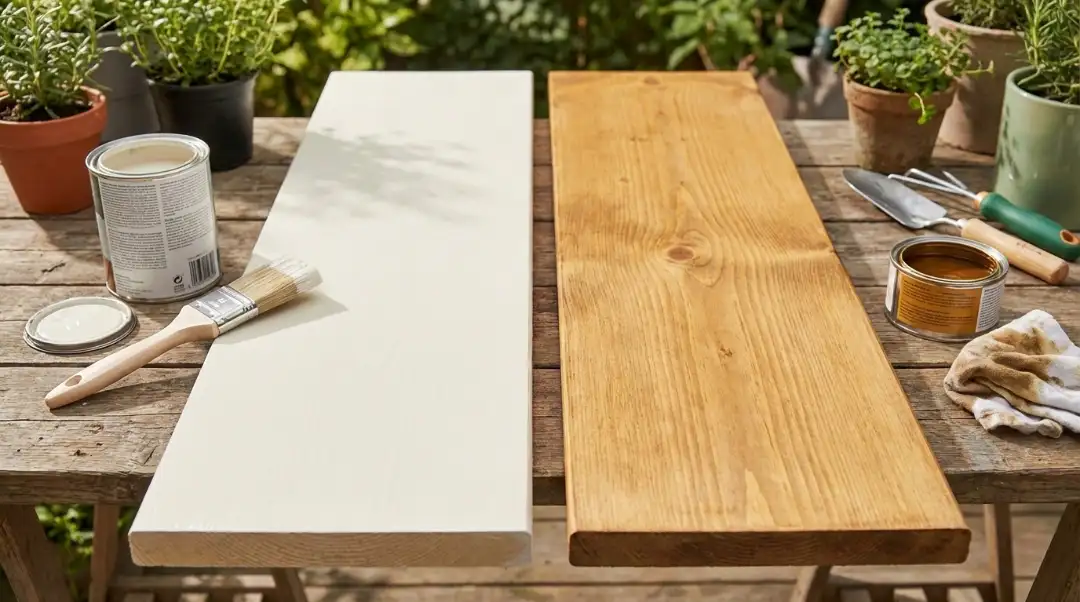
The results of the painted wood paneling before and after speak for themselves. With two days of work and less than $150 in materials, you can turn a dark-paneled basement into a bright, useful space.
How Long Does Painted Wood Paneling Last?
Properly painted and primed wood paneling holds up for 5 to 10 years before needing a refresh. The lifespan depends on room traffic, humidity levels, and how well the surface was prepped. High-traffic rooms like hallways and kids’ rooms will show wear faster.
To keep painted paneling looking clean, wipe it down with a damp cloth and mild soap. Avoid abrasive cleaners. Touch up scuffs and chips with leftover paint before they grow into larger peeling areas.
Need Professional Help? We Can Handle It.
Not every homeowner wants to spend a weekend with a paint roller. If you’d rather have it done right the first time, our team at Inter Color Painting LLC handles interior painting from prep to final coat.
Check out our Interior Painting Services page to see what we cover and get a quote for your space. We serve homeowners across the Pacific Northwest, including full exterior and deck work.
If you’re also dealing with outdoor wood surfaces, read our recent post: Can You Paint Pressure Treated Wood Without Peeling? It covers everything you need to know before picking up a brush outside.
For outdoor projects in the Seattle area, our Deck Staining Contractors in Seattle WA team handles staining and sealing for decks, fences, and exterior siding.
Final Thoughts
It’s not hard to paint wood paneling, but you have to be patient. Eighty percent of the product comes from the preliminary work. If you do this perfectly, the painting will move swiftly.
If you’re doing this job on your own, make sure to follow the procedures in order, use the right primer for your paneling type, and don’t skip the second coat. The difference between before and after is worth every hour you put in.
And if you want a professional look from the start, Contact Inter Color Painting LLC is ready to help. Contact us through our Interior Painting Services page, and we’ll handle it from there.
Frequently Asked Questions
Can you paint directly over wood paneling?
No, you shouldn’t paint over wood paneling without first priming it. Paint won’t stick to raw paneling because it doesn’t have the right texture, and light paint colors will bleed through the wood tannins. First, clean the surface and put on a primer that stops stains from showing through. Let it dry, and then paint.
What kind of paint do you use on wood paneling?
The best paint for wood paneling is a waterborne alkyd interior paint, which cures to a hard, durable finish. Standard interior latex paint also works well. Use a satin or eggshell finish on walls and semi-gloss on trim pieces for easier cleaning and better durability.
Can you paint wooden panelling?
Yes, you can paint wooden panelling including hardwood, veneer, MDF, and faux wood surfaces. The process requires proper cleaning, the right primer for your material type, and at least two coats of interior paint. The end result can completely change a room.
How to paint wood paneling like a pro?
Most of your time should be spent getting ready. Clean well, fill in any holes with wood putty, seal the seams of the panels, put on two coats of the right primer, sand carefully between coats, and then paint two thin coats, starting at the top and working your way down. Before rolling the flat surfaces, use an angled brush to cut in the edges and grooves.
What are common panelling mistakes?
The most common mistakes are skipping primer, using spackle on panel seams instead of caulk, painting over a dirty or greasy surface, and applying one thick coat instead of two thin ones. Any of these will result in peeling, cracking, or uneven paint within months.
Can I paint panelling with emulsion?
Yes, you can paint panelling with emulsion (latex) paint, but it works best over a properly primed surface. Use a satin or mid-sheen emulsion rather than a flat matt finish for better durability and easier cleaning on paneled walls.