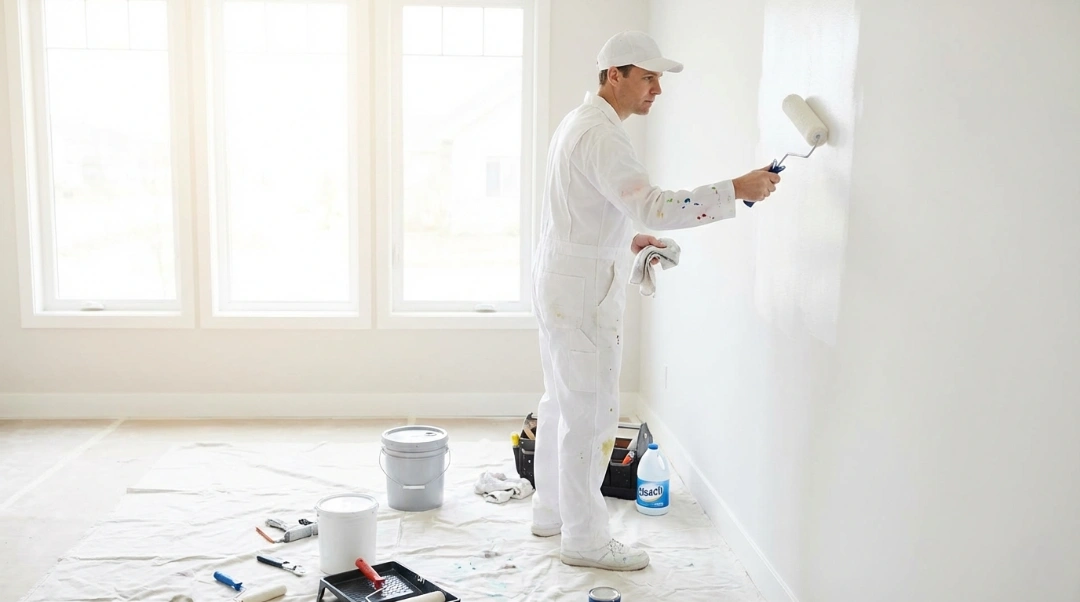
Staining a deck without cleaning it first is like painting over dust. It looks fine for a short time, then everything falls apart. Peeling stain, uneven color, and wasted weekends often trace back to poor prep.
If you want stain that soaks in, cures evenly, and survives weather, the surface must be clean, dry, and open. This guide explains how to clean a deck before staining using proven methods backed by building and wood-care authorities. No shortcuts. No guesswork.
Quick Answer: How to Clean a Deck Before Staining
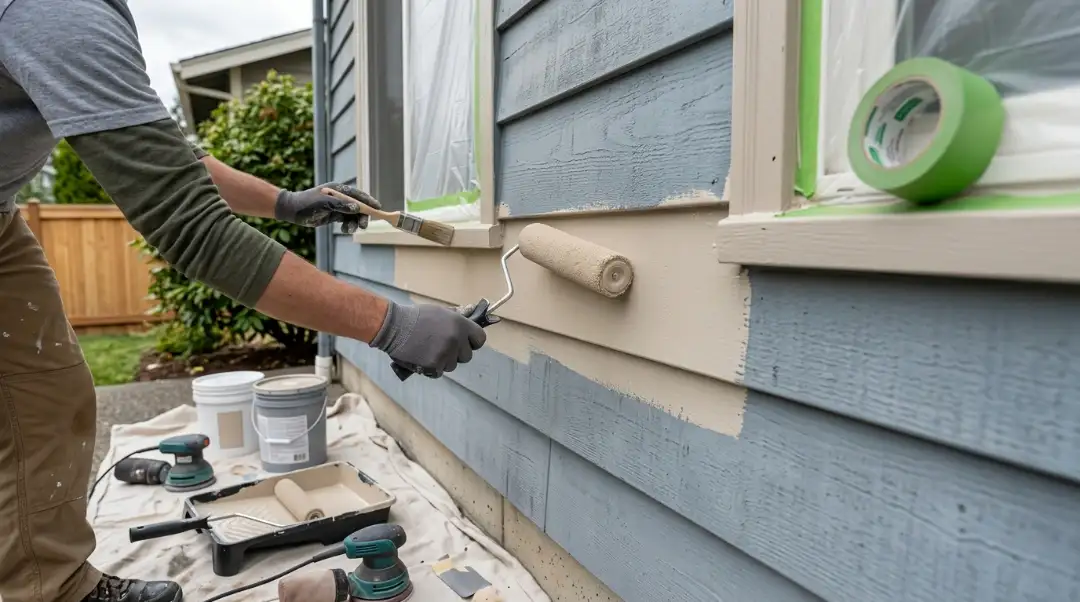
If you are in a rush, here is the “cheat sheet” for success. First, clear the deck and sweep away loose debris. Apply a high-quality deck cleaner before staining to break down dirt, mold, and old mill scale. Scrub the surface (or use a low-pressure power wash) and rinse thoroughly. Finally and this is the part people miss apply a wood brightener to balance the pH and open the wood pores. Let it dry for at least 48 hours before you even look at a can of stain.
Why Cleaning a Deck Before Staining Is Non-Negotiable
Think of wood like skin. It has pores. Over time, those pores get clogged with pollen, UV-damaged wood fibers, and microscopic mold spores. Even if the wood “looks” clean, it probably isn’t.
If you don’t do a deep washing a deck before staining, the stain cannot penetrate the wood fibers. It bonds to the dirt instead. When that dirt eventually washes away or shifts, your stain goes with it. Proper cleaning also kills “invisible” mildew. If you trap live mildew under a fresh coat of oil-based stain, you are basically giving that fungus a buffet. It will grow under the finish, turning your deck black from the inside out.
According to wood care experts at Forest Products Laboratory, surface preparation is the single most important factor in the lifespan of an exterior finish.
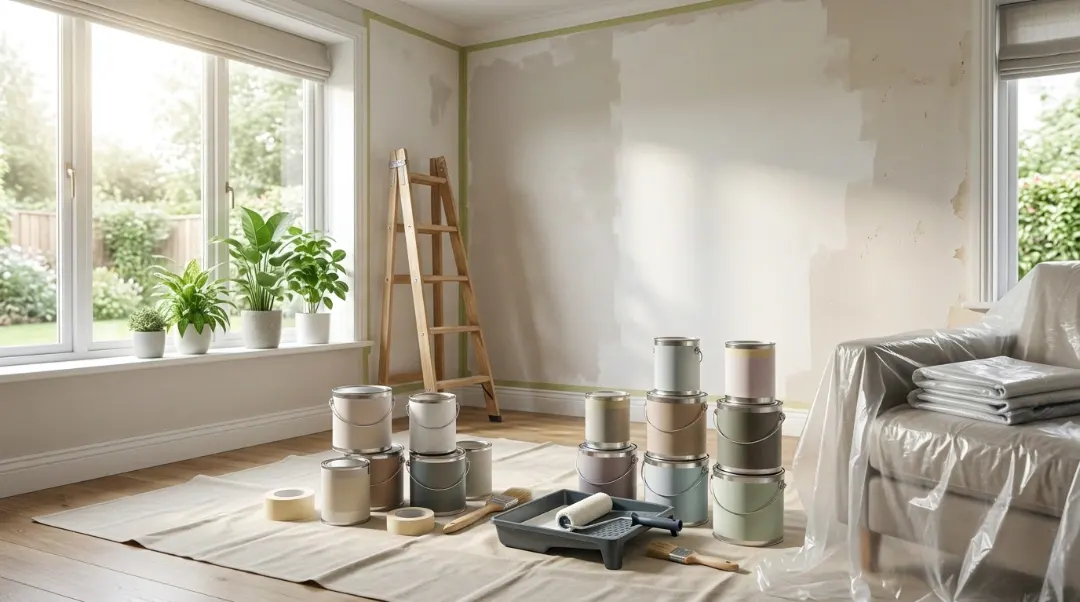
What You Need to Clean a Deck Before Staining
Before you get started, gather your supplies. Using the right chemistry makes this job 80% easier.
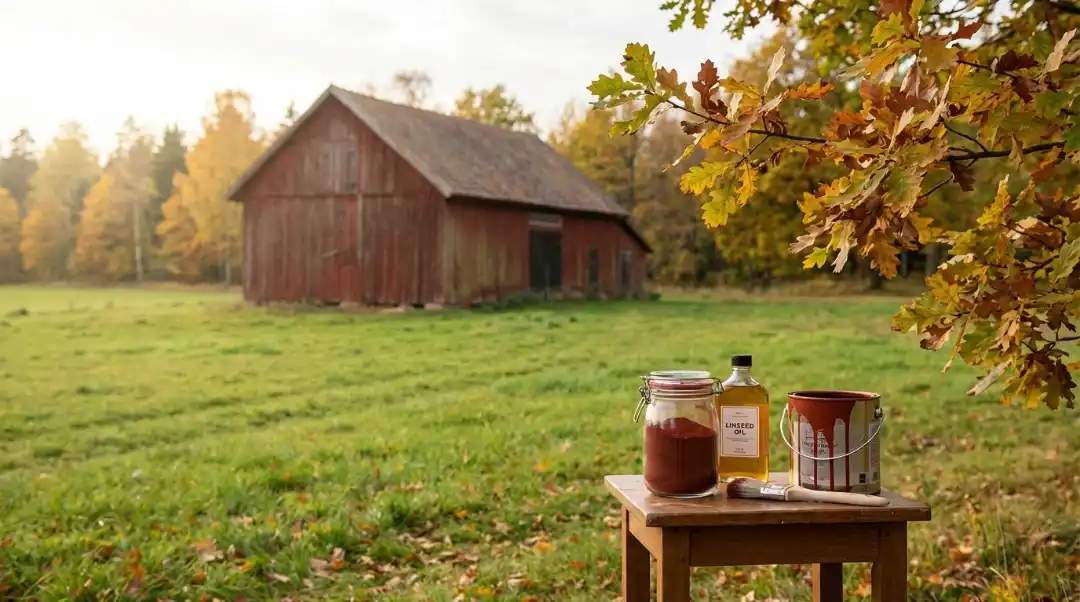
- The Cleaner: Avoid straight chlorine bleach. It kills plants and destroys the lignin (the “glue”) that holds wood fibers together. Instead, look for an oxygen bleach (sodium percarbonate) based cleaner.
- The Brightener: This usually contains oxalic or citric acid. It’s the “secret sauce” that makes wood look new and helps the stain stick.
- Stiff-Bristle Brush: Synthetic bristles work best. Avoid metal wire brushes, as they can leave tiny bits of metal in the wood that turn into rust spots.
- Pump Sprayer: A standard garden sprayer is the best way to clean deck before staining because it applies the chemicals evenly.
- Protection: Wear gloves and safety glasses. Even eco-friendly cleaners aren’t great for your eyes.
Step-by-Step: How to Clean a Deck Before Staining

Follow this sequence to ensure your wood is thirsty and ready for a new finish.
Step 1: Clear and Protect
Move your furniture, grill, and plants. Cover any delicate nearby shrubbery with plastic sheeting or, better yet, soak your plants with water before and after the process. Wet leaves won’t absorb the cleaning chemicals as easily.
Step 2: The Dry Sweep
Sweep the deck thoroughly. Get the leaves out from the cracks between the boards. Clogged gaps prevent airflow, which leads to rot.
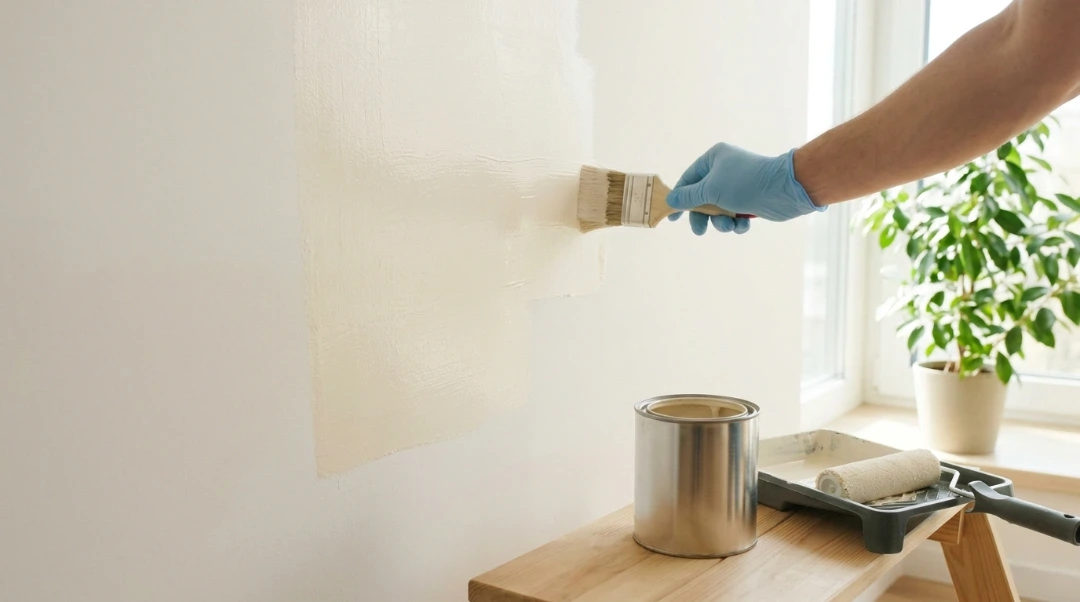
Step 3: Apply the Cleaner
Mix your deck cleaner before staining according to the label. Apply it to dry wood starting from the bottom up (if you have stairs) to avoid streak marks. Work in small sections so the cleaner doesn’t dry out. If it starts to dry, mist it with a little water. Let it sit for 10–15 minutes. This is where the chemistry does the heavy lifting, breaking down “gray” UV damage.
Step 4: Scrubbing and Washing
Use your brush to agitate the surface. You’ll see a disgusting “slurry” of gray gunk coming off. This is good that’s the dead wood fiber that was blocking your stain. When washing a deck before staining, use plenty of water to rinse until the bubbles stop.
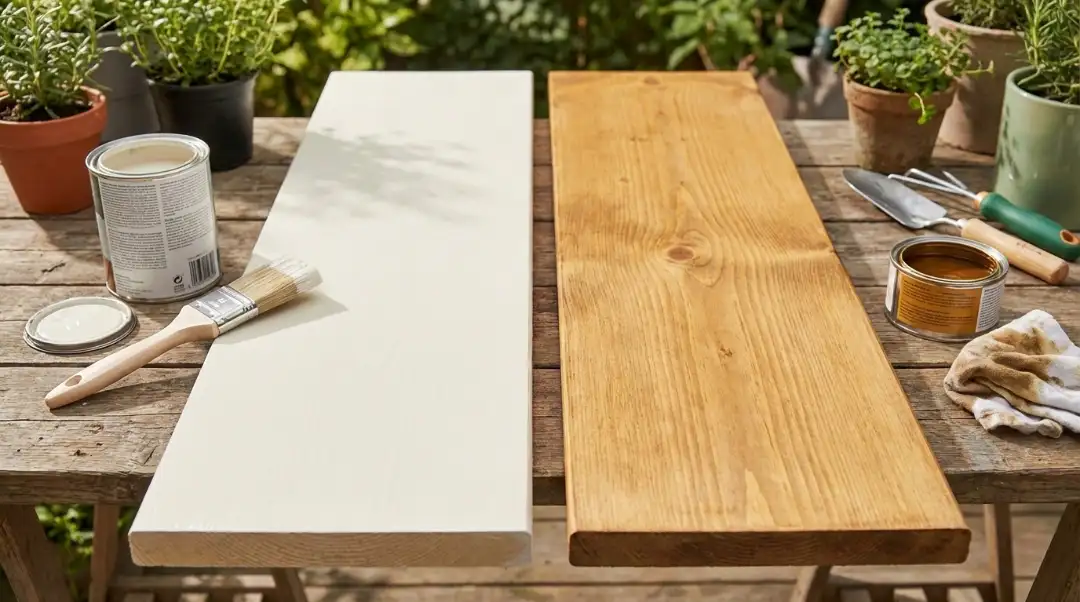
Step 5: Brighten the Wood
While the wood is still wet, apply your wood brightener. You will see an instant change. The wood will go from a dark, dull tan to a bright, “new” look. This step also re-opens the pores of the wood. Rinse one last time.
Step 6: The 48-Hour Rule
This is the hardest part: waiting. The wood must be completely dry. If you stain damp wood, you trap moisture inside, leading to rot and peeling. Use a moisture meter if you want to be a pro you’re looking for a reading below 15%.
Pressure Washer vs Scrubbing (Which One Should You Use?)
This is the great debate of the DIY world.
The Case for Scrubbing: Using a stiff brush is the safest how to wash a deck before staining method. It’s almost impossible to “ruin” your wood with a scrub brush. It takes more physical effort, but the results are consistent.
The Case for Pressure Washing: Pressure washers are fast and satisfying, but they are dangerous in the wrong hands. If the pressure is too high (anything over 1200 PSI for softwoods like pine), you will “fuzz” the wood. This creates a splintery mess that requires hours of sanding to fix.
The Verdict: If you use a pressure washer, keep the nozzle at least 12 inches away from the wood and keep it moving. Never use a “zero-degree” red tip it will carve your name into the wood like a laser.
How to Clean Different Types of Decks
Not all wood is created equal. Your approach should change based on what is under your feet.
Pressure-Treated Pine
This is the most common deck material. It’s soft and holds a lot of moisture. Be extra careful with pressure washers here. Pine often has “mill scale” (a crushed layer of fibers from the lumber mill) that must be cleaned off for the stain to penetrate.
Cedar and Redwood
These woods contain natural tannins. If you use a high-pH cleaner and forget the brightener, these woods will turn dark or black. Always use an acidic brightener on cedar to “set” the tannins and restore the color.
Ipe and Hardwoods
These woods are so dense they almost don’t want to stain. You need a specialized what to use to clean a deck before staining strategy here. Use a strong cleaner and consider a light sanding (80-grit) after cleaning to help the oil penetrate the dense grain.
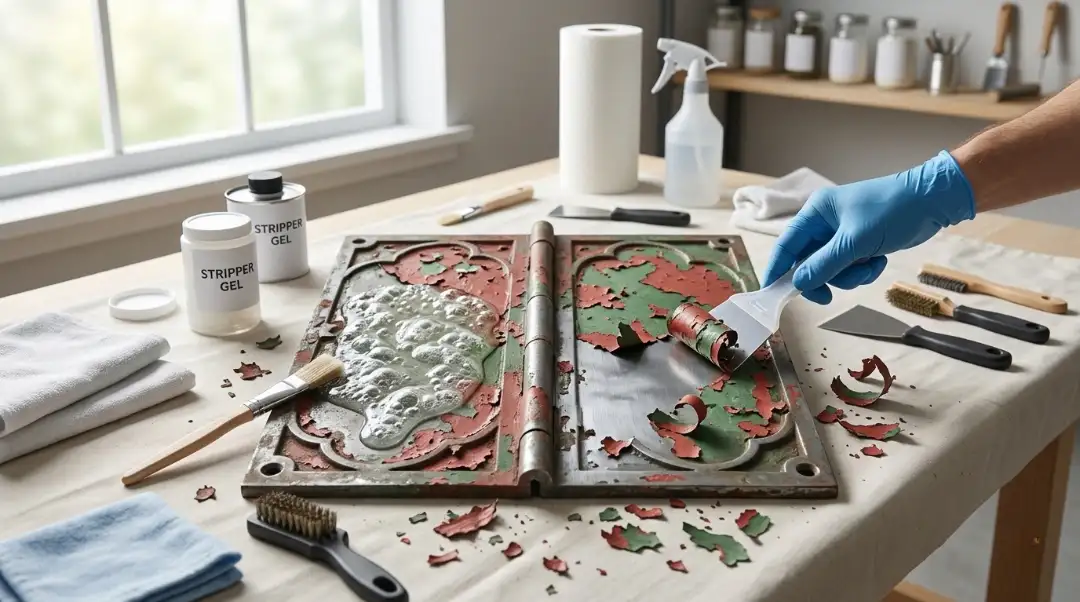
Removing Stain from Deck: When Cleaning Isn’t Enough
Sometimes a simple wash won’t cut it. If your old stain is thick, peeling, or a solid color, you are now in the world of removing stains from the deck.
Cleaning kills mold; stripping removes old film. If you are changing from a dark color to a light color, or if the old finish is flaking off in chunks, you need a chemical stripper. Apply the stripper, let it dwell, and then use a bit more “elbow grease” with your scrub brush. After stripping, you must use a brightener to neutralize the caustic chemicals.
Conclusion
Cleaning your deck is the difference between a job that looks great for five years and a job that looks terrible after five months. By choosing the right deck cleaner before staining, allowing for proper drying time, and not skipping the brightening step, you are setting yourself up for success.
It’s a lot of work, but the result a beautiful, rich finish that protects your home is worth the effort. If you find that your deck needs more than a simple weekend scrub, or if the Seattle rain has left your wood looking a bit too weathered, professional help is just a click away. At Inter Color Painting LLC, we specialize in professional deck staining services in Seattle, ensuring your outdoor space is prepped, cleaned, and stained to perfection.
Ready to revitalize your home? Get a Quote and Free Estimate from our expert team today!
FAQs
Can I use dish soap to clean my deck?
You could, but it’s like using a butter knife to cut down a tree. Dish soap isn’t formulated to kill mold spores or break down UV-damaged wood fibers. Stick to products designed for wood.
How long should I wait after rain to stain?
If it rains, the clock resets. Give the deck at least 48 hours of clear, dry weather before applying stain.
What happens if I don’t rinse the cleaner off well enough?
The leftover chemical residue will react with your stain, often causing it to stay tacky or never dry properly. Rinse until you see no more suds.
Do I need to sand after cleaning?
Usually, no. However, if the cleaning process raised the “grain” and made the wood feel fuzzy or splintery, a light sanding with 80-grit sandpaper will make the finish much smoother.