Painting vinyl cladding is a popular way to give a home a fresh new look without replacing the siding. But not all vinyl cladding is easy to paint, and using the wrong paint or tools can cause problems like peeling, fading, or warping. If you are wondering Can you paint vinyl cladding?, the short answer is yes but it needs the right prep, paint, and timing.
In this guide, we’ll walk you through everything from choosing the right vinyl siding paint to understanding weather conditions for painting vinyl. We’ll also explain the difference between DIY vinyl cladding painting and professional vinyl cladding painting, plus the real costs to paint vinyl siding. This post is written in simple, clear language so anyone can follow along and make the best decision for their home.
Table of Contents
ToggleWhat is vinyl cladding?
Vinyl cladding is a type of plastic siding that covers the outside of houses. It is lightweight, durable, and comes in many colors and styles. Many homes use vinyl cladding because it is easy to clean and does not need painting as often as wood.
Vinyl cladding is made from PVC (polyvinyl chloride), which is a strong plastic. This material is designed to resist fading, cracking, and water damage. It is also very low maintenance. However, because it is plastic, it expands and contracts with heat. This is important when you consider painting it.
If you want to change the color of your home or refresh faded siding, painting vinyl cladding can be a good option. But you must use the right products and steps to avoid damage.
Can You Paint Vinyl Cladding?
Yes, you can paint vinyl cladding, but it must be done correctly. Painting vinyl siding is not like painting wood. Vinyl expands in the heat and can warp if the paint absorbs too much heat. That is why vinyl-safe paint and proper preparation are key.
Why people paint vinyl cladding
- Color change: Vinyl siding may only come in certain colors. Painting lets you choose a new color.
- Faded siding: Over time, sunlight can fade vinyl. Paint can restore the look.
- Home upgrades: Painting can improve curb appeal and increase home value.
The important rules
- Use vinyl-safe paint
Vinyl siding needs paint that is flexible and designed to move with the material. Using regular exterior paint can cause cracking or peeling. - Avoid dark colors
Dark colors absorb heat and can cause the siding to warp. If you want a darker shade, choose a color with a high light reflectance value (LRV). - Proper cleaning and prep
Dirt, mold, and mildew must be removed before painting. If you skip prep, the paint won’t stick well.
So, while the answer is yes, you must follow the right steps. This is where vinyl siding preparation becomes the most important part of the project.
What Paint and Tools You Need
Before you start, you need the right gear. Using the wrong brush or cheap paint is the fastest way to a messy job. To get a professional look, you need tools that help the paint go on smooth and stick tight.
The Right Paint
You must use 100% acrylic latex paint. This is the only type that is flexible enough to move when the siding expands. Specifically, look for a “Vinyl-Safe” label. Brands like Sherwin-Williams and Benjamin Moore have specific lines made just for this. These paints ensure the vinyl paint adhesion is strong enough to last for a decade.
Essential Tools
- Pressure Washer or Scrub Brush: For vinyl siding preparation.
- Cleaning Solution: A mix of water, soap, and maybe a little bleach for mildew.
- Paint Sprayer: This is the best of all the tools for painting vinyl cladding. It gives a “factory finish” look.
- High-Quality Brushes: For the corners and edges.
- Painter’s Tape and Plastic Sheets: To protect your windows and doors.
- Primer: You usually need a specific primer for vinyl siding if the surface is very faded or if you are making a big color change.
Step-by-Step Painting Process
Painting vinyl cladding is not hard, but it must be done in the right order. Follow these steps for the best results.
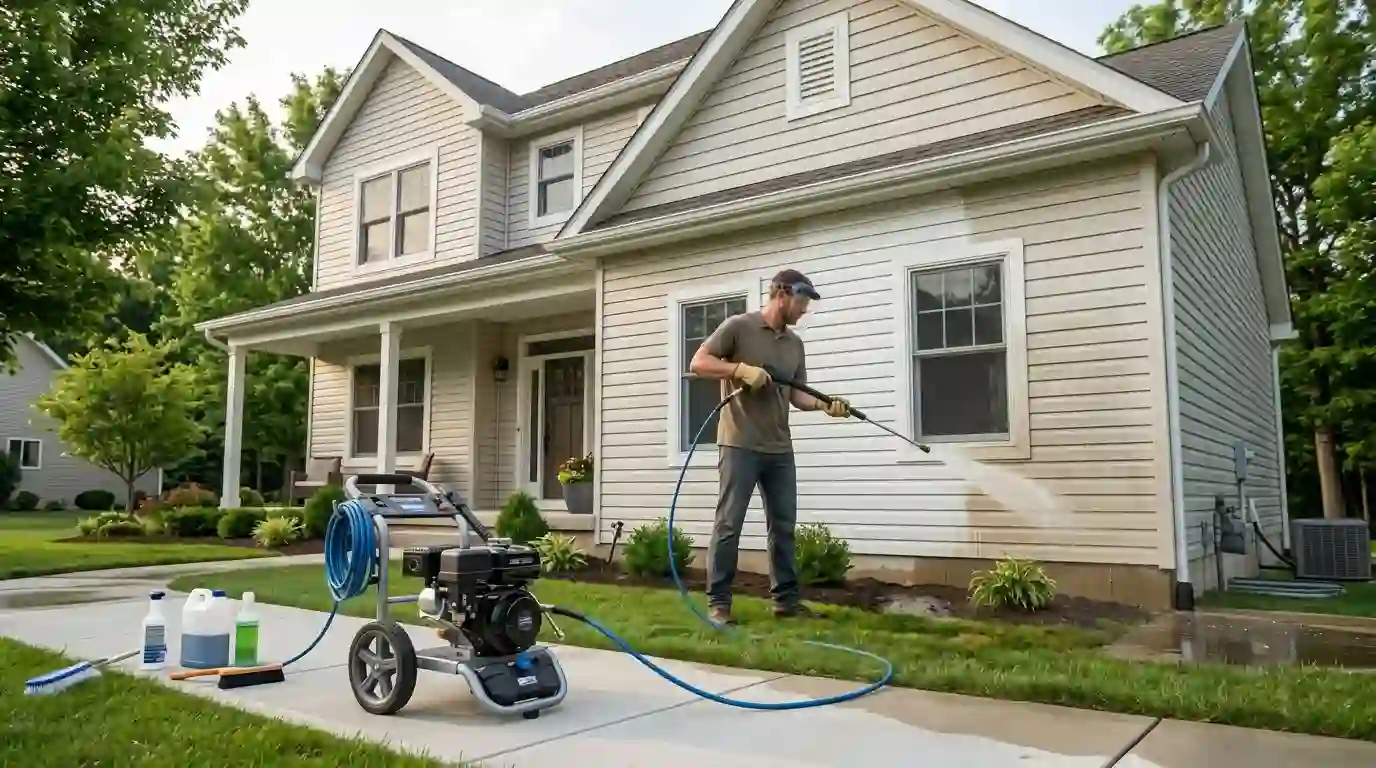
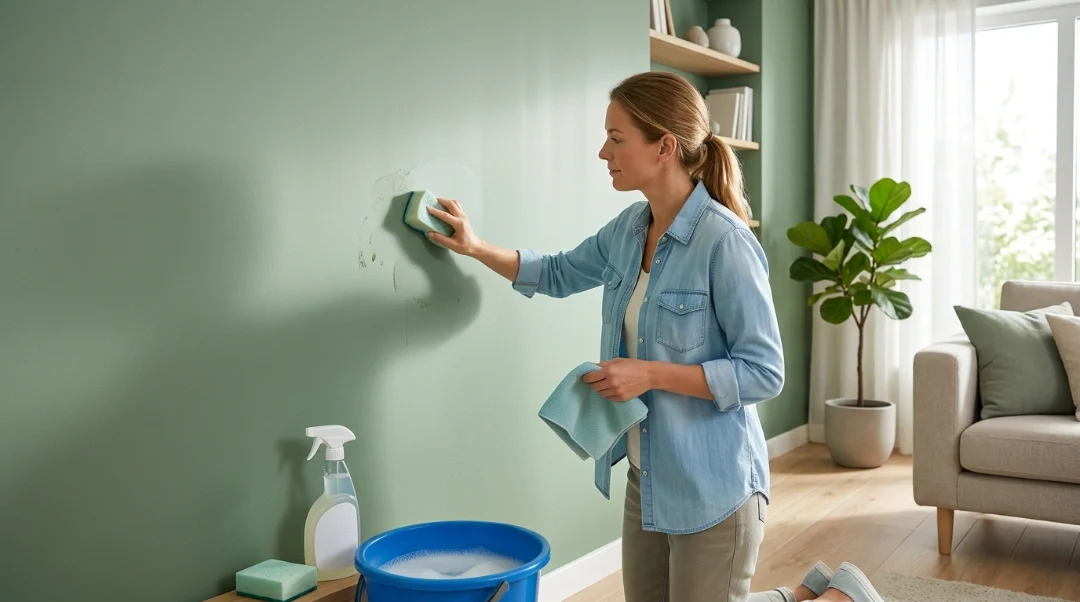
Step 1: Clean the Siding
The foundation of a great job is vinyl siding preparation. You must clean the vinyl thoroughly because dirt, mold, and spider webs prevent paint from sticking. Use a mild detergent mixed with water and a soft-bristled brush. If you see a white, powdery film, that is “chalking” from sun damage it must be scrubbed off completely. If you use a pressure washer, keep the pressure low to avoid driving water behind the panels, which can cause mold inside your walls.
Step 2: Check for Damage
Before opening a single can of vinyl siding paint, walk around your home and look for cracks, loose panels, or warped pieces. Fix any damage now. If the siding is loose, it will move too much, and the paint may crack or peel later. Professional results require a solid surface.
Step 3: Rinse and Dry
After scrubbing, rinse the siding with plenty of clean water. This is a crucial part of the process. Any leftover soap will ruin the vinyl paint adhesion. Once rinsed, you must let the siding dry completely. This usually takes 24 to 48 hours. Never paint damp siding, as moisture trapped under the paint will cause bubbles.
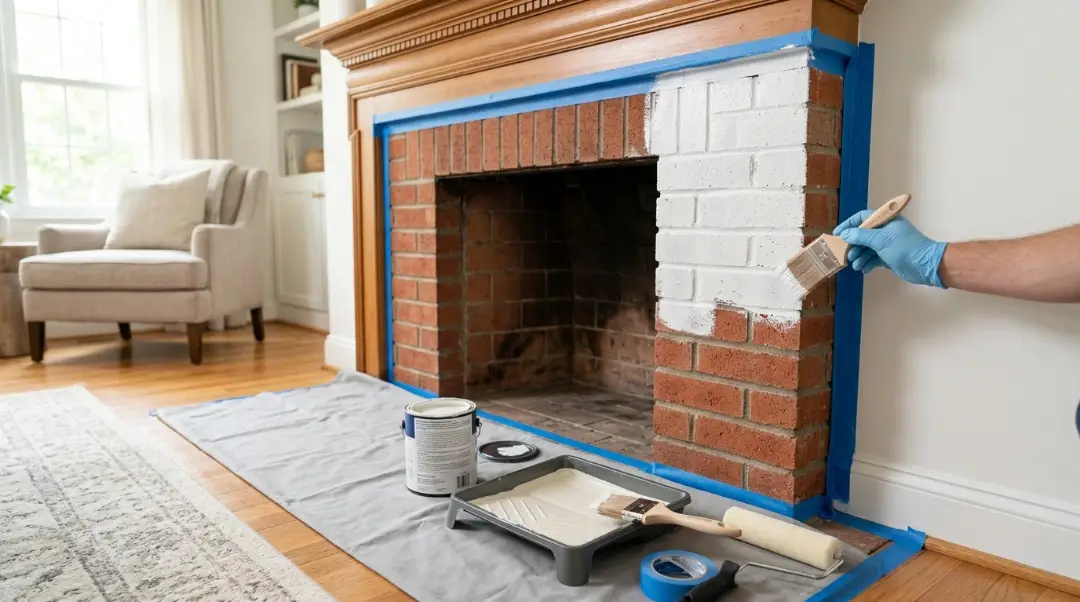
Step 4: Tape Off Windows and Trim
Use high-quality painter’s tape to protect your windows, doors, and light fixtures. Cover large areas like windows with plastic sheeting. Taking the time to do this now prevents a massive cleanup later and ensures your DIY vinyl cladding painting project doesn’t look like an accident.
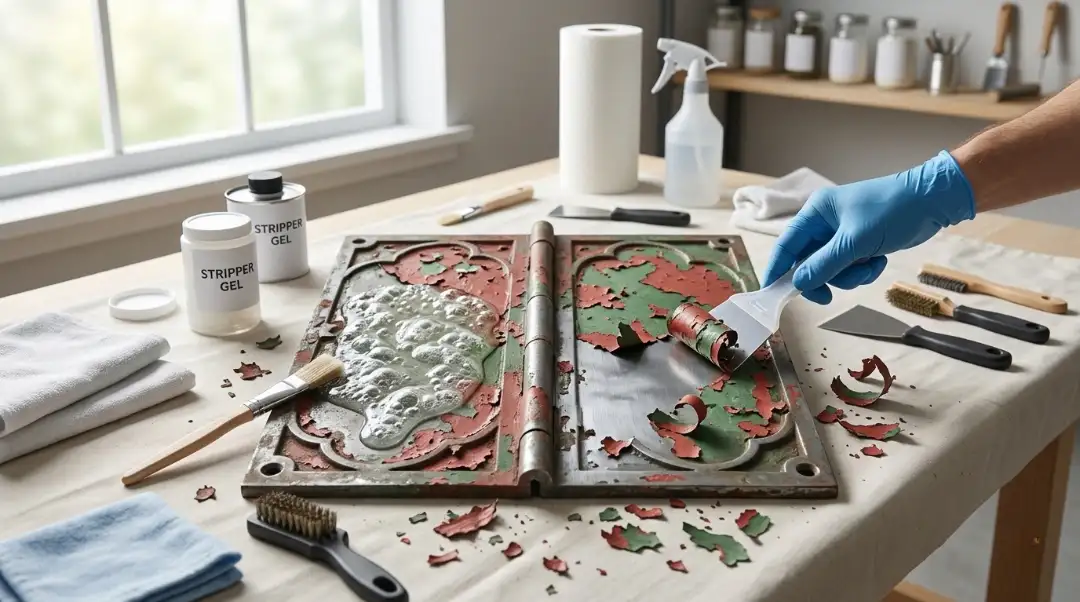
Step 5: Apply Primer (if needed)
Not every job needs it, but a specific primer for vinyl siding is a lifesaver if the original surface is very pitted, porous, or if you are making a drastic color change. The primer acts as a glue that helps the topcoat stay put. Let the primer dry fully based on the manufacturer’s instructions.
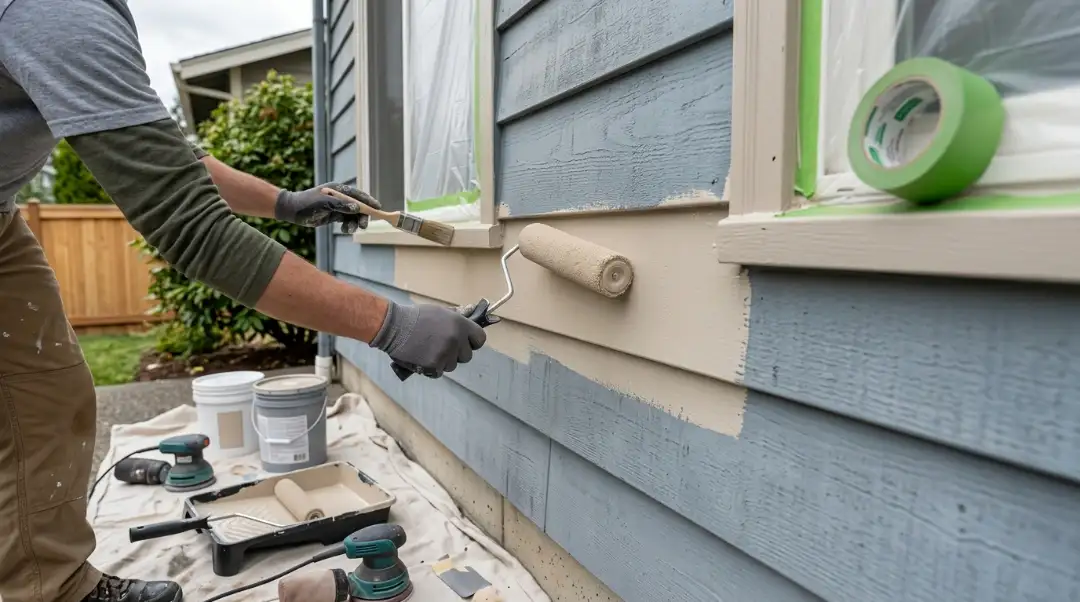
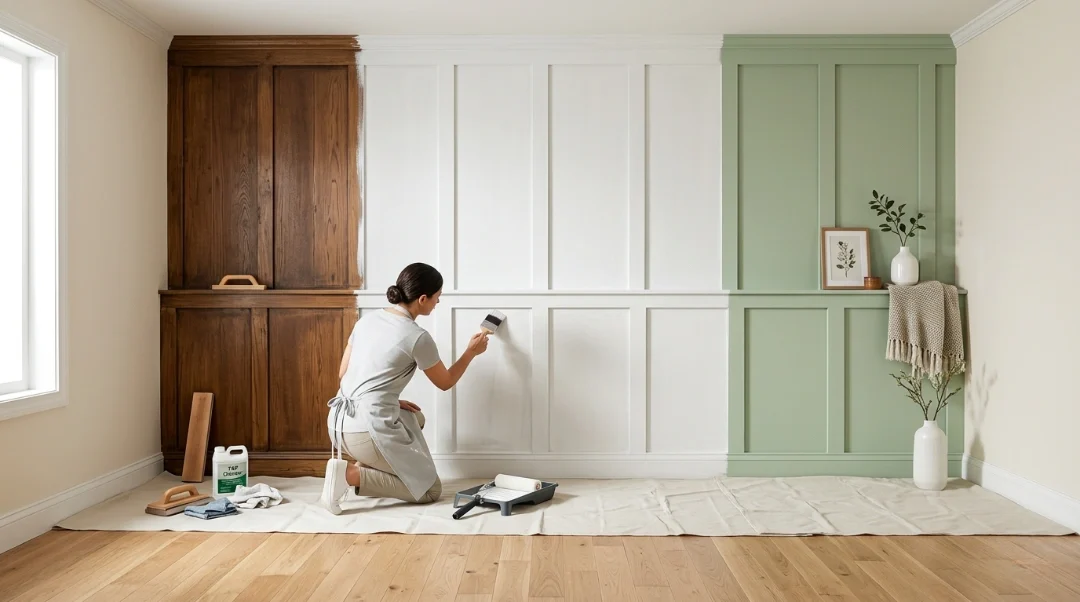
Step 6: Paint the Siding
Now it’s time for the vinyl-safe paint. For the smoothest look, a paint sprayer is among the best tools for painting vinyl cladding. If you don’t have a sprayer, a high-quality roller works too. Apply the paint in even strokes, always starting from the top of the house and working your way down. This allows you to catch any drips as you go.
Step 7: Apply a Second Coat
Most vinyl needs two coats for full, rich coverage. This is especially true if you are covering a dark color with a lighter one. Wait for the first coat to dry completely usually 4 to 6 hours depending on the weather conditions for painting vinyl before adding the second coat.
Step 8: Let it Cure
Once the second coat is on, the job isn’t quite finished. The paint needs to “cure,” which means it needs to harden and bond fully to the plastic. Avoid washing the house or leaning heavy objects against the siding for at least a few days.
Following these steps carefully helps prevent common issues like vinyl paint adhesion failure and the dreaded risk of warping paint on vinyl. When done correctly, your home will look like it has brand-new siding at a fraction of the cost.
Costs Explained
When looking at the costs to paint vinyl siding, it depends on whether you do it yourself or hire a team.
| Expense Category | DIY (Do-It-Yourself) | Professional |
| Paint & Materials | $600 – $1,200 (Includes vinyl-safe paint and primer for vinyl siding) | Included in total contract price |
| Equipment & Tools | $200 – $500 (Sprayer rental, brushes, ladders, tape, and cleaners) | Included (Industrial-grade sprayers and safety scaffolding) |
| Labor Costs | $0 (Your own time and sweat equity) | $2,500 – $6,000 (Expert application and prep work) |
| Time Commitment | 40 – 80+ Hours (Spanning multiple weekends) | 3 – 5 Days (Full crew efficiency) |
| Estimated Total | $800 – $1,700 | $3,500 – $8,000 |
| Warranty | None (You are responsible for any peeling or warping) | 3 – 10 Year Warranty (Guaranteed vinyl paint adhesion) |
Common Risks and How to Avoid Them
Even with the best intentions, things can go wrong. Understanding the risk of warping paint on vinyl is key to a long-lasting job.
- Warping: This happens when you use a color that is too dark. The dark color acts like a heater, melting the plastic underneath. Always check the Light Reflective Value (LRV) of your paint. Anything with an LRV lower than 55 is risky unless it is a certified “Vinyl-Safe” color.
- Peeling: Usually caused by bad cleaning. If you leave that “chalky” residue on the siding, the paint is basically sticking to dust, not the house.
- Buckling: If you paint when the siding is cold and contracted, and then it gets hot and expands, the paint might “bridge” the gaps between panels and cause them to pop out.
- Fading: Using cheap, non-acrylic paint will lead to the sun bleaching your home’s color in just a year or two.
To avoid these, always do a “scratch test” on a small, hidden area to make sure the paint is sticking before you do the whole house.
DIY vs Hiring a Professional
Should you tackle painting vinyl cladding yourself? It depends on your “skill vs. chill” ratio.
The DIY Case: If you have a one-story home, a lot of patience, and a tight budget, DIY is a great option. You get to control every detail, and there is a lot of pride in saying, “I did that!” However, you must be careful on ladders and be ready to spend many hours scrubbing and taping.
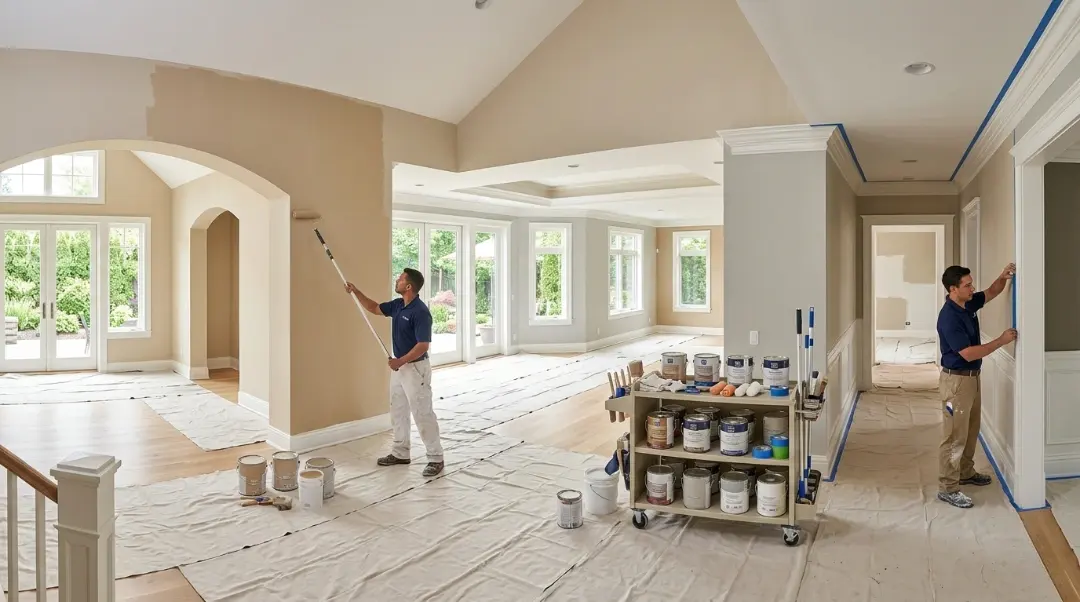
The Professional Case: If your home is two stories or higher, or if you simply don’t have the time to spend two weeks on a ladder, hiring a pro is the way to go. A professional team has the right sprayers to get into every nook and cranny. They also know exactly how to handle different weather conditions for painting vinyl to ensure the best results.
Conclusion
Yes, you can paint vinyl cladding, but it must be done the right way. Using the correct vinyl siding paint, proper vinyl siding preparation, and the right tools can make your home look fresh and new. Whether you choose DIY vinyl cladding painting or professional vinyl cladding painting, the key is to avoid risks like warping and poor adhesion.
If you want professional help or a free quote, don’t hesitate to Contact Us. With the right approach, painting vinyl cladding can be a smart and rewarding home upgrade.
FAQs
What kind of paint will stick to vinyl?
Paint that sticks to vinyl is 100% acrylic latex paint labeled as vinyl-safe.
This type of paint stays flexible, which allows it to expand and contract with vinyl without cracking or peeling. Using regular exterior paint or oil-based paint can lead to poor adhesion and early failure.
What paint can I use on plastic cladding?
For plastic or vinyl cladding, use vinyl-safe acrylic exterior paint or plastic-bonding paint.
These paints are made to adhere to smooth plastic surfaces and resist peeling, fading, and weather damage. A bonding primer may be needed if the cladding is old or heavily weathered.
Will paint peel off vinyl siding?
Yes, paint can peel off vinyl siding if it is not prepared or painted correctly.
Peeling usually happens when:
- The siding is dirty or not cleaned properly
- The wrong type of paint is used
- No primer is applied when needed
- Painting is done in poor weather conditions
When vinyl-safe paint and proper preparation are used, peeling is unlikely.
What paint will go over vinyl?
The best paint to go over vinyl is exterior 100% acrylic latex paint designed for vinyl siding.
This paint adheres well, remains flexible, and handles temperature changes better than standard exterior paints. Light to medium colors are recommended to reduce heat absorption.
Can you repaint vinyl cladding?
Yes, you can repaint vinyl cladding as long as the surface is clean, dry, and in good condition.
Repainting works best when:
- The original paint is not peeling
- Vinyl-safe paint is used
- Dark colors are avoided
- Weather conditions are mild
Repainting vinyl cladding is a common way to refresh faded siding without replacing it.
Can you paint over vinyl wallcovering?
Yes, you can paint over vinyl wallcovering, but only after proper preparation.
The surface must be:
- Firmly attached to the wall
- Clean and grease-free
- Lightly sanded to reduce gloss
- Primed with a high-adhesion primer
Without proper prep and primer, paint may not stick and can peel over time.