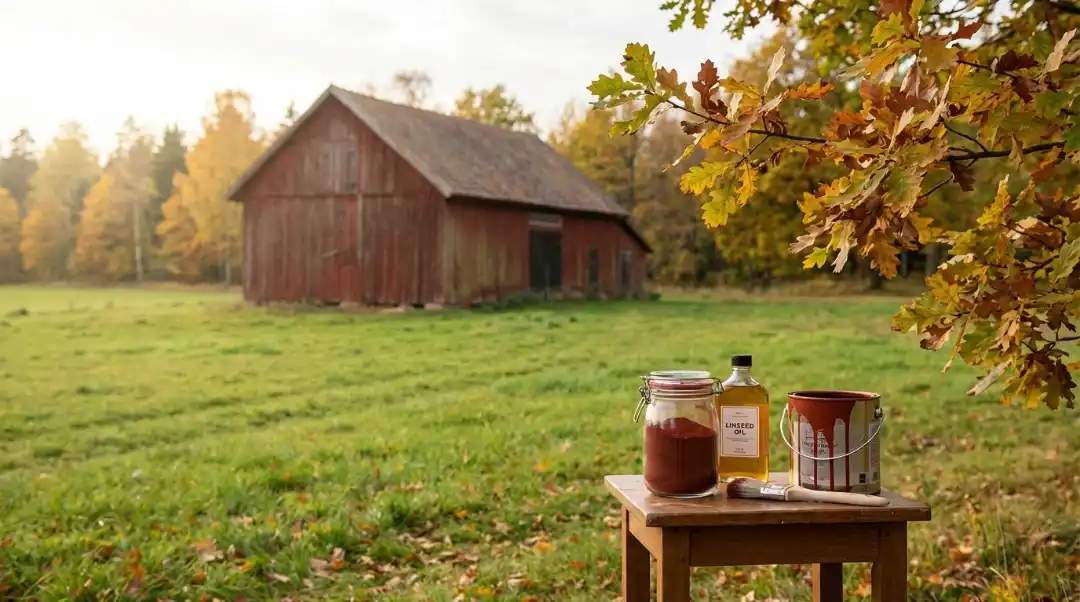
If you have ever built a deck, fence, pergola, or raised garden bed, chances are you used pressure treated wood. It is strong, affordable, and made to handle the outdoors. At some point though, most people ask the same question: can you paint pressure treated wood, or will it just peel and fail?
The short answer is yes, you can paint it. The long answer is that how and when you paint pressure treated wood makes all the difference. Done right, paint can protect and improve the look of treated lumber for years. Done wrong, it can start peeling in months.
This guide walks you through everything you need to know, based on real-world experience and manufacturer guidance, not guesswork. You will learn when treated wood is ready, what products actually work, and how to avoid the mistakes that cause most paint failures.
Table of Contents
ToggleWhat Is Pressure Treated Wood and Why It Acts Differently
Pressure treated wood is lumber that has been infused with preservatives to protect it from rot, insects, and moisture. The treatment process forces these chemicals deep into the wood fibers under high pressure. This is what makes treated lumber so durable outdoors.
Modern pressure treated wood is usually treated with copper-based preservatives such as ACQ or CA. These are safer than older formulas, but they still change how the wood behaves.
Fresh treated lumber holds a lot of moisture. That moisture is the main reason people run into problems when painting pressure treated wood. Paint does not stick well to damp wood, even if it feels dry on the surface.
This is why treated wood needs time and preparation before you even think about opening a paint can.
Can You Paint Pressure Treated Wood?
Yes, you can paint pressure treated wood, but only after it has dried properly and been prepped the right way.
Painting treated lumber too soon is the number one reason people think paint “doesn’t work” on it. In reality, the paint fails because moisture is trapped inside the wood and pushes the paint off as it tries to escape.
When the wood is ready and the right products are used, paint can last just as long on treated wood as it does on untreated exterior wood.
So if you are wondering can you paint pressure treated timber, the honest answer is yes, but patience matters more than anything else.
Why You Should Not Paint Pressure Treated Wood Right Away
Fresh pressure treated lumber can contain a surprising amount of water. Even boards that look dry can still be holding moisture deep inside.
If you paint too early, several problems show up:
- Paint starts bubbling or blistering
- Peeling begins within the first year
- Primer never fully bonds to the surface
- Mold and mildew can grow under the paint film
This is not a paint quality issue. It is a timing issue.
Most paint manufacturers clearly state that treated wood must be dry before painting. Ignoring that advice almost always leads to failure.
How Long Should Pressure Treated Wood Dry Before Painting?
There is no single drying time that works everywhere. Climate, wood thickness, and storage conditions all matter.
As a general guideline:
- In dry, warm climates: 2 to 3 months
- In humid or cooler climates: 4 to 6 months
- For thicker lumber or shaded areas: up to 12 months
Instead of relying only on time, use a simple water test. Sprinkle a few drops of water on the surface. If the water beads up, the wood is still too wet. If it soaks in within a few seconds, the wood is ready.
This step alone prevents most paint failures when painting pressure treated wood.
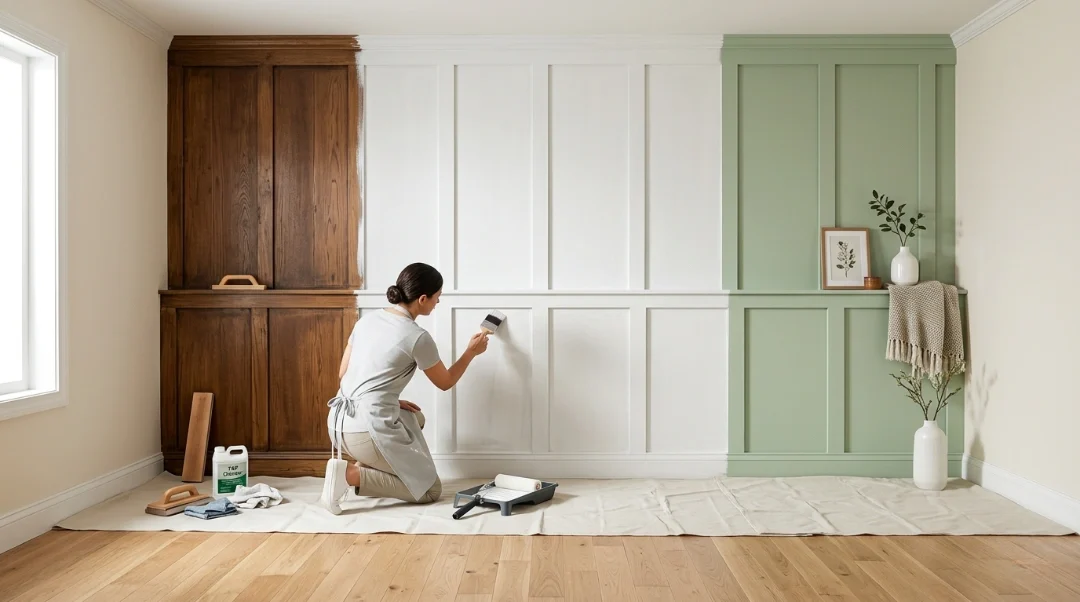
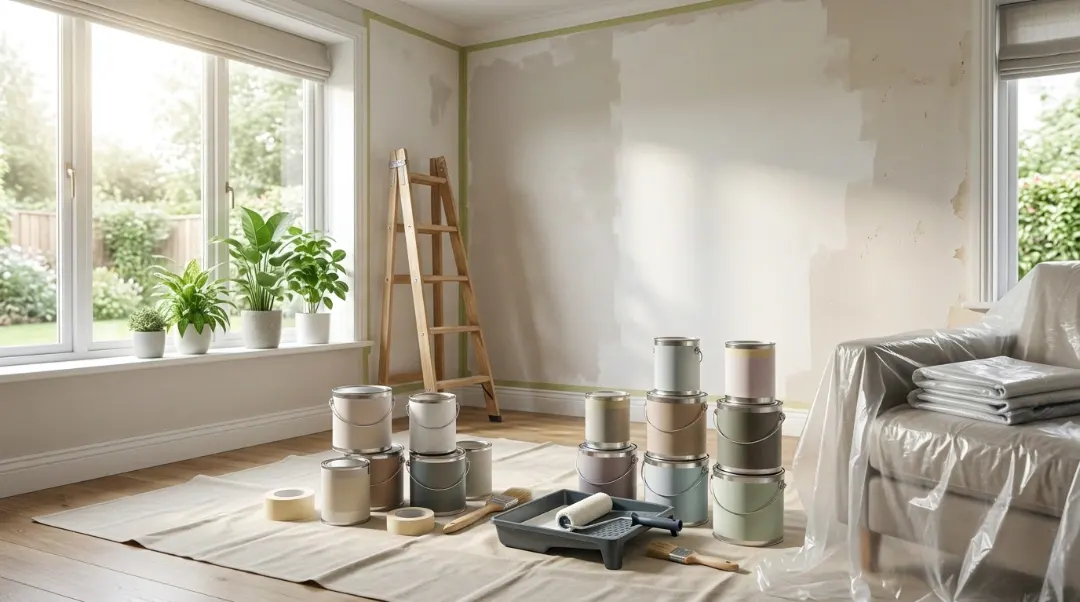
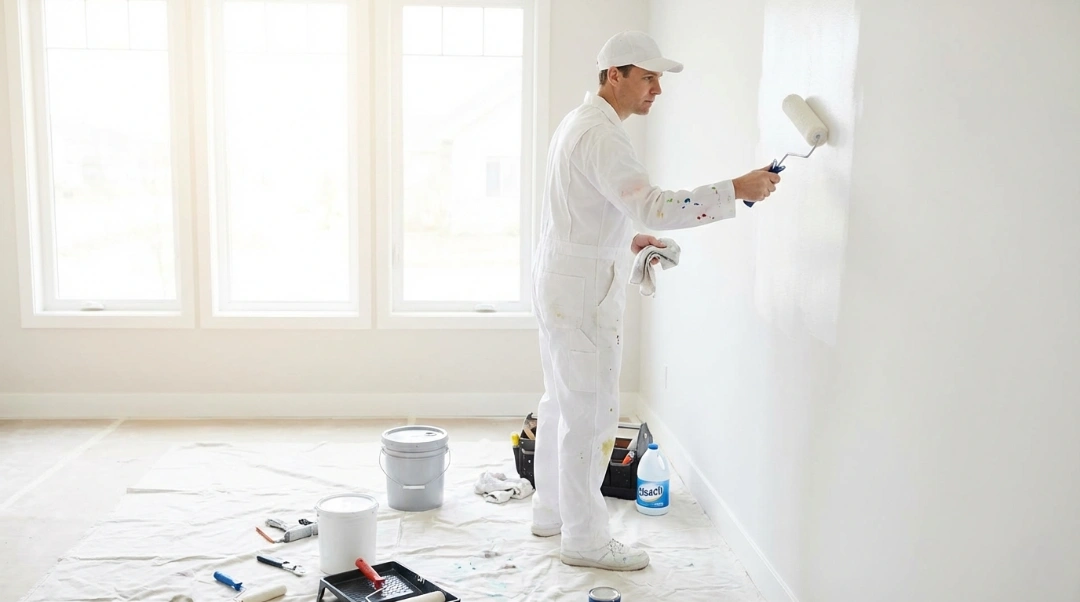
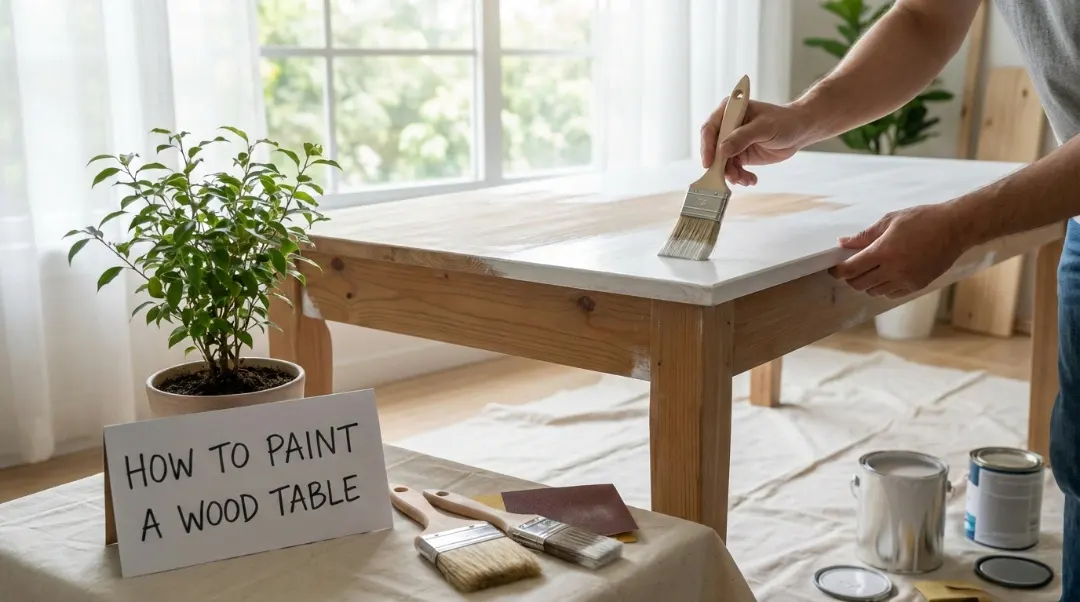
How to Paint Pressure Treated Wood the Right Way
Once the wood is dry, the real work begins. Skipping steps here usually means repainting sooner than you planned.
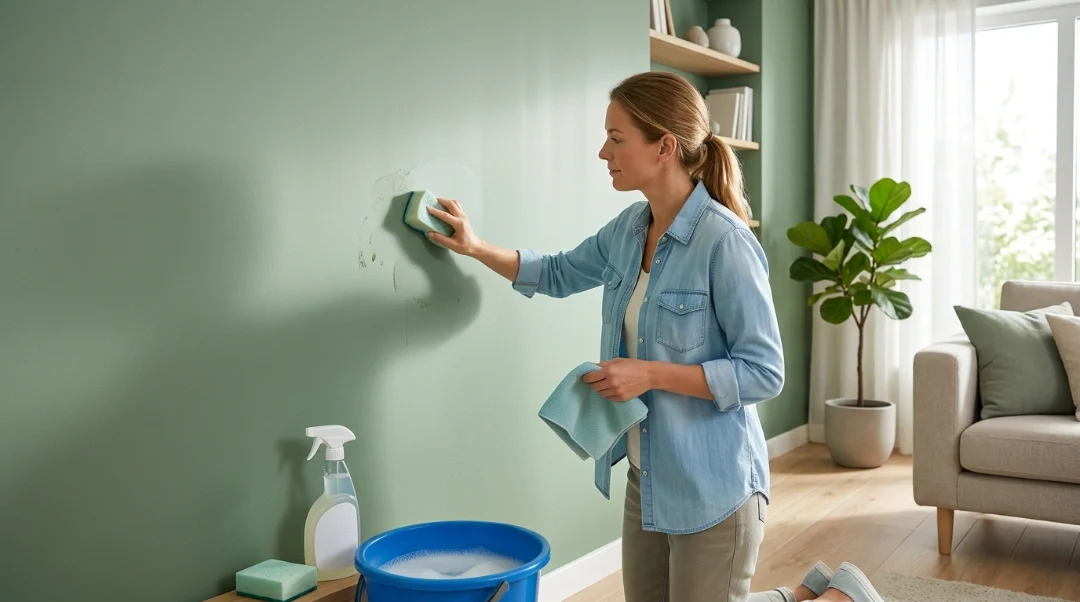
Step 1: Clean the Wood Thoroughly
Even new treated lumber needs cleaning. Dirt, sawdust, and surface residue can interfere with paint adhesion.
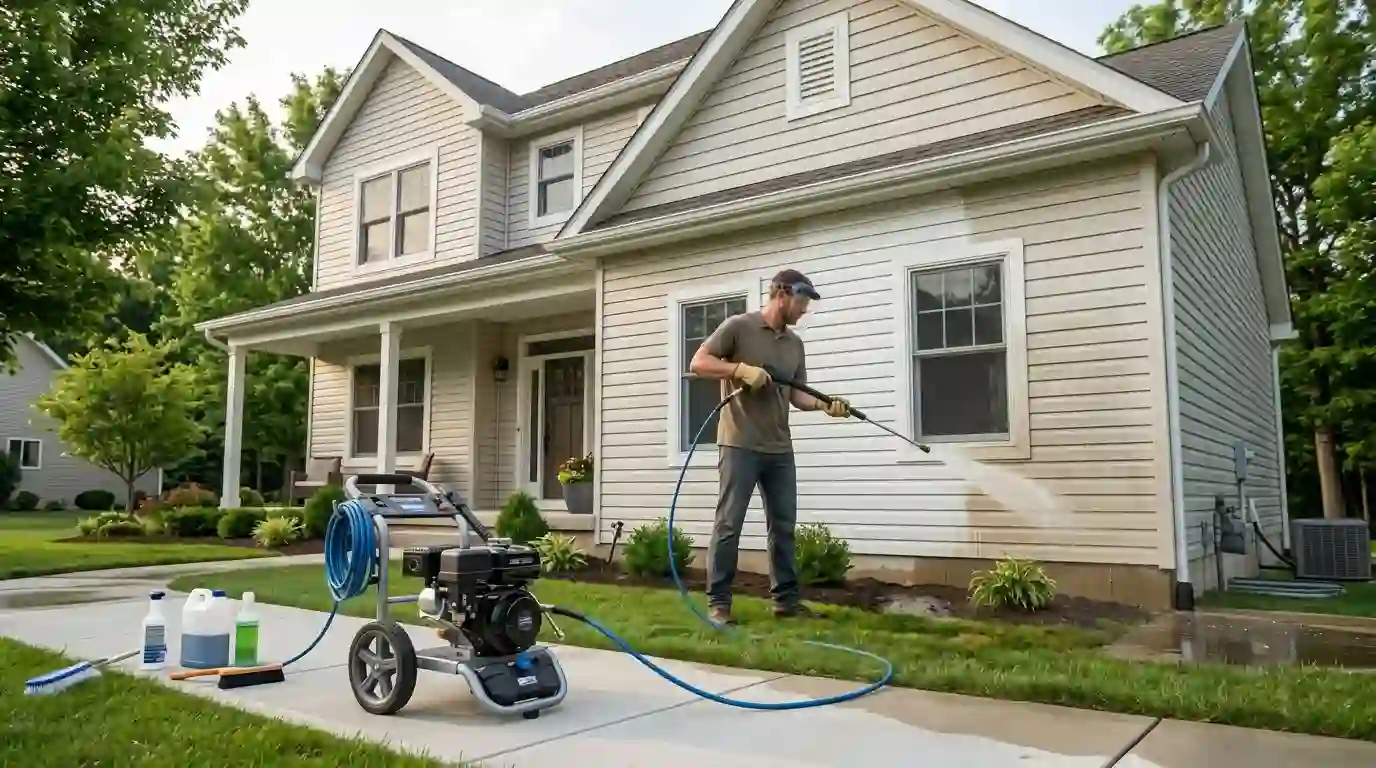
Use a mild detergent and water, or a dedicated exterior wood cleaner. A pressure washer can be used carefully, but keep the pressure low to avoid damaging the wood fibers.
Let the wood dry completely after cleaning.
Step 2: Sand Rough Areas
Pressure treated boards often have rough spots or raised grain. Light sanding helps smooth the surface and improves paint adhesion.
You do not need to sand aggressively. Focus on splinters, stamp marks, and rough edges.
Remove all dust before moving on.
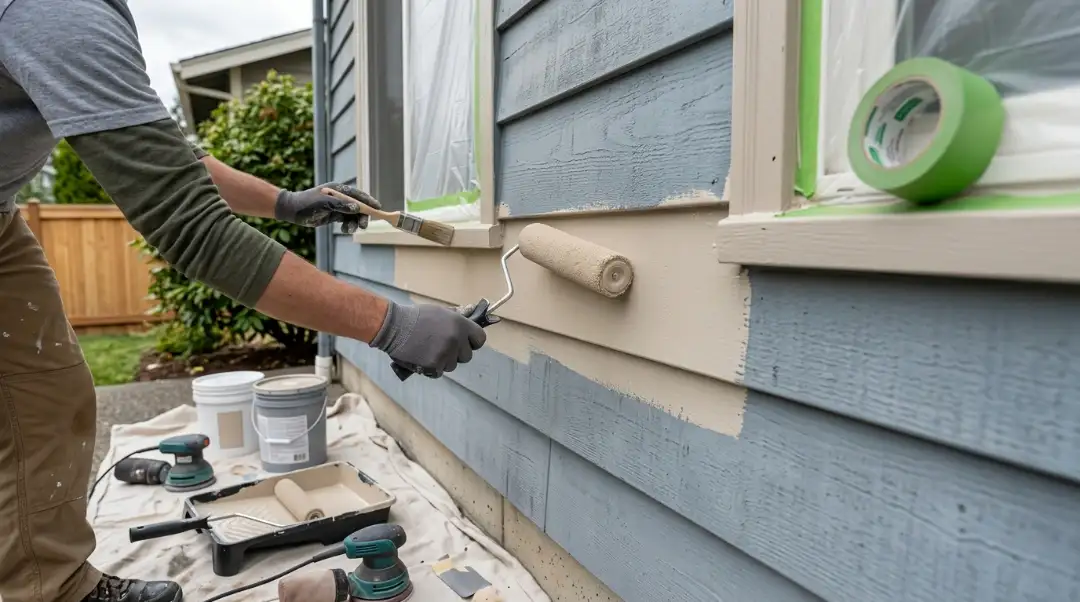
Step 3: Use the Right Primer
This step is non-negotiable.
An exterior paint primer for pressure treated wood is essential. Primer helps seal the surface, blocks tannins, and gives the paint something solid to bond to.
Latex-based exterior primers are usually the best choice for treated wood. Oil-based primers can work, but they take longer to dry and are less flexible.
Always check the primer label to confirm it is approved for pressure treated lumber.
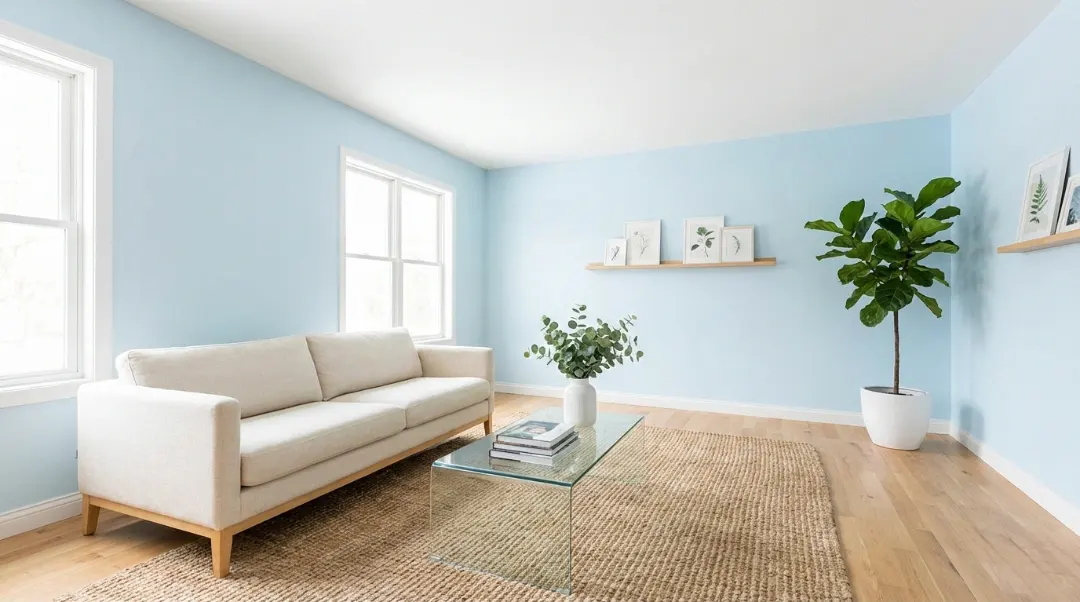
Step 4: Choose the Best Paint for Treated Wood
Not all exterior paints are equal. The best paint for treated wood is usually a high-quality acrylic latex exterior paint.
Acrylic latex paints:
- Flex with temperature changes
- Resist cracking and peeling
- Handle moisture better than oil-based paints
Avoid interior paints or bargain products. They will not hold up outdoors, especially on treated lumber.
If durability matters, this is not the place to cut corners.
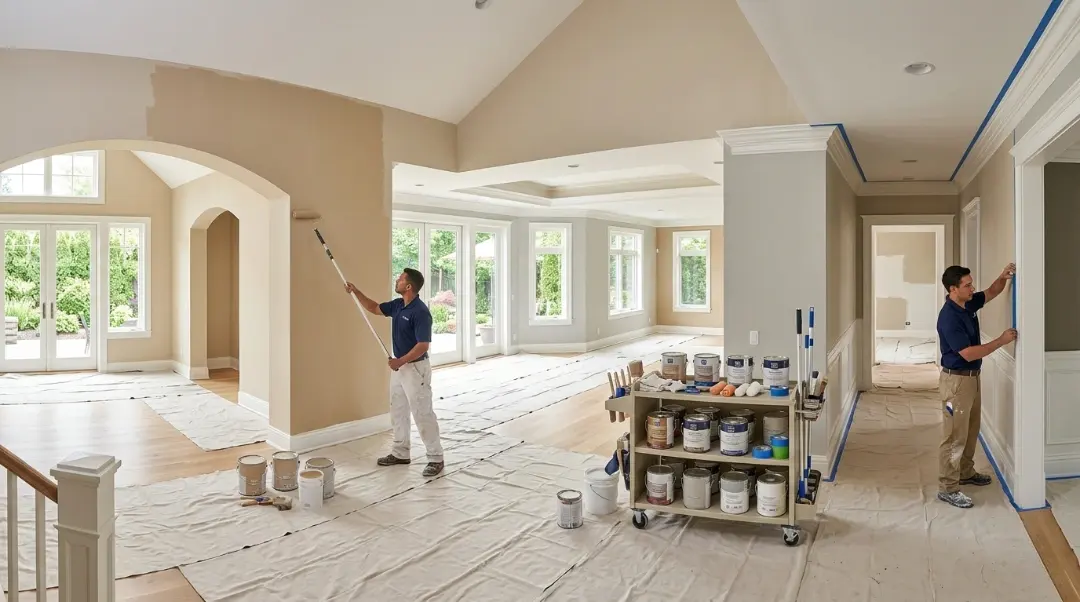
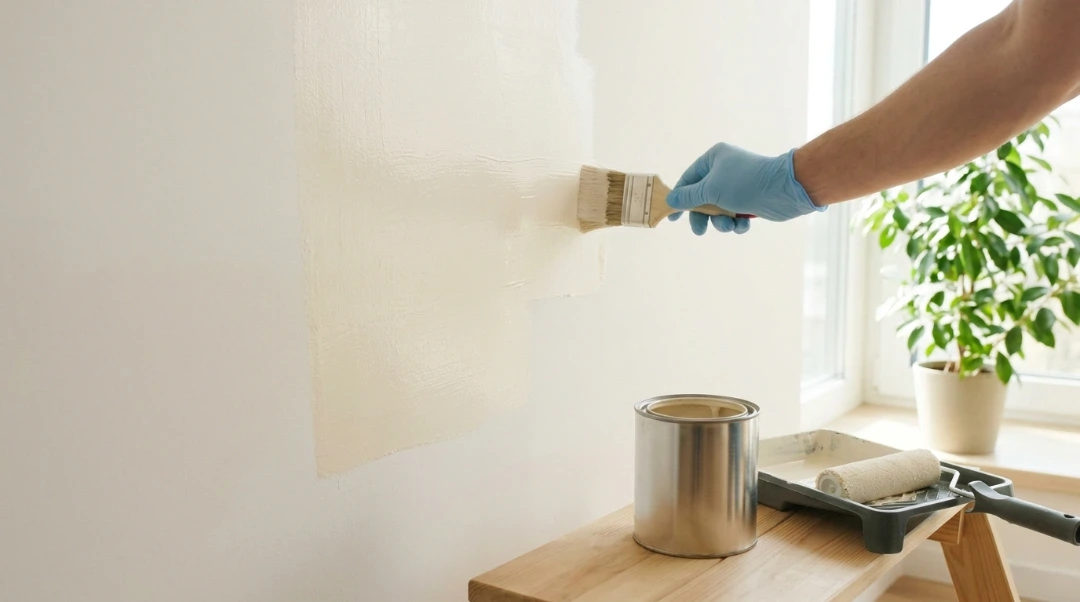
Step 5: Apply Paint Properly
Use a brush or roller for best results. Sprayers can work, but they often apply paint too thin unless you back-brush.
Apply two thin coats rather than one thick coat. Allow proper drying time between coats, following the manufacturer’s instructions.
Painting pressure treated wood is not about speed. It is about letting each layer cure properly.
Common Mistakes When Painting Pressure Treated Wood
Most failures come from a few predictable mistakes.
- Painting too soon: This is the biggest issue by far. Moisture trapped inside the wood will eventually push paint off.
- Skipping primer: Paint alone does not seal treated lumber well enough. Primer is what makes the system work.
- Using the wrong paint: Interior paint or low-quality exterior paint will fail quickly.
- Ignoring the weather: Painting in extreme heat, cold, or humidity affects how paint cures and bonds.
Avoid these mistakes and your results will last much longer.
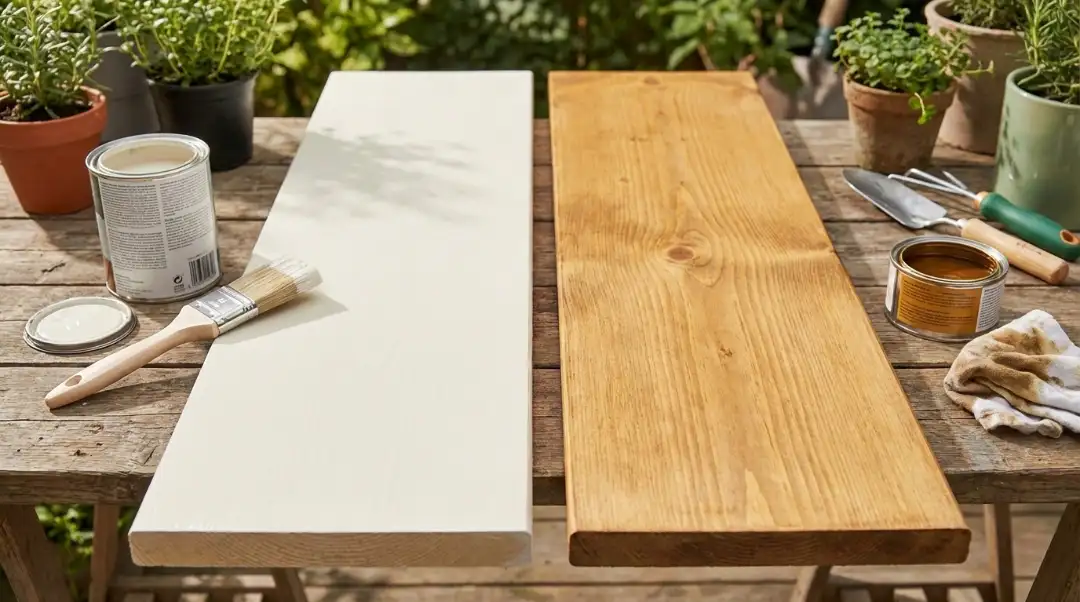
Should You Paint or Stain Pressure Treated Wood?
| Feature | Paint on Pressure Treated Wood | Stain on Pressure Treated Wood |
|---|---|---|
| Appearance | Solid, opaque color | Natural wood grain visible |
| UV Protection | Strong UV resistance | Moderate UV protection |
| Moisture Handling | Seals the surface | Penetrates into the wood |
| Maintenance | More prep and upkeep when it fails | Easier and quicker to reapply |
| Longevity | Generally lasts longer | Fades gradually over time |
| Best For | Full color control and uniform finish | Natural look with lower maintenance |
How Long Does Paint Last on Pressure Treated Wood?
When done correctly, paint on treated wood can last 5 to 10 years, sometimes longer.
Longevity depends on:
- Proper drying before painting
- Quality primer and paint
- Exposure to sun and moisture
- Regular maintenance
Horizontal surfaces like decks wear faster than vertical surfaces like fences. Touch-ups and occasional cleaning extend paint life significantly.
Conclusion
So, can you paint pressure treated wood? Yes, you absolutely can, as long as you follow the right process. The key takeaways are simple but important. Pressure treated wood needs time to dry, proper cleaning, the right exterior primer, and high-quality paint or stain designed for outdoor use. Rushing the job or skipping prep is what leads to peeling, bubbling, and early failure. Whether you choose paint for a solid, long-lasting finish or stain for a more natural, lower-maintenance look, preparation and patience are what determine the final result.
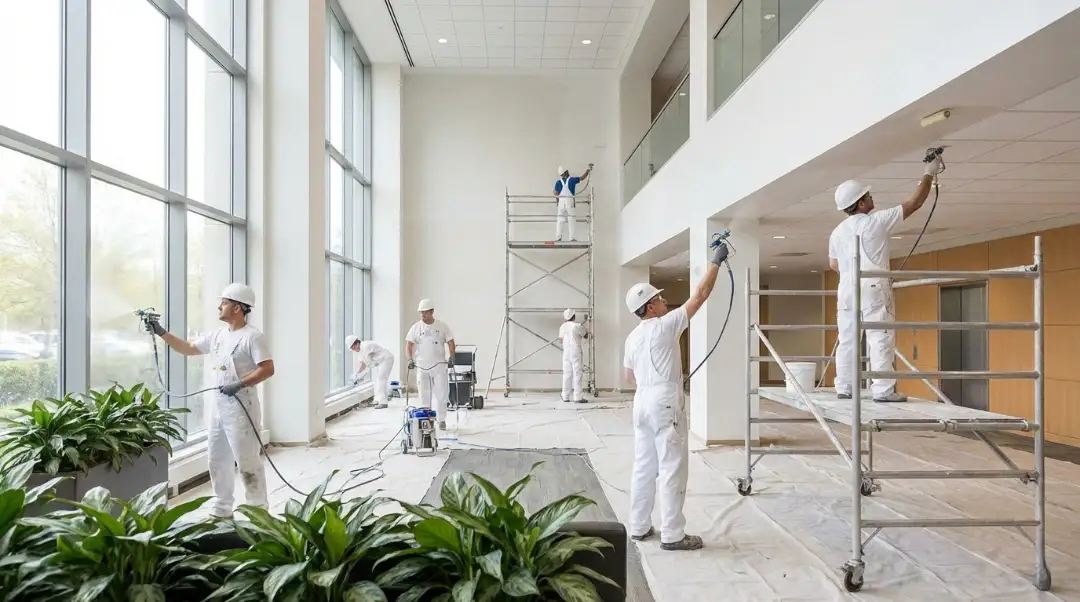
At Seattle Painting Experts, we see firsthand how the right approach can extend the life and appearance of decks, fences, and outdoor structures in the Pacific Northwest’s challenging climate. If you would rather leave the work to professionals who understand local weather conditions and treated wood best practices, our Deck Staining Services in Seattle are designed to protect your investment and keep your outdoor spaces looking their best.
Ready to refresh your deck or outdoor wood surfaces the right way? Contact Seattle Painting Experts today to schedule a consultation and get expert help that saves you time, money, and frustration.
FAQs
How long does pressure-treated wood need to dry before painting?
Typically 1–3 months, but humid climates may need up to 6 months. Always check with a moisture meter for accurate results.
Can I paint pressure-treated wood immediately after installation?
No. Even if it feels dry on the surface, internal moisture will cause the paint to fail.
What kind of paint is best for pressure-treated wood?
High-quality 100% acrylic exterior latex paint paired with an exterior latex primer.
Should I use solid stain instead of paint?
Solid stain is more breathable and easier to maintain on decks. Paint provides a more solid color finish and works great on fences and posts.
Can I paint pressure-treated wood in winter?
Not recommended. Low temperatures prevent proper curing.
What is the best way to check if it’s dry enough to paint?
Use a moisture meter. Your target is 12–15% moisture content.