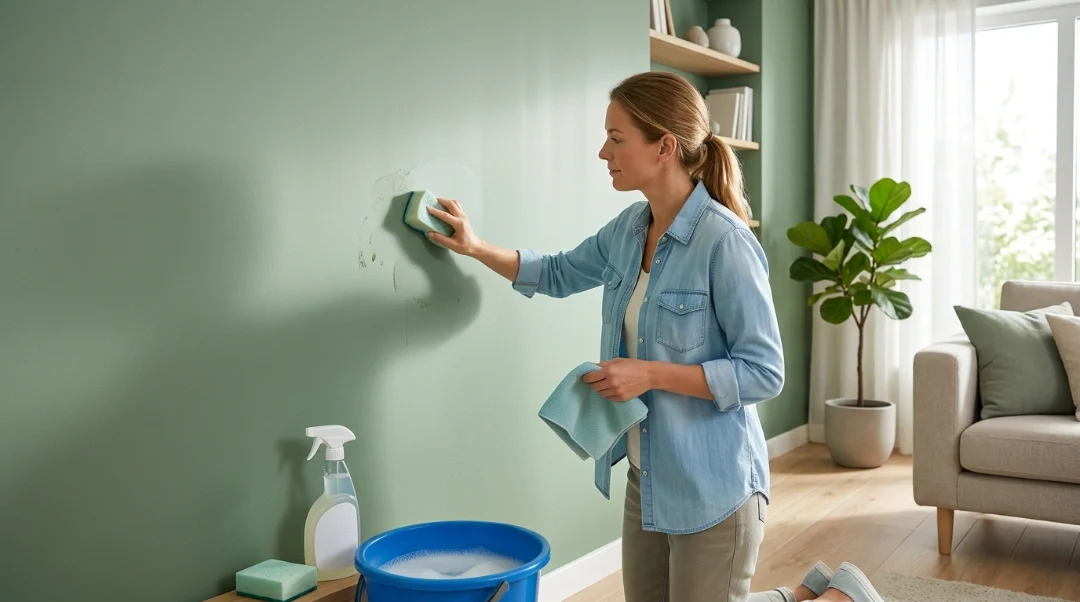
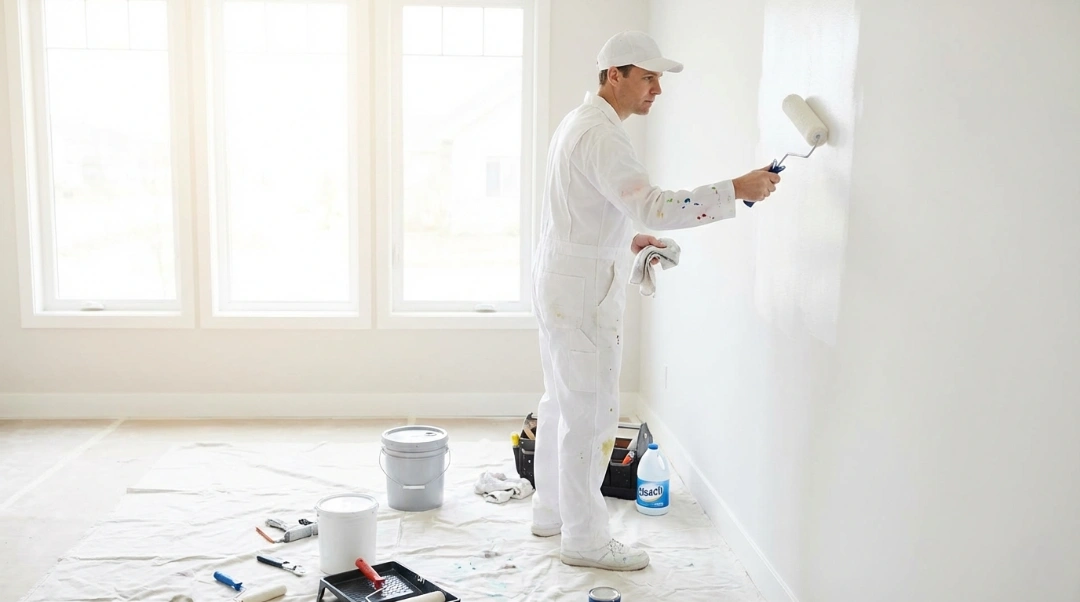
Learning how to clean walls before painting is one of those steps many homeowners rush through or skip. That mistake often shows up later as peeling paint, uneven color, or rough patches that never look quite right. Paint sticks best to clean, dry surfaces. Dust, grease, and old residue quietly ruin even the best paint job.
This guide walks you through cleaning interior walls before painting in a clear, practical way. No shortcuts, no fluff, just what actually works in real homes. Whether you are refreshing one room or repainting your entire house, proper wall cleaning sets the foundation. At Inter Color Painting LLC, we see the difference every day between rushed prep and careful prep. This article is written to help you get professional-level results, even if you are painting on your own.
Table of Contents
ToggleDo You Really Need to Clean Your Walls Before Painting?
Yes. In almost every case, cleaning walls before painting is necessary. Even if walls look clean, they usually are not. Indoor air carries dust, cooking oils, smoke, pet dander, and other wall surface contaminants that build up slowly over time.
When you paint over dirty walls, the paint does not bond well. This can cause streaks, bubbles, peeling, or uneven sheen. Primer alone does not always fix this problem. Paint is not glue. It needs a clean surface to grab onto.
Think about high-traffic areas like hallways, stairwells, and kids’ rooms. Hands brush against walls every day. Kitchens collect grease. Bathrooms hold moisture. All of that residue interferes with paint adhesion.
When Should You Clean Walls Before Painting?
You should clean walls before painting in more situations than you might expect. Below are the most common cases where wall cleaning is not optional.
High-Traffic Area Cleaning
Hallways, entryways, staircases, and family rooms collect oils and dirt from constant contact. Even light-colored walls hide grime surprisingly well. Cleaning interior walls before painting in these areas prevents dark patches from bleeding through fresh paint.
Kitchen Wall Grease Cleaning
Kitchens are one of the most important rooms to clean properly. Cooking releases grease that floats through the air and sticks to walls. Regular dusting does not remove it. Paint applied over grease often peels or looks blotchy. Kitchen wall grease cleaning usually requires a stronger cleaning solution.
Bathrooms and Laundry Rooms
Moisture leaves behind residue and sometimes mildew. Even if you do not see mold, moisture affects paint adhesion. These walls must be cleaned and fully dried before painting.
After Renovation or Repairs
Sanding drywall, cutting wood, or doing electrical work leaves fine dust everywhere. Dust removal before painting is critical here. Paint applied over construction dust often feels gritty once dry.
Textured Walls Cleaning
Textured walls trap more dust than smooth walls. Popcorn, knockdown, and orange peel textures all need careful cleaning so debris does not get sealed under paint.
Wall Cleaning Steps That Actually Work
Cleaning walls does not need to be complicated, but it does need to be done in the right order. These wall cleaning steps follow the same process professionals use.
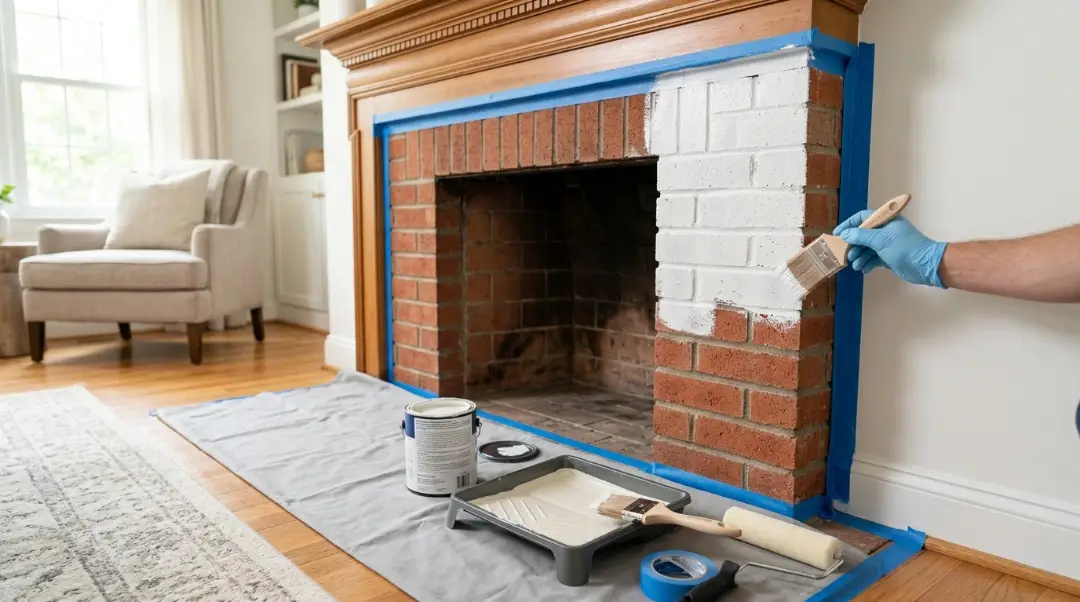
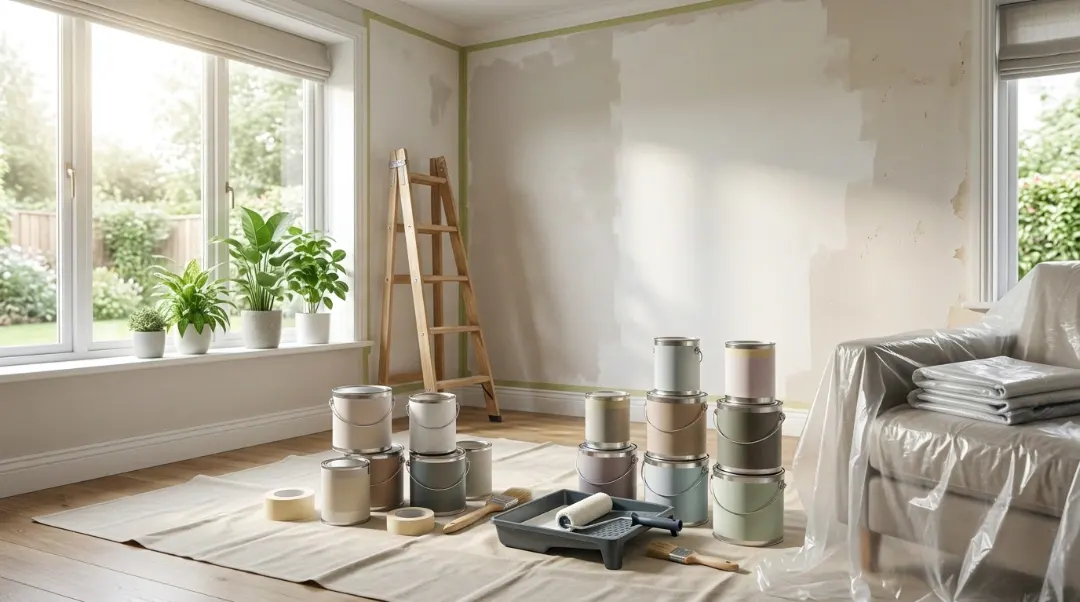
Step 1: Protect Floors and Fixtures
Before you touch the walls, cover floors, furniture, and outlets. Use drop cloths or plastic sheeting. Tape over light switches and outlet covers. Protection of floors and fixtures saves cleanup time later and keeps moisture away from electrical areas.
Step 2: Dust Removal Before Painting
Always start dry. Use a microfiber cloth, a vacuum with a brush attachment, or a soft broom. Work from top to bottom so dust falls downward. This step alone removes a surprising amount of debris.
Skipping dust removal before painting is a common mistake. Wet cleaning without dusting first can smear dirt instead of removing it.
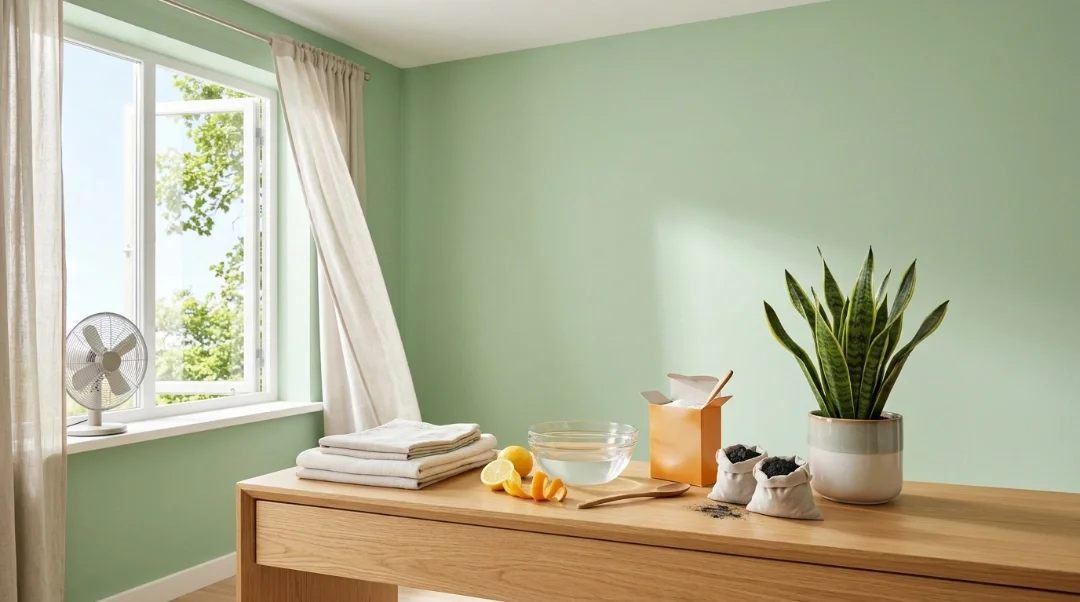
Step 3: Choose the Right Cleaning Solution
Different walls need different cleaning solutions. Here are safe, effective options:
- Dish soap and warm water for lightly dirty walls
- Vinegar and water for general grime and mild grease
- TSP (trisodium phosphate) for heavy grease or smoke residue
Always follow label instructions when using TSP and wear gloves. Stronger cleaners are not always better. Use the mildest solution that gets the job done.
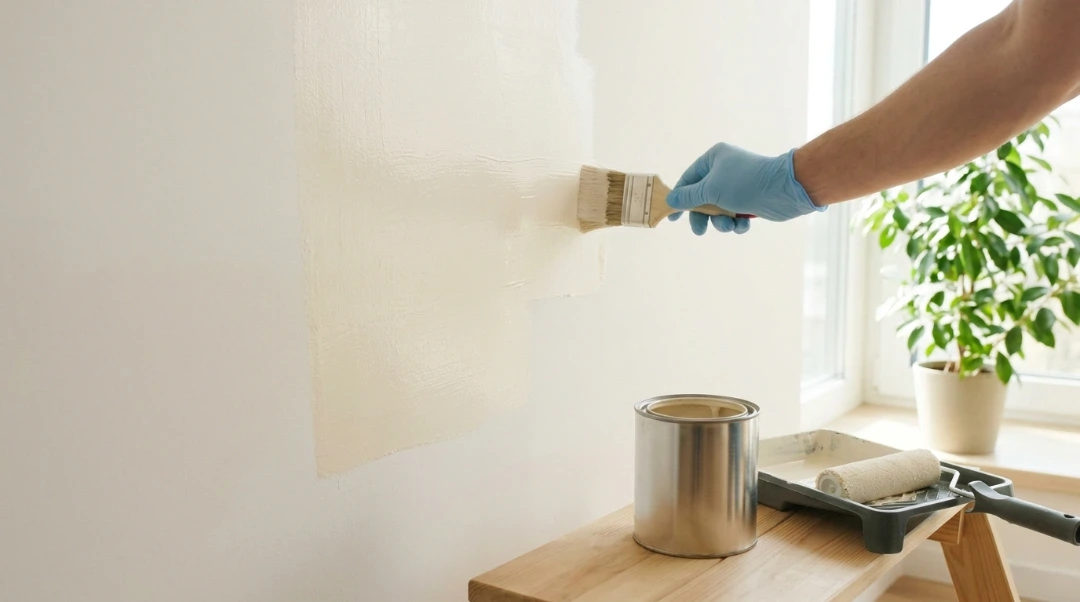
Step 4: Wash the Walls
Dip a sponge or soft cloth into the solution and wring it out well. Walls should be damp, not dripping. Work in small sections from bottom to top to avoid streaks.
Pay extra attention to corners, around light switches, and near door frames. These spots collect oils from hands.
Step 5: Rinse and Dry Walls
After washing, rinse with clean water using a fresh sponge. This removes leftover soap or cleaner residue. Rinse and dry walls thoroughly. Use towels to speed up drying if needed.
Never paint over damp walls. Moisture trapped under paint leads to peeling and bubbles.
Tools for Wall Cleaning
Using the right tools makes cleaning interior walls before painting faster and safer.
Recommended tools include:
- Microfiber cloths
- Soft sponges
- Buckets
- Vacuum with brush attachment
- Step ladder
- Rubber gloves
- Drop cloths
Avoid abrasive scrubbers. They can damage drywall and leave marks that show through paint.
What About Priming Instead of Cleaning?
This is a common question. Some people hope primer will replace cleaning. In reality, primer is not a substitute for proper prep.
Primer helps paint stick and blocks stains, but it does not remove dirt or grease. Applying primer over dirty walls seals contaminants underneath. Over time, this can still cause adhesion issues.
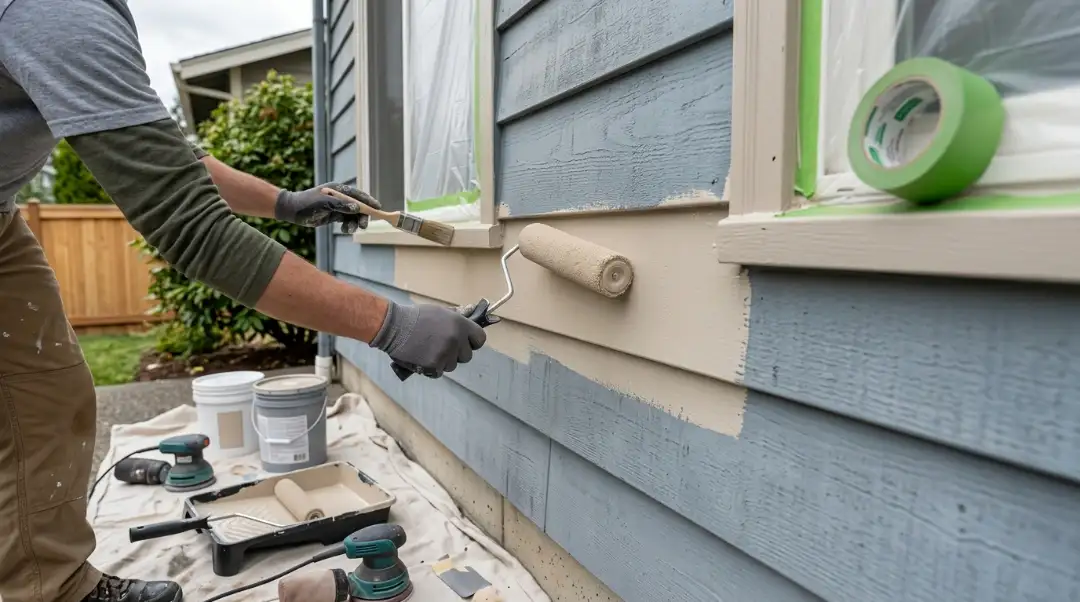
That said, primer application after cleaning is often a smart move. Primer works best on clean surfaces. If walls have stains, dark colors, or repairs, priming after cleaning improves results.
Drying, Sanding, Priming
This stage is where many DIY paint jobs go wrong. Rushing costs time and money later.
Drying Time
Walls should dry completely before sanding or priming. In most homes, this takes a few hours, but humidity can extend drying time. Use fans if needed.
Spackling and Sanding After Cleaning
Once walls are clean and dry, inspect them closely. Fill nail holes and cracks with spackle. After it dries, sand lightly to smooth the surface. Wipe away sanding dust with a dry cloth.
Cleaning before spackling keeps dirt from mixing into repair compounds. Sanding after cleaning creates a smooth, paint-ready surface.
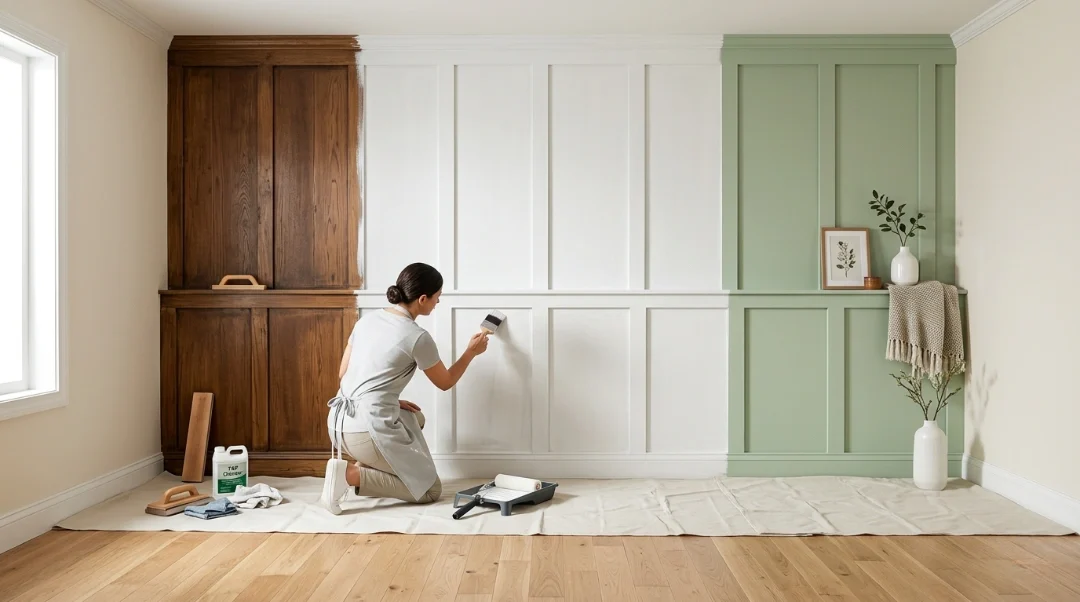
Primer Application After Cleaning
Apply primer where needed. This includes patched areas, stained spots, or full walls if changing colors. Let primer dry fully before painting.
Common Mistakes & How to Avoid Them
Even well-intentioned homeowners make these mistakes when learning how to clean walls before painting.
- Skipping Cleaning Entirely: This is the biggest mistake. Paint failure often traces back to poor prep.
- Using Too Much Water: Over-wetting walls can damage drywall. Always wring out sponges well.
- Not Rinsing: Leaving cleaner residue behind can affect paint adhesion. Always rinse and dry walls.
- Painting Too Soon: Walls that feel dry may still hold moisture. Give them time.
- Ignoring High-Problem Areas: Kitchen grease, bathroom moisture, and handprints need extra attention.
Avoiding these mistakes improves both appearance and durability.
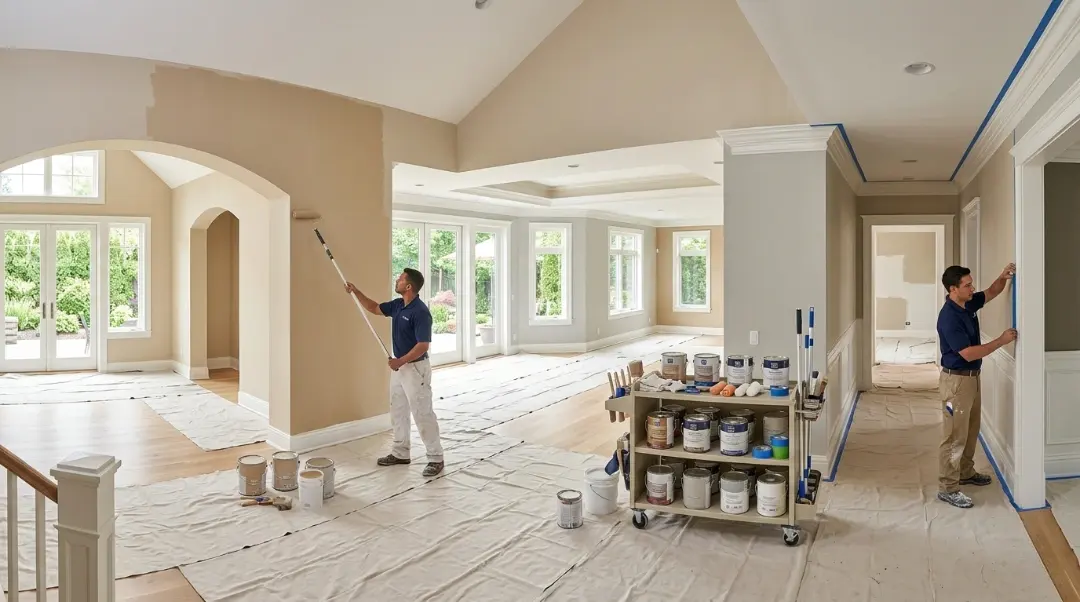
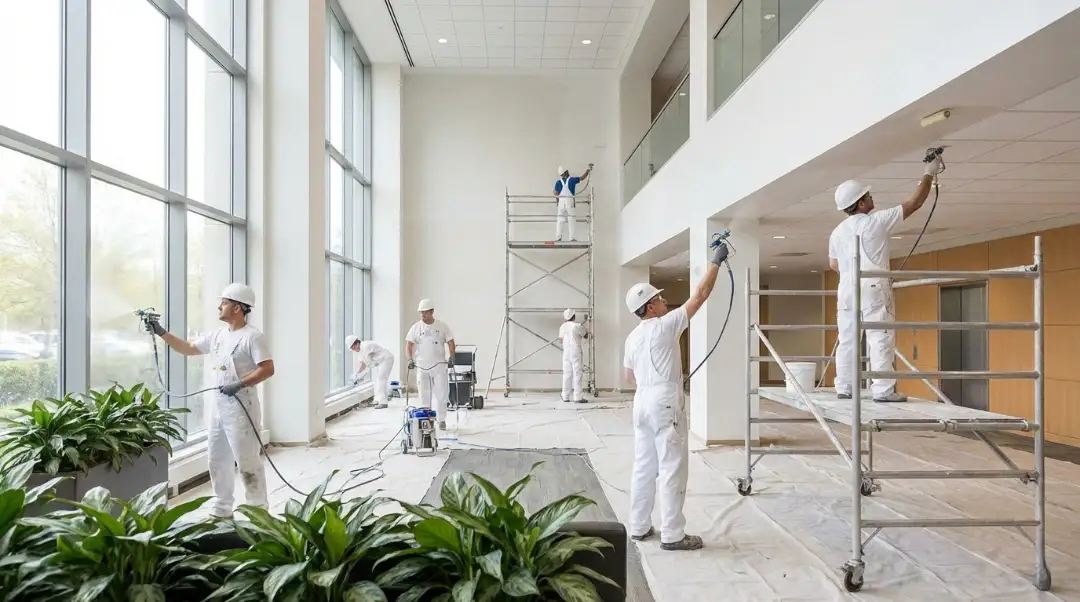
When to Call a Professional
Cleaning walls before painting is manageable for many homeowners, but large homes, textured walls, or heavy grease buildup can be time-consuming. Professional painters already have the tools and experience to handle these challenges efficiently.
If you are short on time or want guaranteed results, reaching out to a trusted painting company can save stress. This is a natural place to add an internal link using Contact Us for readers who want expert help.
At Inter Color Painting LLC, proper surface prep is never rushed. It is the foundation of every quality paint job.
Final Thoughts
Knowing how to clean walls before painting is one of the most valuable skills in home improvement. It protects your investment and helps paint look better for years. Cleaning interior walls before painting removes hidden problems that paint alone cannot fix.
Take your time. Follow the wall cleaning steps. Use the right tools. Rinse and dry walls fully. Handle repairs and primer after cleaning. These simple habits separate professional-looking results from disappointing ones.
If you ever feel unsure, getting expert advice or professional help is always a smart option. A well-prepared wall is the quiet hero behind every great paint job.
FAQs
What is the best thing to wash walls with before painting?
The best solution depends on the type of dirt:
- Light dirt: Warm water with mild dish soap
- Grease or kitchen residue: Warm water + vinegar or a degreasing solution
- Heavy stains: TSP (trisodium phosphate) following the package instructions
Always use a soft sponge or cloth and rinse thoroughly afterward.
Can you use Dawn dish soap to wash walls before painting?
Yes. Dawn or any mild dish soap works well for general dirt and dust. Mix a few drops in warm water, dampen a sponge, wipe walls gently, and rinse with clean water. Avoid soaking the walls.
What do you use to wash your walls before painting?
Professional painters often use:
- Warm water + mild detergent (dish soap) for everyday dirt
- Vinegar solution for mild grease
- TSP for stubborn grease, smoke residue, or post-renovation dust
The key is to remove contaminants without damaging the wall surface.
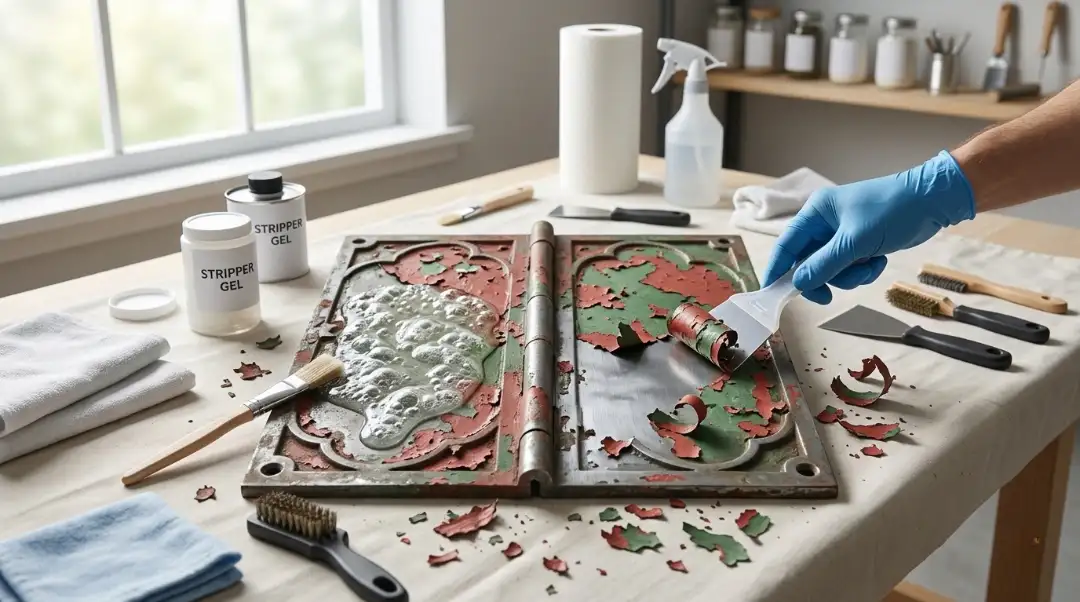
Can I just paint over old paint?
Technically yes, but it’s not recommended:
- If the old paint is peeling, chalky, or dirty, painting over it will lead to poor adhesion, bubbles, and uneven finish.
- Light sanding, cleaning, and sometimes priming before repainting ensures the new paint bonds correctly.
How to get dust off walls before painting?
- Use a microfiber cloth, soft duster, or vacuum with brush attachment
- Start from top to bottom to let dust fall downward
- For textured walls, gently brush crevices to remove trapped dust
- Dry dusting is always the first step before any wet cleaning
What happens if you paint over dusty walls?
Painting over dusty walls causes:
- Poor paint adhesion
- Peeling or flaking over time
- Uneven texture and streaks
- Faster wear and need for touch-ups
In short, dust compromises paint durability and finish quality.
What is the best way to clean dust off walls?
The best method is a two-step approach:
- Dry removal: Use a microfiber cloth, duster, or vacuum with a brush attachment
Wet wipe (optional): Lightly damp sponge with warm water or mild soap for stubborn dust
Always allow walls to dry completely before painting.