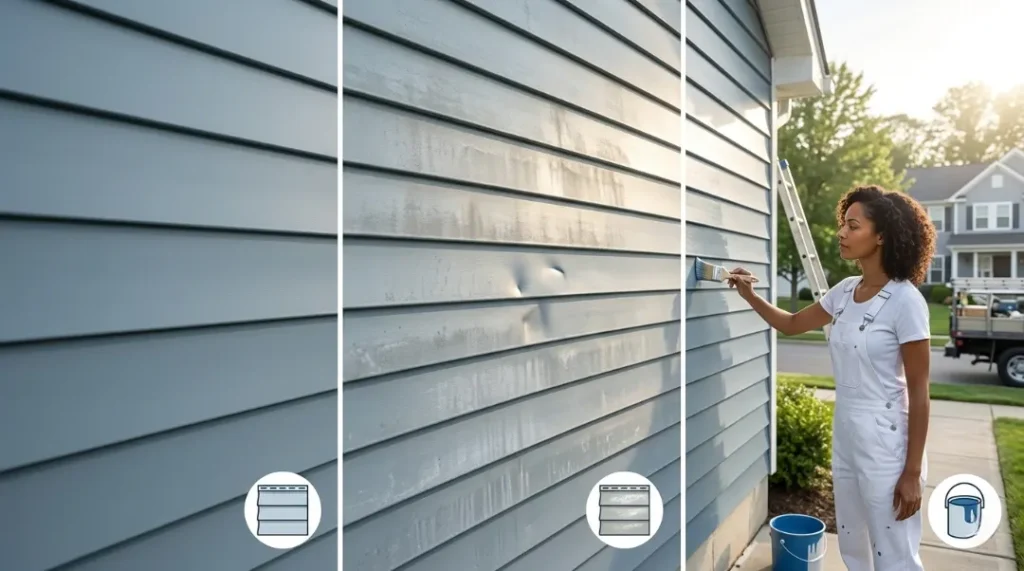
Painting aluminum siding is a smart way to refresh your home’s exterior without the massive bill of a full siding replacement. You’ll save thousands of dollars while getting a finish that looks brand new, provided you follow the right steps for cleaning, priming, and coating.
If you’re looking to update your home’s curb appeal, you’ve come to the right place. In this guide, I’ll walk you through the professional process of how to paint aluminum siding, from the crucial prep work to choosing the perfect finish that lasts for a decade.
Understanding Aluminum Siding and Why It Needs Repainting
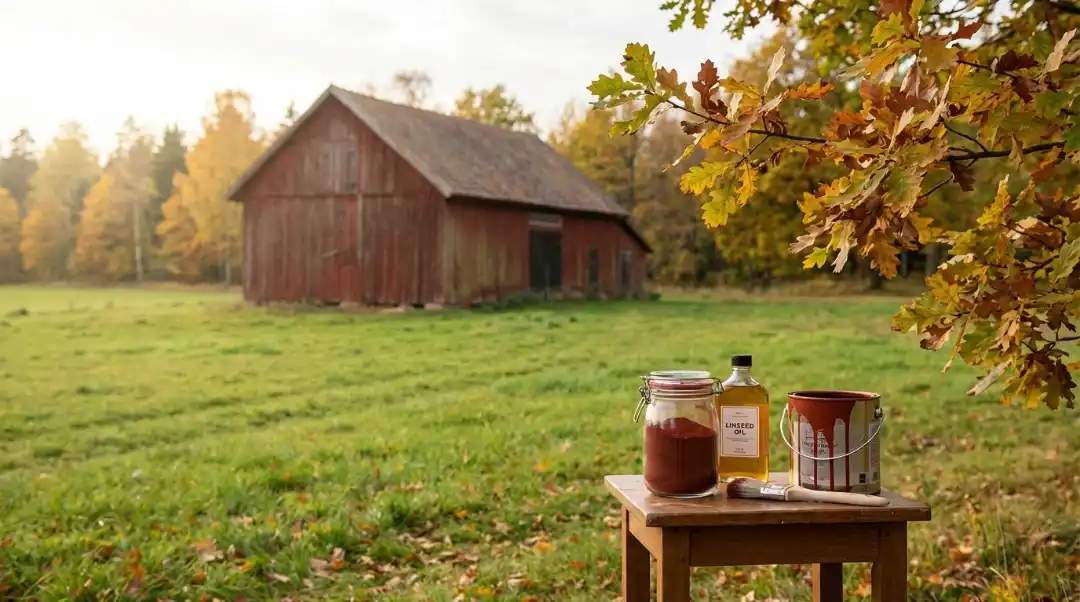
From the 1940s to the 1980s, aluminum siding was a popular choice for the outside of homes. It lasts a long time, doesn’t rust, and doesn’t need much care, but it isn’t immune to time.
The factory finish wears away over time due to sun, rain, and changes in temperature. You start to see chalking (the white powdery stuff), color loss, little amounts of oxidation, and dullness on the surface. These aren’t problems with the structure. They’re just cosmetic problems that paint can address.
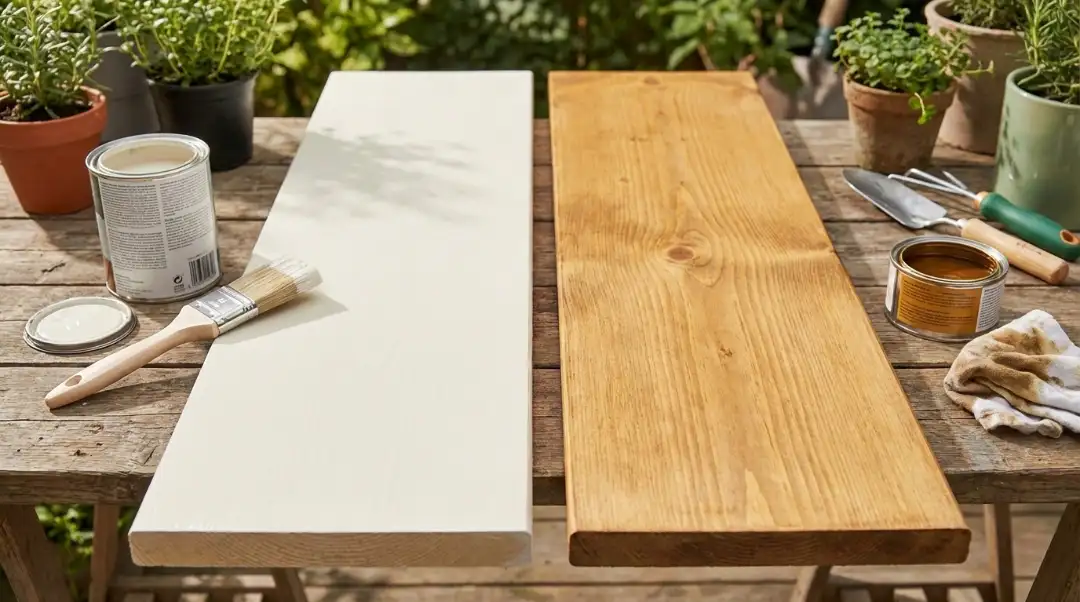
In most cases, repainting is cheaper than replacing. Installing new aluminum or fiber cement siding might cost between $8 and $15 per square foot. It costs between $1.50 and $3.50 per square foot to get a good paint job. That’s a big difference.
Can You Paint Aluminum Siding?
You can paint aluminum siding, and it’s usually cheaper than getting new siding. Aluminum is a metal that doesn’t have any holes in it; it needs special acrylic latex paints and maybe even a metal-etching primer to make sure the new color sticks to the surface permanently without peeling or bubbling over time.
Yes, the answer is a resounding yes, but you shouldn’t just grab any old can of paint from the garage. You need a recipe that can change and is resistant to UV rays. Because metal absorbs heat, the paint needs to be able to endure changes in temperature without losing its grip on the surface.
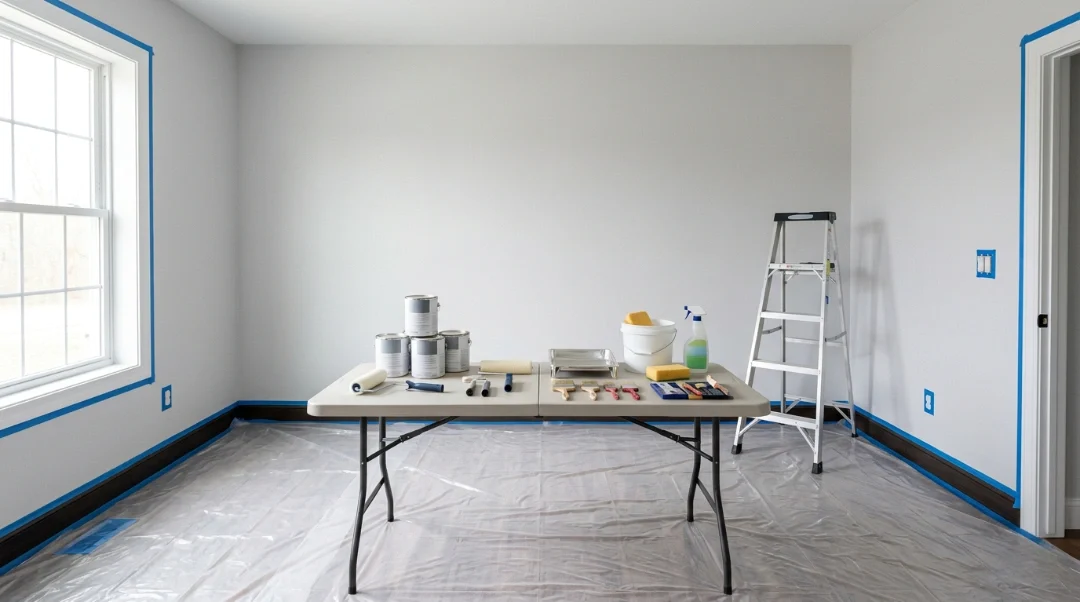
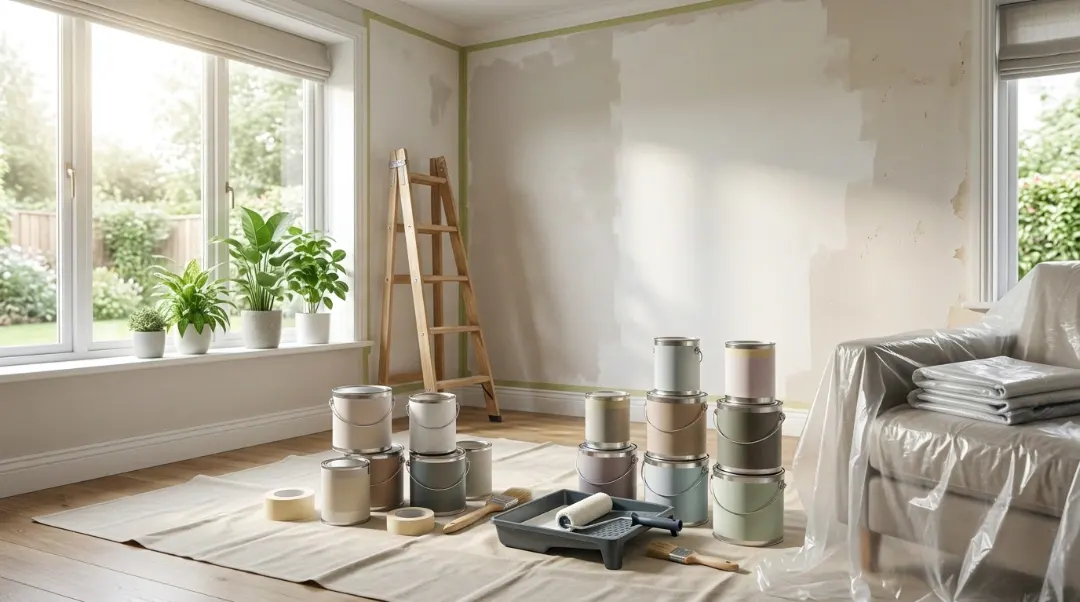
How to Prep Aluminum Siding for Paint
Preparation is 70% of the job. Skip it and the paint peels within a year.
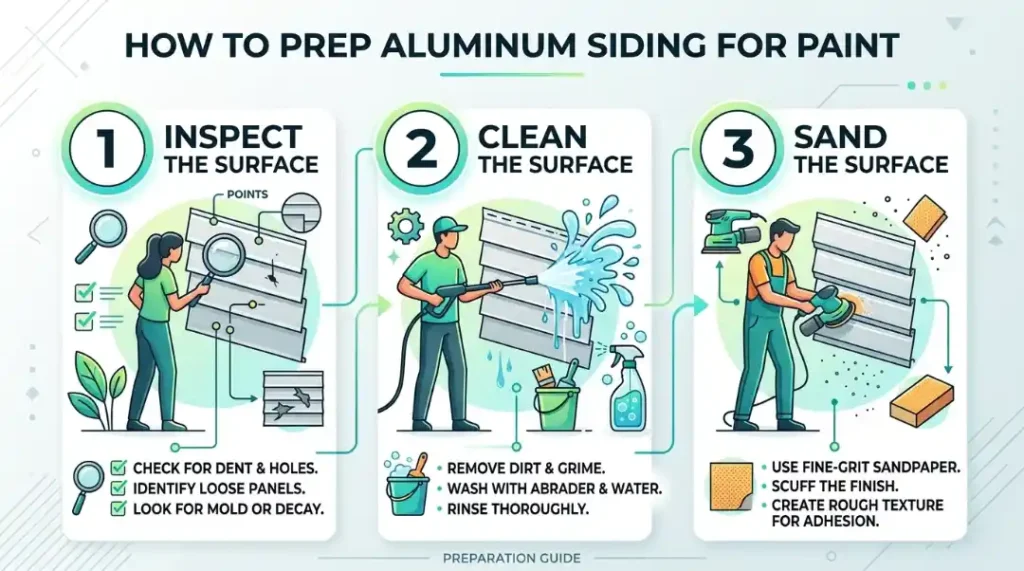
Inspect the Surface
Walk around the entire exterior and look for dents, scratches, loose panels, gaps around windows and doors, and signs of mildew or corrosion. Mark everything that needs repair before you pick up a brush.
Fill small dents with exterior-grade filler. Treat any rust spots with a rust converter or remover. Seal gaps around trim, windows, and doors with high-quality exterior caulk.
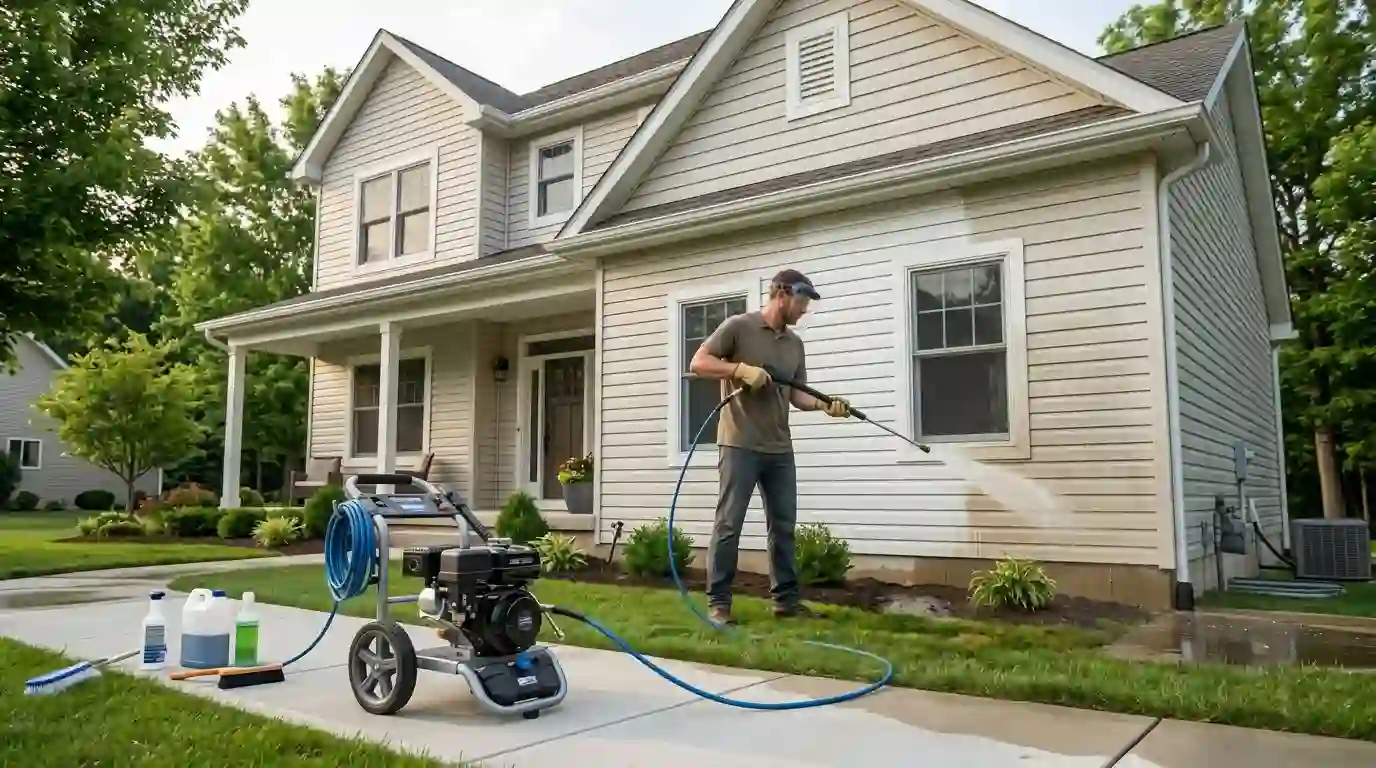
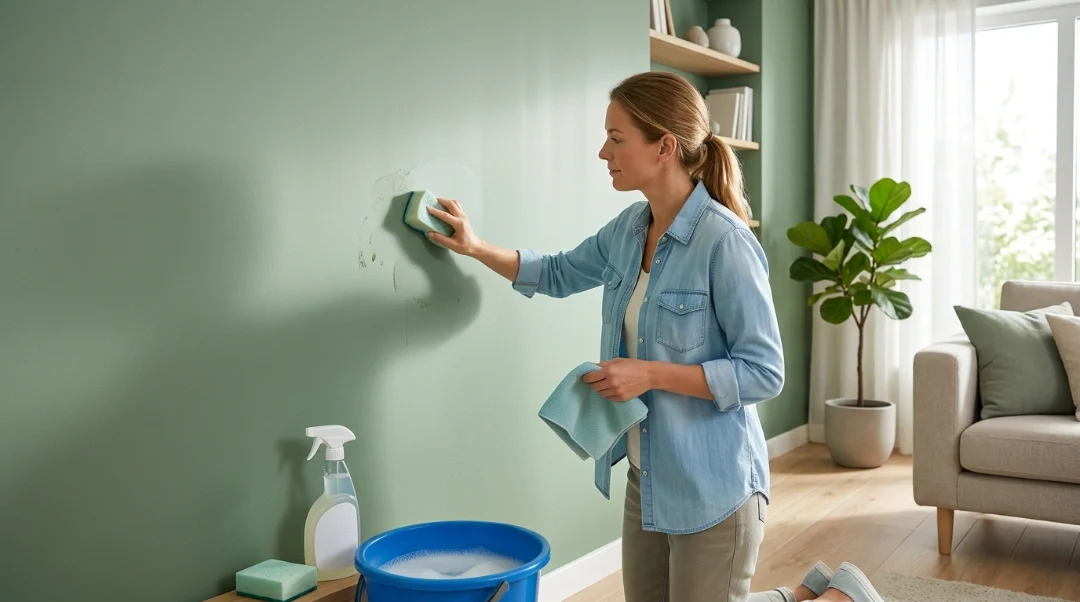
SClean the Surface
Mix a cleaning solution of water, trisodium phosphate (TSP), and a small amount of chlorine bleach. This combination cuts through mildew, dirt, and oxidized chalk effectively.
Scrub the siding, then power wash the entire surface. Always spray downward, spraying upward forces water behind the panels and causes moisture damage.
Let the siding dry completely. This is non-negotiable. Painting over damp aluminum causes bubbling and peeling. Allow at least 24 to 48 hours of drying time after washing.
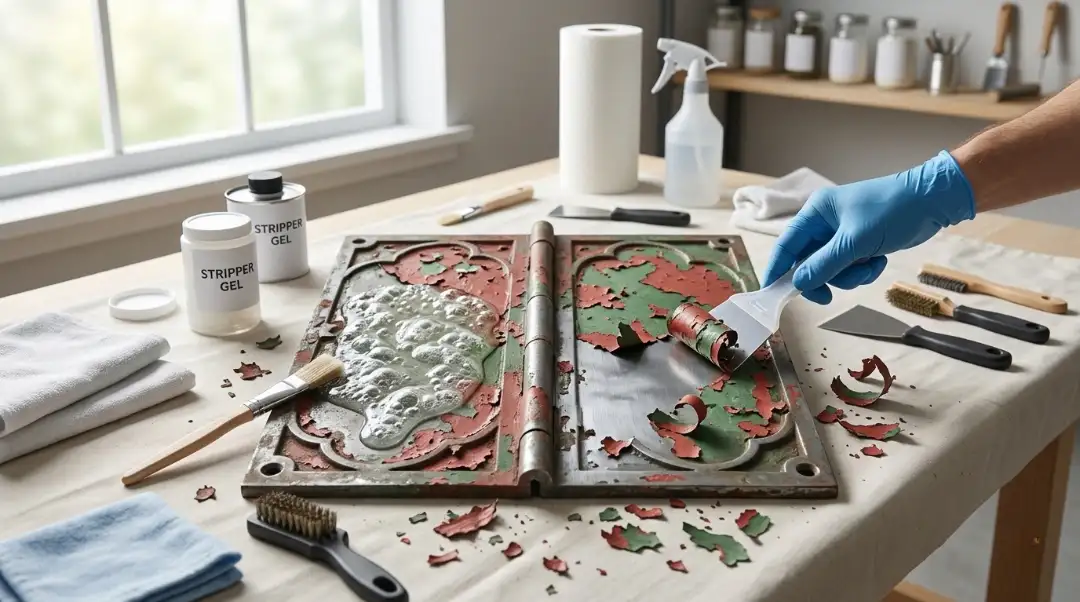
Sand the Surface
Use 80 to 120 grit sandpaper to lightly sand. This gets rid of any leftover chalk and provides the primer something to hold onto.
You don’t have to remove the surface; just rough it up. Before priming, use a dry cloth to wipe out any dust.
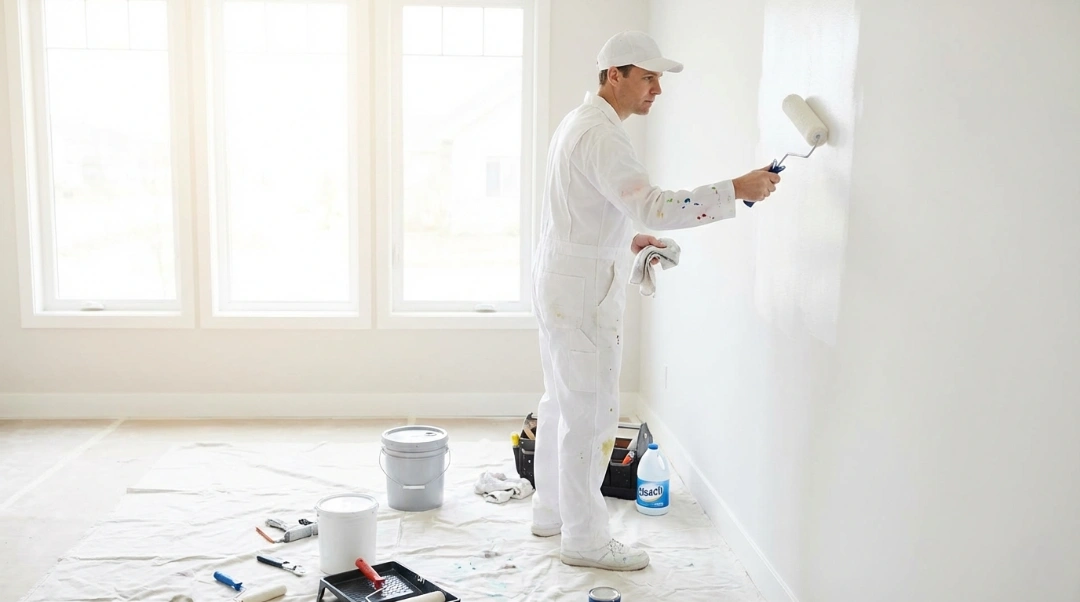
How to Paint Aluminum Siding: Step-by-Step Guide
Now for the main event. Here’s exactly how to paint aluminum siding from start to finish.
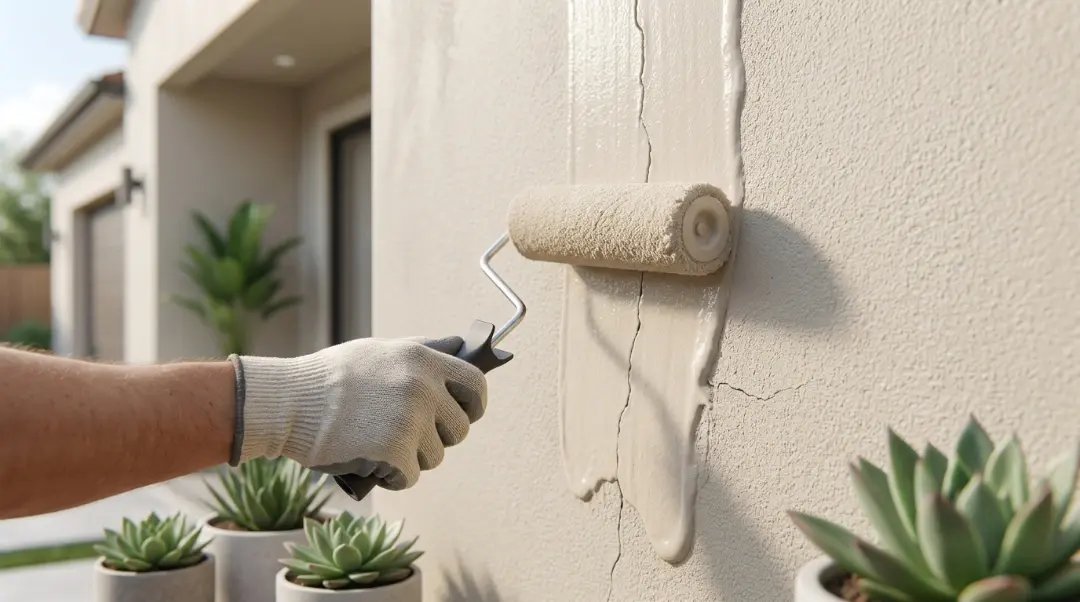
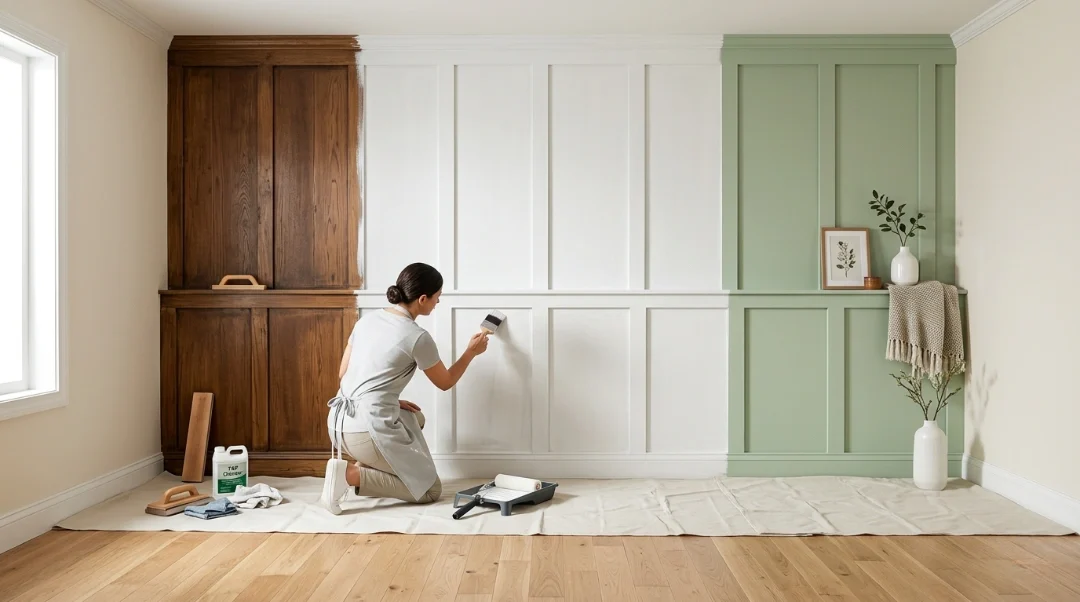
Step 1: Apply a Bonding Primer
Apply a self-etching or bonding primer made specifically for metal surfaces. This seals the aluminum, prevents oxidation from bleeding through, and locks in paint adhesion.
Use a brush for edges and trim. Use a roller or airless sprayer for flat panel sections. Allow full drying time before applying paint to check the product label, but typically 4 to 8 hours.
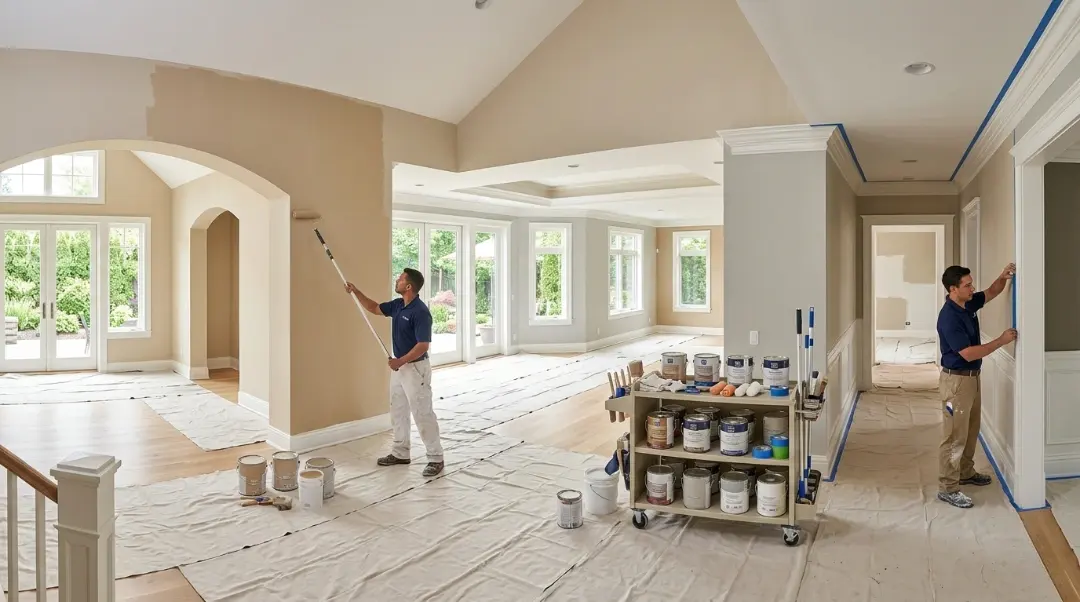
Step 2: Choose Your Application Method
An airless paint sprayer gives aluminum siding the smoothest, most professional finish. It swiftly covers big flat areas and doesn’t leave brush marks.
Use brushes to go into tiny spaces, corners, and trim. If you don’t have a sprayer, a roller works nicely for parts that are medium-sized.
Is it better to paint metal siding with a brush or a spray? Spraying is speedier and leaves a cleaner finish on flat panels. Brushing is best for fine work. Most pros spray the body and brush the trim..
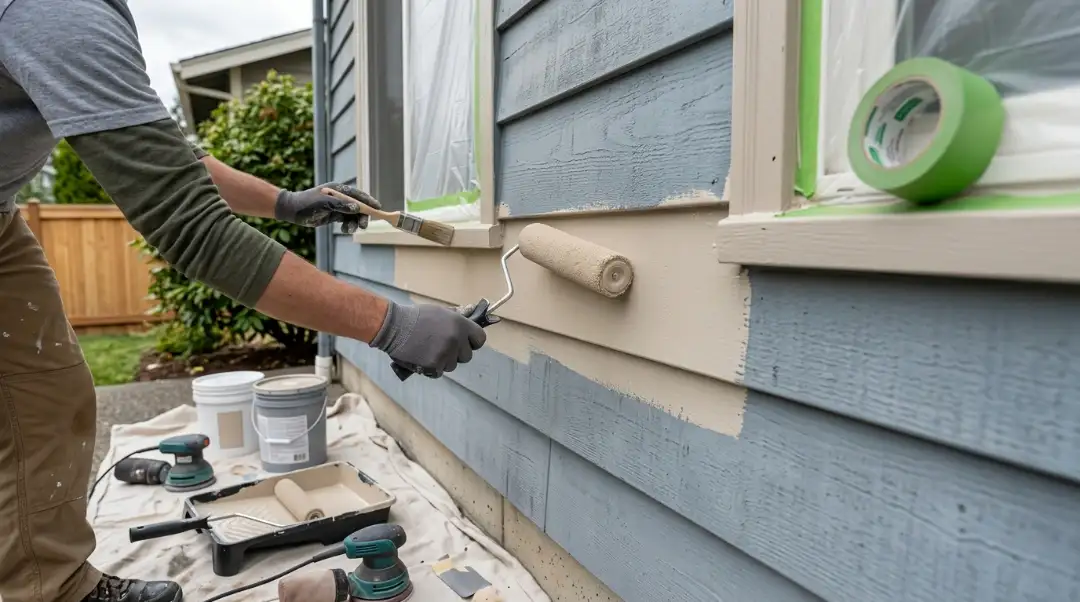
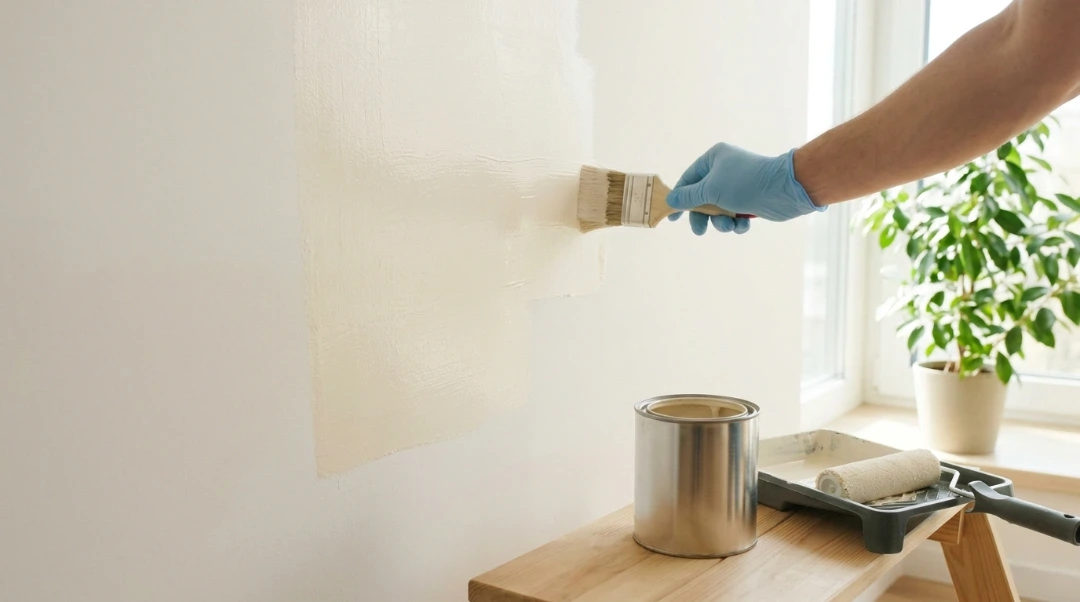
Step 3: Apply Two Coats of Acrylic Latex Paint
The best paint for aluminum siding is 100% acrylic latex exterior paint. It flexes with temperature changes, resists fading, and bonds well to primed metal.
Apply the first coat in thin, even passes. Start from the top and work downward. This prevents drips from landing on already-painted sections.
Let the first coat dry fully, then apply the second. Two thin coats always outperform one thick coat, better adhesion, better color depth, better durability.
Step 4: Allow Full Cure Time
Paint drying and paint curing are two different things. It might feel dry to the touch in a few hours, but full cure takes 2 to 4 weeks. Avoid pressure washing or scrubbing during that period.
Don’t paint in extreme heat (above 90°F) or cold (below 50°F). Humidity above 70% also affects how paint cures. Mild, dry weather is ideal.
Choosing the Right Materials and Paint
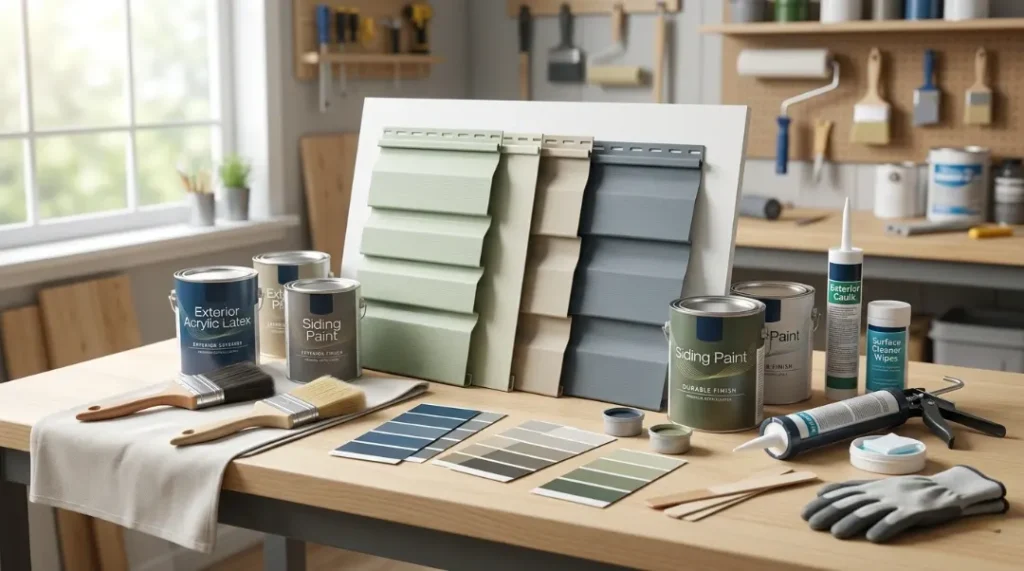
Getting the materials right matters as much as technique.
| Material | Recommended Type |
| Primer | Self-etching or bonding primer for metal |
| Paint | 100% acrylic latex exterior paint |
| Finish | Satin or eggshell for exteriors |
| Cleaner | TSP + chlorine bleach solution |
| Sandpaper | 80–120 grit |
| Application | Airless paint sprayer + brush for trim |
Do you need to prime aluminum before painting? Yes, always. Without a bonding primer, paint won’t adhere properly to the slick metal surface. A self-etching primer physically bonds to the aluminum and creates a foundation for the topcoat.
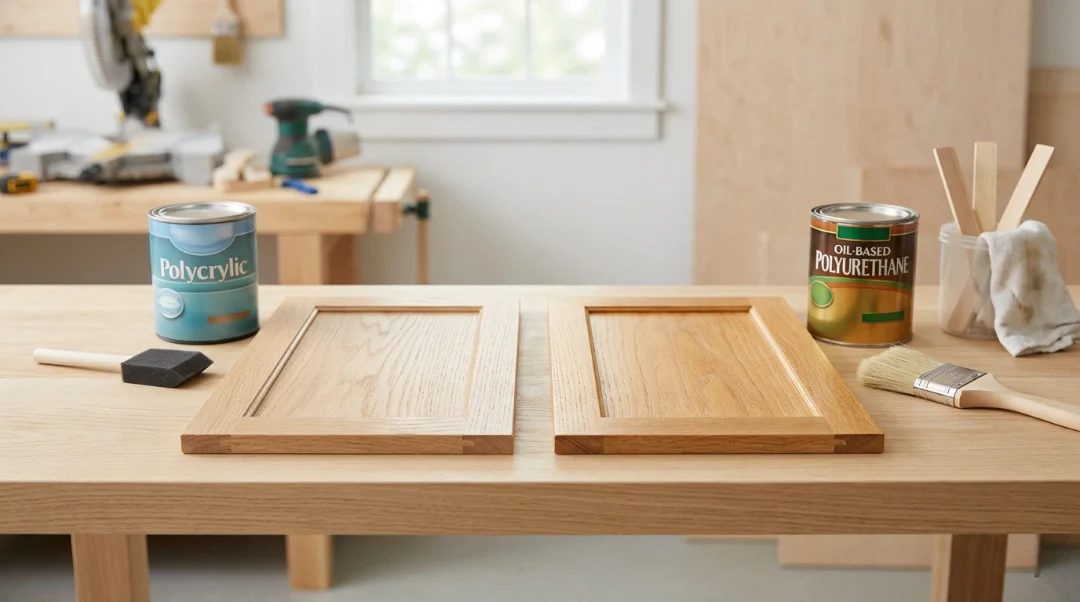
Avoid oil-based paints. They don’t flex with aluminum’s expansion and contraction, which leads to cracking and peeling over time.
How Much Does It Cost to Paint Aluminum Siding?
Here’s a realistic breakdown so you’re not surprised.
| Cost Factor | DIY | Professional |
| Paint (per gallon) | $35–$65 | Included in quote |
| Primer (per gallon) | $25–$50 | Included in quote |
| Tools/Equipment | $100–$300 (one-time) | Not applicable |
| Labor | Your time | $1.00–$2.50/sq ft |
| Total (2,000 sq ft home) | $400–$900 | $3,000–$7,000 |
DIY saves money but demands time, patience, and the right equipment. Professional painting guarantees a cleaner finish, often with a warranty on workmanship.
Full aluminum siding replacement on a 2,000 sq ft home runs $12,000 to $25,000. Repainting is clearly the smarter financial choice when the siding is structurally sound.
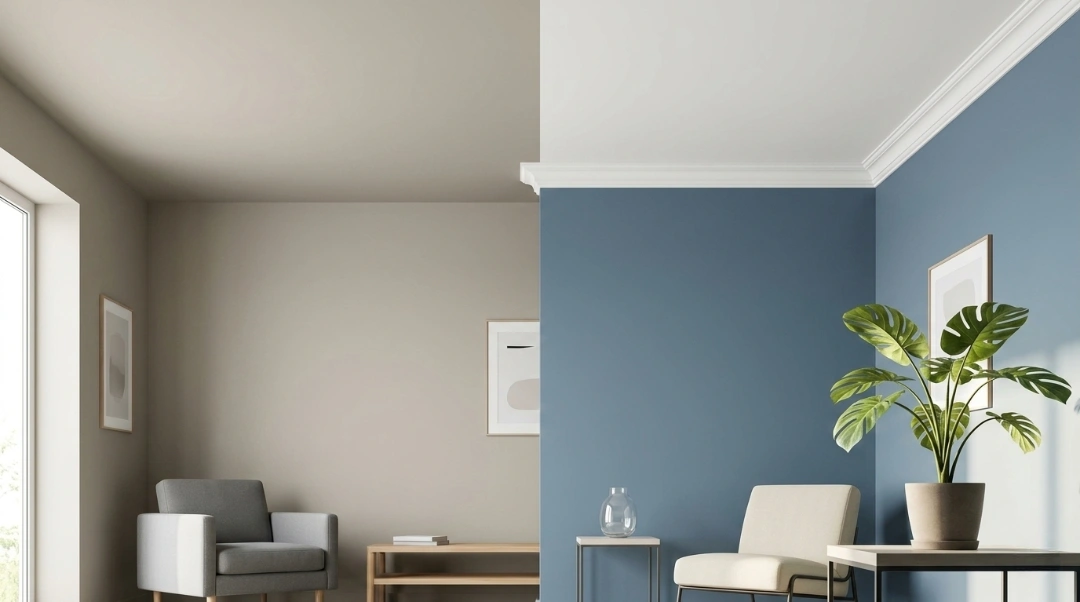
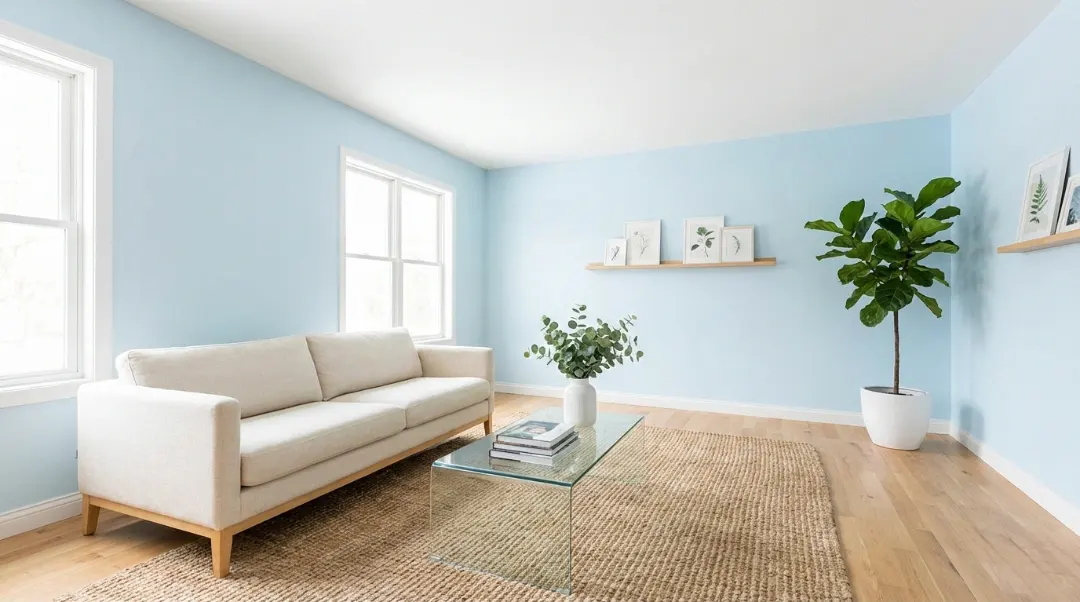
Choosing the Right Paint Color
Color choice affects more than aesthetics. Darker colors absorb more heat, which can cause aluminum to expand more, potentially stressing the paint film over time. Lighter or mid-tone colors are generally safer for longevity.
Popular and practical color choices for aluminum siding:
- Neutral grays and greiges timeless, high resale value
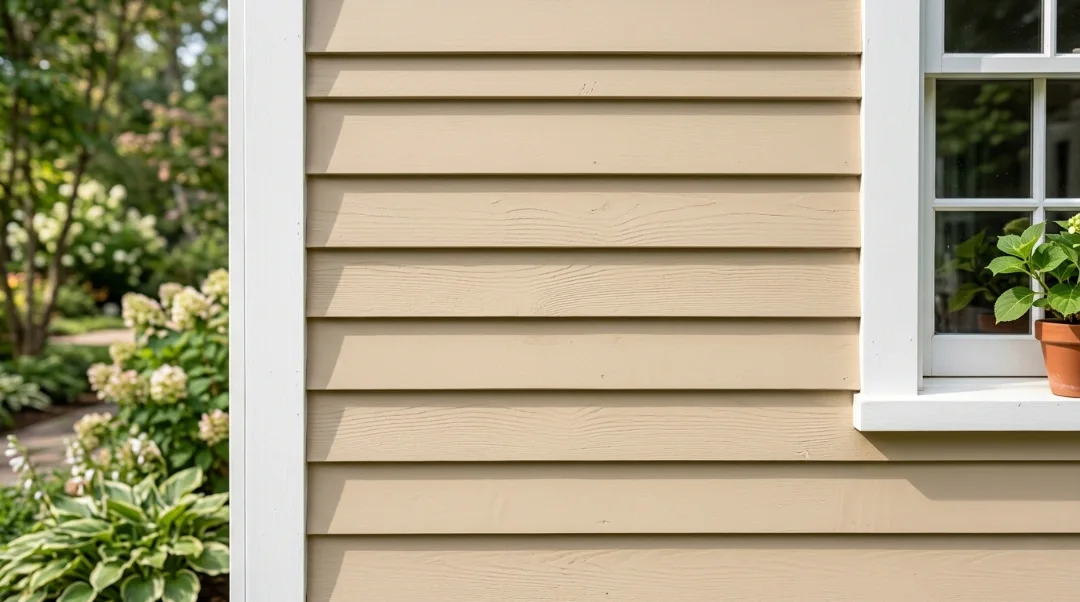
- Warm beiges and tans classic curb appeal
- Navy blue or deep green modern, bold, trending
- Soft white or cream clean, traditional look
Pair your siding color with a contrasting trim color. White or black trim sharpens nearly any siding shade and makes the home look finished.
Common Mistakes When Painting Aluminum Siding
These are the mistakes that lead to peeling, bubbling, and wasted money:
- Skipping the primer paint won’t stick without it
- Painting over wet siding causes bubbling and adhesion failure
- Using oil-based paint cracks as aluminum expands
- Applying one thick coat leads to drips and uneven curing
- Ignoring chalking paint applied over chalk peels quickly
- Painting in the wrong weather too hot, cold, or humid ruins the cure
Avoid these and you’re already ahead of most DIYers.
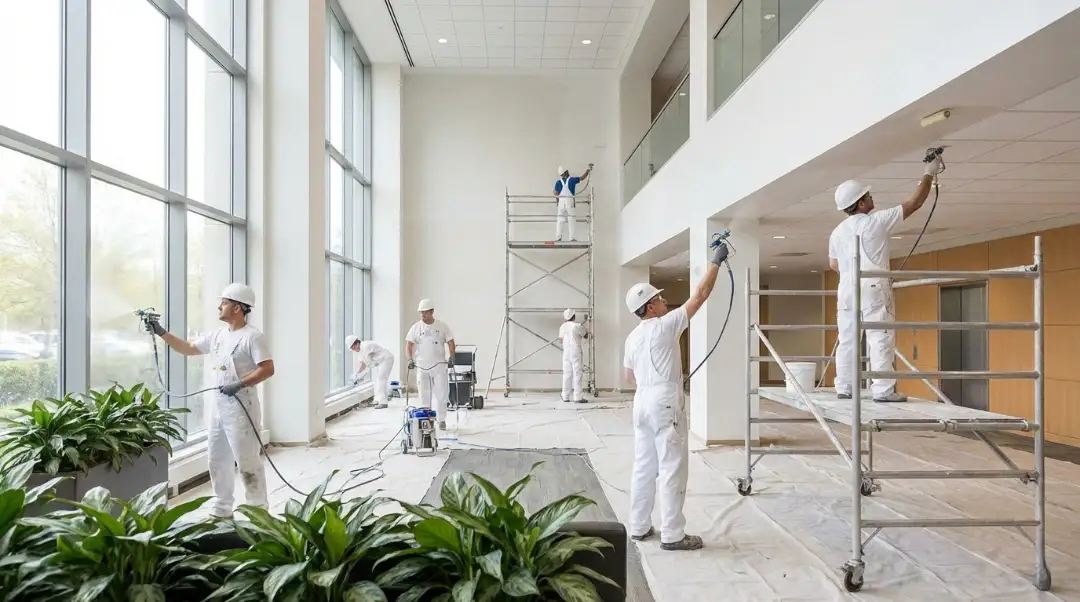
Should You Hire a Professional?
DIY is possible if you’re comfortable with the process and have the time. But painting an entire aluminum siding house is a significant project. A single story, 1,500 sq ft home typically takes 3 to 5 days for a two-person crew.
If you want guaranteed results, a clean finish, and proper prep handled professionally, hiring makes sense. Look for painters who specialize in exterior painting, use commercial-grade sprayers, and offer a workmanship warranty.
For homeowners in the Pacific Northwest, Inter Color Painting LLC offers expert Exterior Painting Services Seattle with full prep, priming, and two-coat application on aluminum siding. The team handles every step so you get a finish that holds up to the Seattle climate.
For more on related exterior projects, check out our guide on how to choose the right exterior paint finish.
Maintenance After Painting
A fresh paint job deserves proper care. Here’s a simple annual routine:
- Every 12 months: Wash the siding with a mild detergent and soft brush
- As needed: Touch up chips or scratches to prevent moisture intrusion
- Every 3–5 years: Inspect caulk lines and reseal where needed
- Every 10–15 years: Plan for a full repaint
Consistent maintenance stretches the life of your paint job and keeps the exterior looking sharp without major costs.
FAQs
What kind of paint do you put on aluminum siding?
Use outdoor paint that is 100% acrylic latex. It sticks effectively on primed metal, bends as the temperature changes, and doesn’t fade or become wet. For outdoor use, a satin or eggshell finish is excellent because it lasts a long time without being too shiny.
Should you spray or brush paint aluminum siding?
Spraying is ideal for flat panel parts since it is faster and makes the surface smoother. Brushing is best for trim, edges, and little details. Most professionals use both methods for a full outside renovation.
Can I paint the siding on my own?
Yes, as long as you’re willing to do all the prep work. You can’t skip the cleaning, sanding, and priming stages. The main reason DIY paint jobs don’t last more than a year or two is that people rush the prep work.
Do I need to put a coat of paint on aluminum first?
Always. Without a bonding or self-etching primer, paint won’t stick to aluminum because it’s too smooth. If you skip this step, the paint will peel, even if it’s good paint.
Before painting, do you have to sand metal siding?
It is best to lightly sand with sandpaper that is 80 to 120 grit. It gets rid of chalk, roughs up the surface to help the primer stick better, and smooths out little flaws in the surface.
What are some frequent blunders people make when they paint aluminum?
The most common mistakes are not using primer, painting over a damp or chalky surface, using oil-based paint, and putting on one thick coat instead of two thin ones. Timing the weather is also important; for optimal effects, paint when it’s moderate and dry.