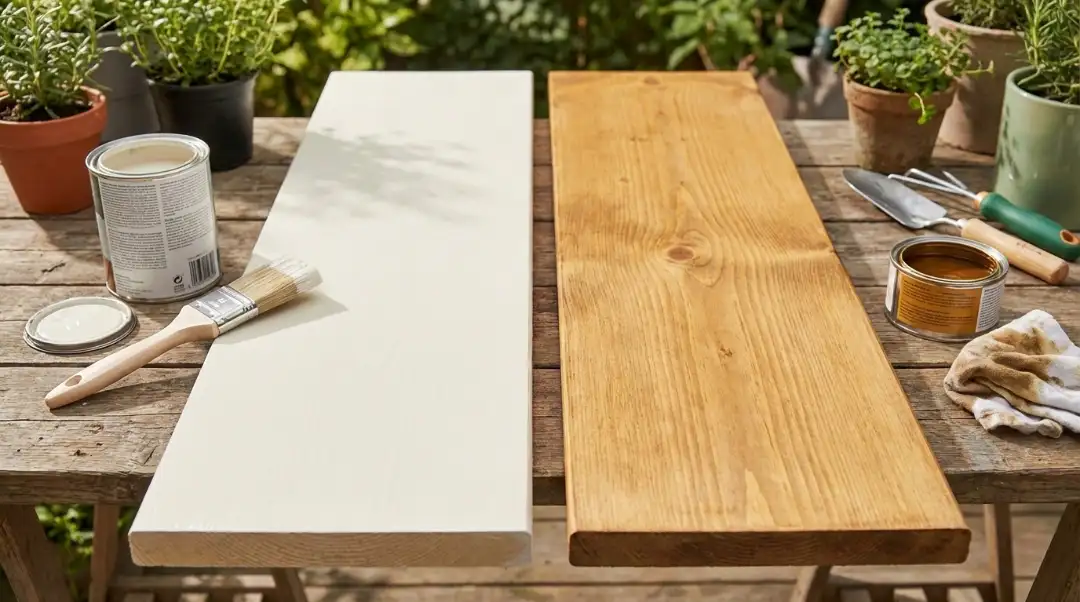
Painting a table is one of the easiest ways to refresh your home without spending a lot of money. If your table looks scratched, faded, or outdated, learning how to paint a wood table can give it a brand-new life.
This easy-to-follow tutorial will show you exactly how professionals paint a wood table, what colors to use, and how to produce a smooth, long-lasting finish that lasts for years. These methods will help you do a good job, no matter what kind of table you’re working on.
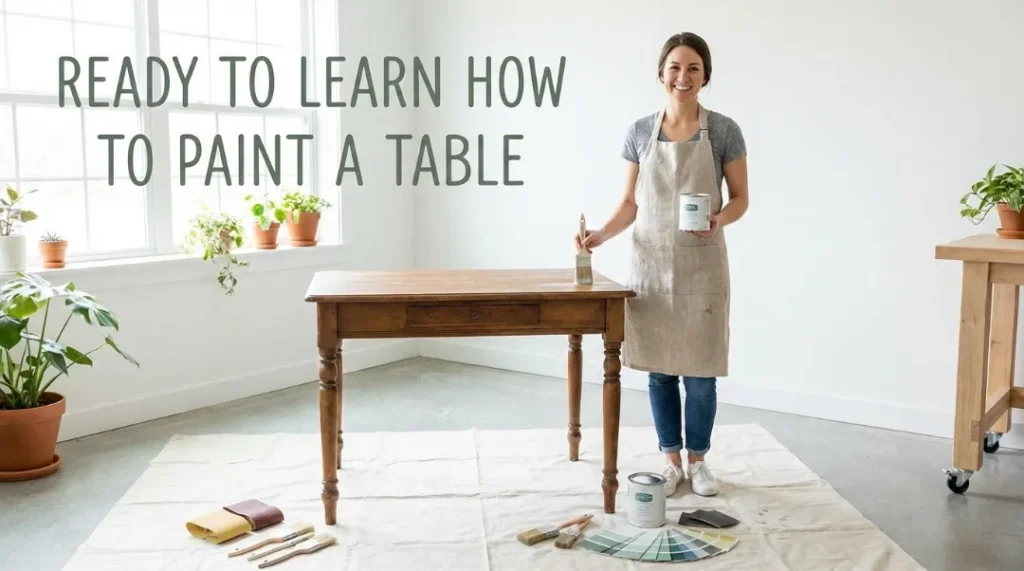
Ready to Learn How to Paint a Table?
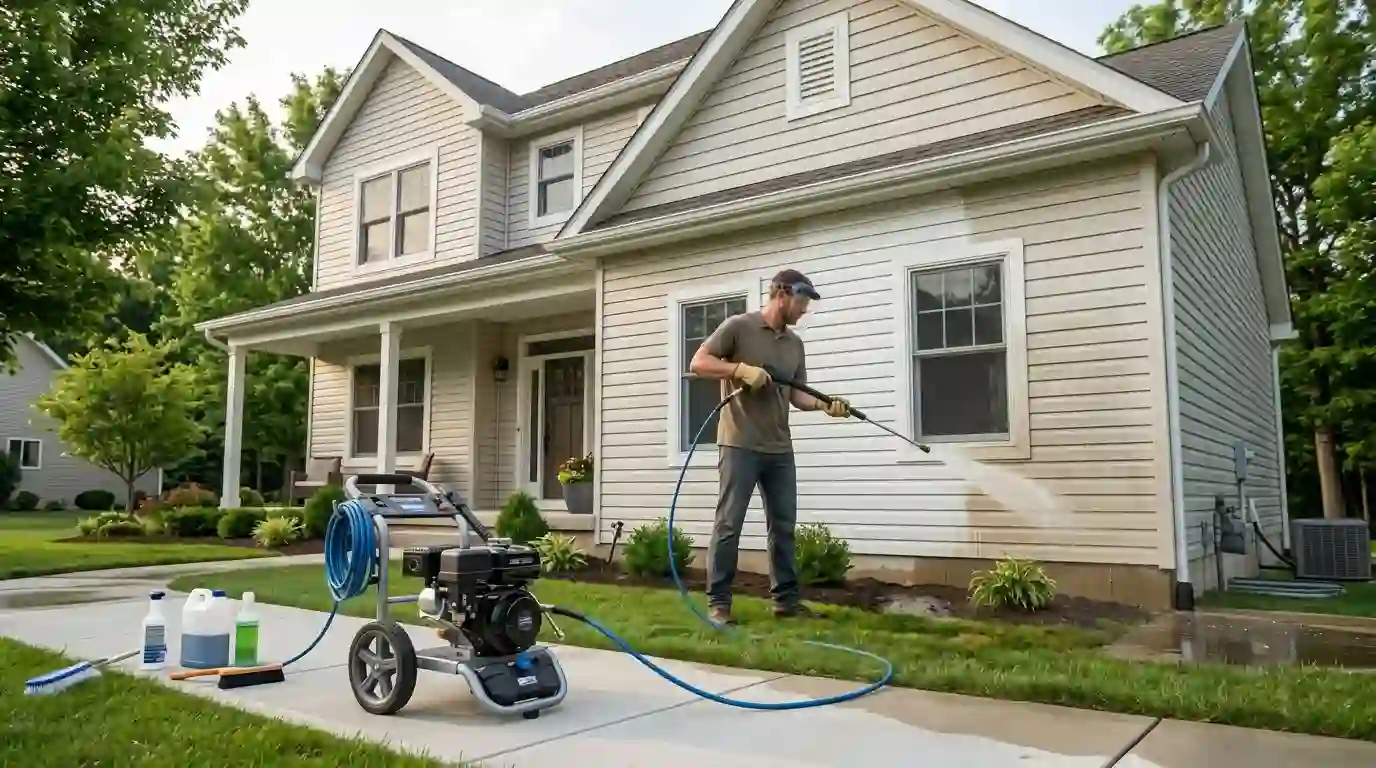
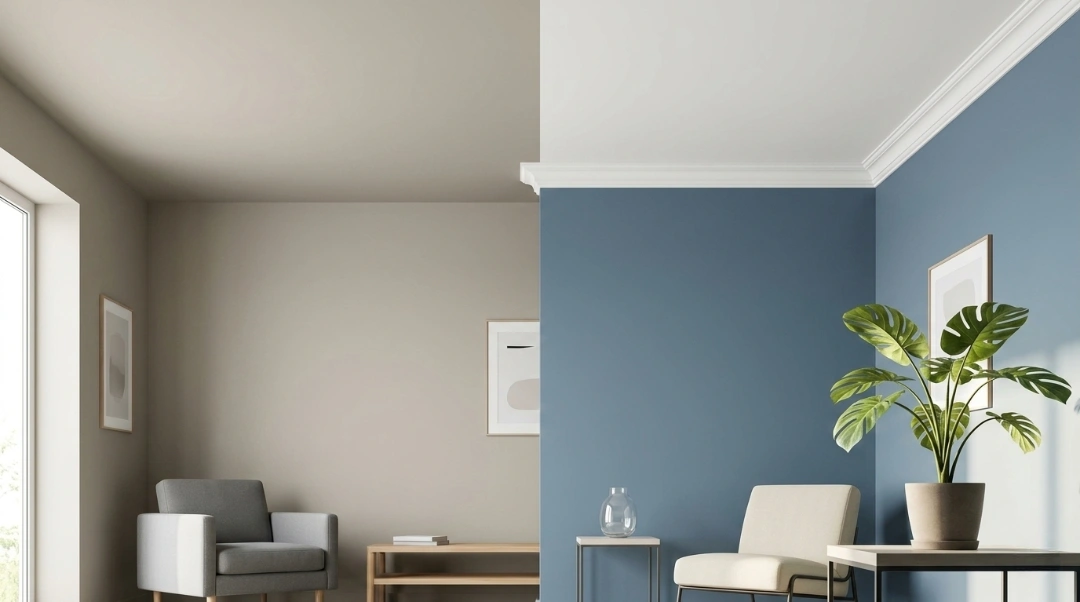
It’s crucial to know why painting a wood table is different from painting a wall before we go into the how-to. Walls are flat, have holes in them, and don’t get hurt easily. A table? That’s a different story. People lay cups on it, lean on it, and drag dishes across it. That means the paint job needs to be strong and attractive.
The good news is that you can paint a wooden table at home, even if you’ve never done it before. You only need to take the appropriate steps, pick the right items, and give yourself enough time to do it well. The most common reason that DIY furniture paint treatments don’t work is that they are rushed. We’re going to make sure that doesn’t happen to you.
When to Paint a Wood Table? 4 Key Signs to Look For
Before you pick up a brush, you need to decide if your table is a candidate for a makeover. Painting a wooden table isn’t just about aesthetics; it’s about preservation.
- Deep Scratches and Water Rings: If the surface has heat marks or white rings that won’t budge, a fresh coat of paint can hide these imperfections perfectly.
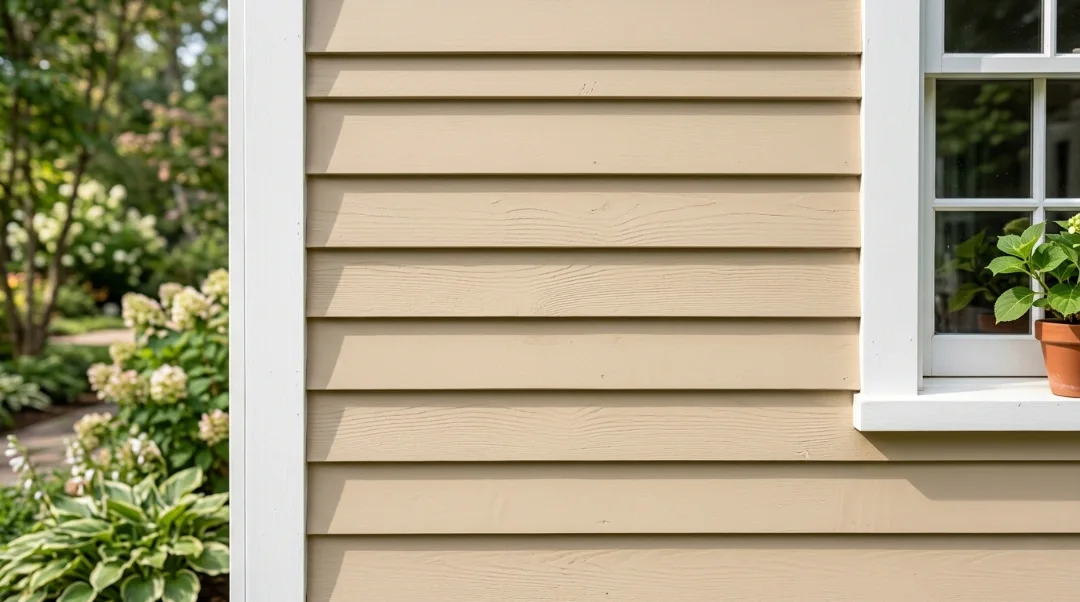
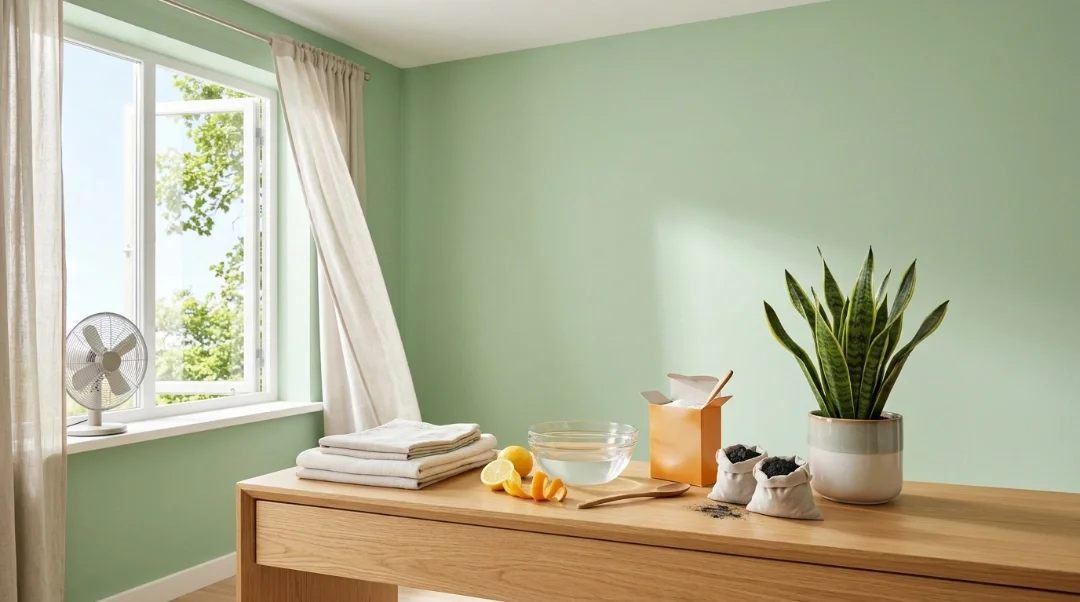
- Outdated Wood Tones: That “honey oak” or “cherry” finish from the 90s might not match your modern decor. Painting a wood table in a matte black or soft sage can instantly modernize your room.
- Visible Wear on Edges: If the stain has worn off where people sit, the wood is exposed to moisture. Painting acts as a protective seal.
- Structural Soundness but Visual Fatigue: If the table is sturdy but “boring,” it’s time for a change.
Paint Types Explained: What You Need to Know Before Buying
The most common question we hear is: “What paint to use on wood furniture?” Choosing the right product is the difference between a table that lasts ten years and one that peels in ten days.
Latex Paint
A lot of people choose this for beginners because it dries quickly and can be cleaned up with water. For a high-traffic surface like a dining table, though, make sure to use a high-quality “enamel” latex to keep things from “blocking” (sticking to the table).
Chalk Paint
Chalk paint is the ideal thing to use if you want to know how to paint a wood table without sanding it. It will stick to just about anything. It has a matte, farmhouse effect, but to last, it needs to be coated with wax or a topcoat.
Oil-Based Paint
Oil-based options are incredibly durable and level out beautifully, meaning fewer brush marks. The downside? They have a strong smell and take a long time to dry.
Mineral and Acrylic Paints
These are the “just right” colors for painting furniture. They are easy to use like latex but last longer like oil. A lot of expert furniture flippers like these for painting a table made of wood.
Chalk Paint
Best for: Vintage or matte finishes
Pros: Often requires less sanding
Cons: Needs sealing for durability
Many DIYers love chalk paint for painting a wood furniture piece quickly.
Oil-Based Paint
Best for: High-traffic dining tables
Pros: Very durable finish
Cons: Strong smell, longer drying time
If durability is your top concern, oil-based paint performs well.
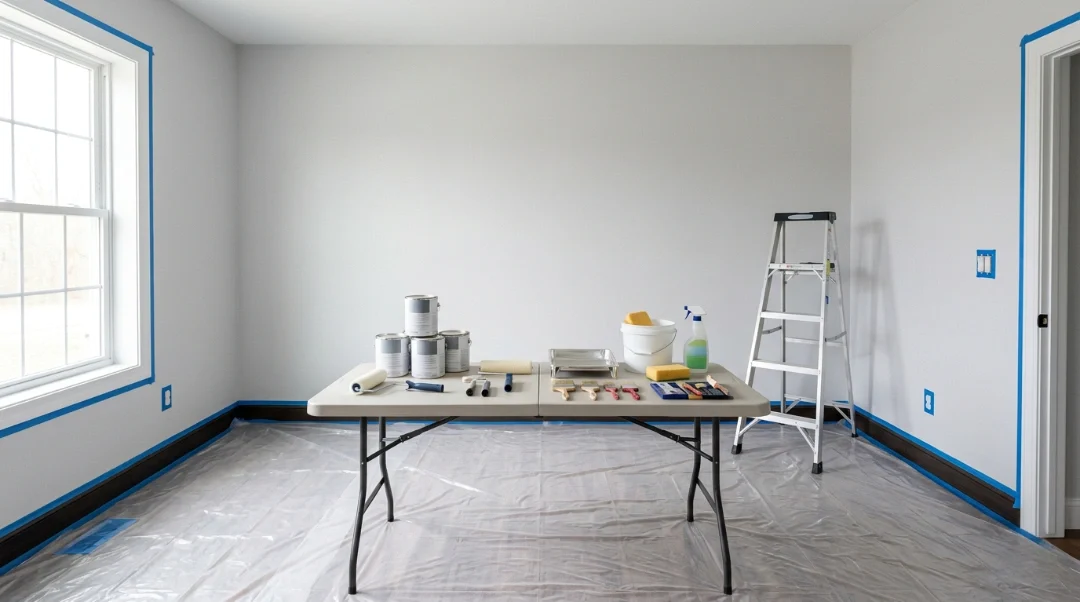
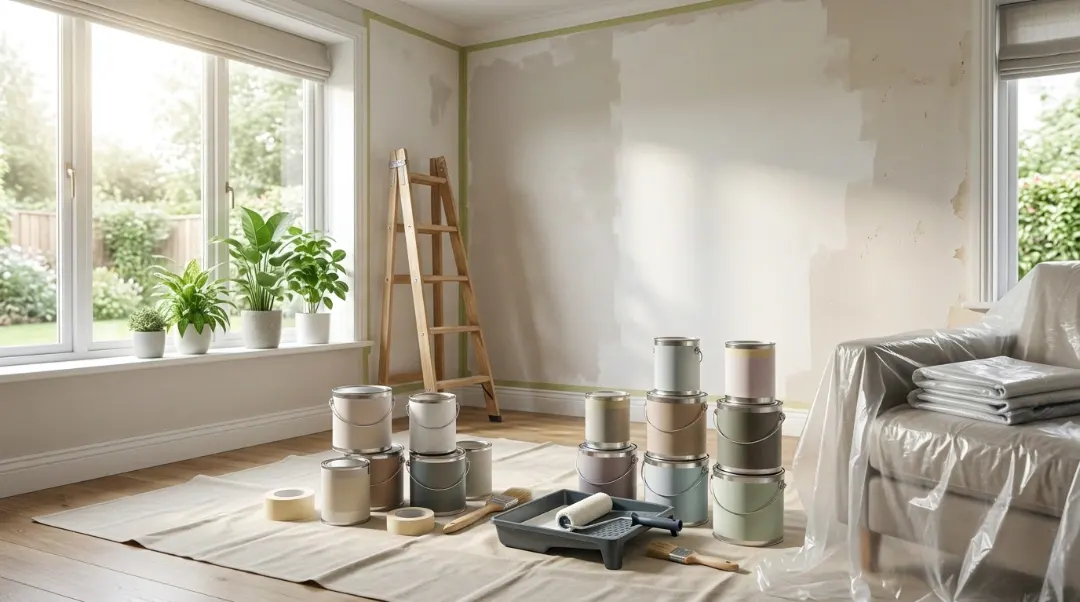
Tools and Materials You’ll Need
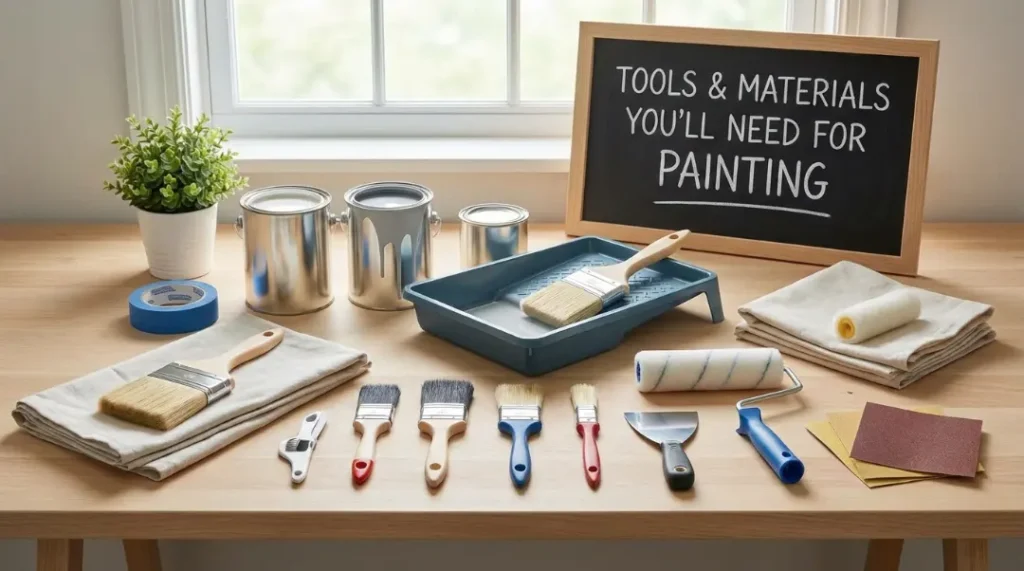
| Item | Type | Why You Need It |
| Sandpaper (120 & 220 grit) | Prep Tool | Scuffs the surface so paint sticks |
| Tack Cloth or Damp Rag | Prep Tool | Removes sanding dust before painting |
| Bonding Primer | Primer | Helps paint grip the wood surface |
| High-Density Foam Roller | Applicator | Leaves a smooth, even coat |
| Synthetic Bristle Brush | Applicator | Reaches edges and corners |
| Paint Sprayer (optional) | Applicator | Factory-smooth finish; ideal for pros |
| Drop Cloth or Plastic Sheeting | Protection | Keeps floors and walls paint-free |
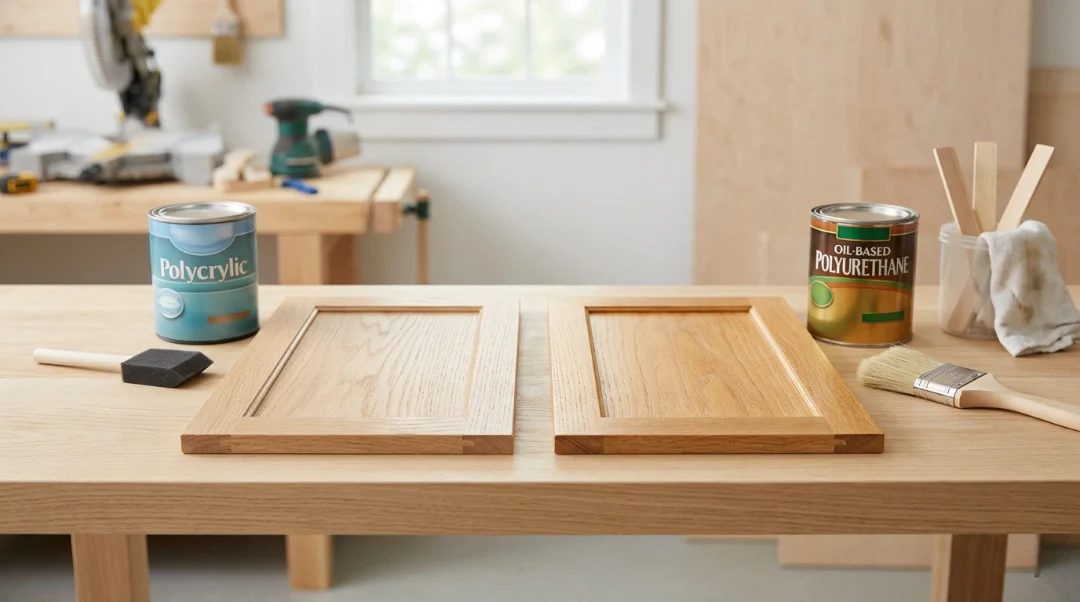
| Polycrylic or Polyurethane Topcoat | Sealer | Locks in paint and adds durability |
How to Paint a Wood Table: 6 Step-by-Step Beginner Tutorial
Follow these proven steps for the best way to paint a dining table and chairs or any wooden table.
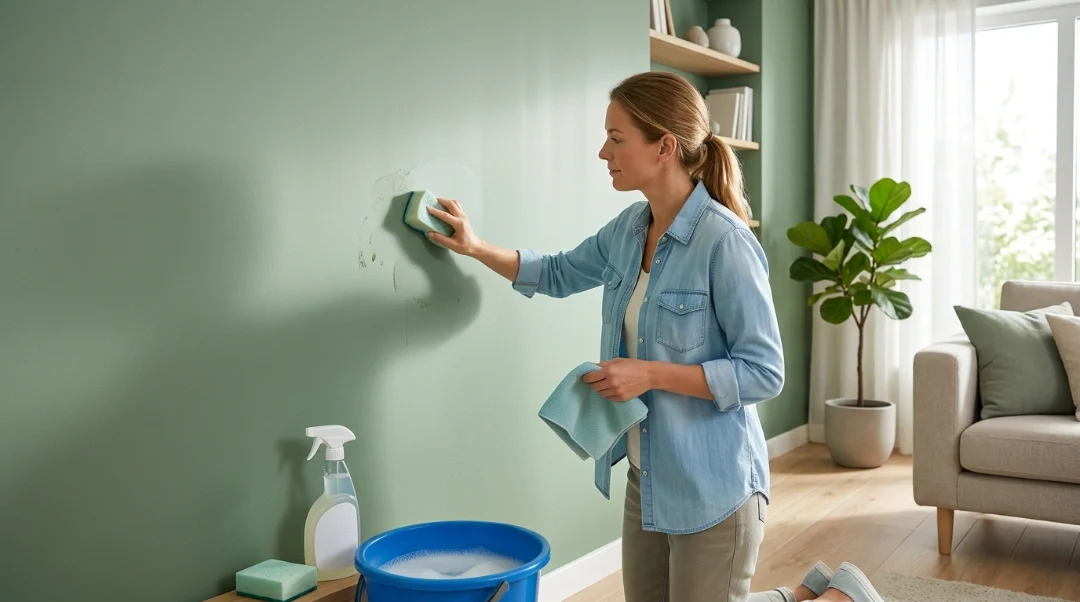
Step 1: Preparation and Cleaning
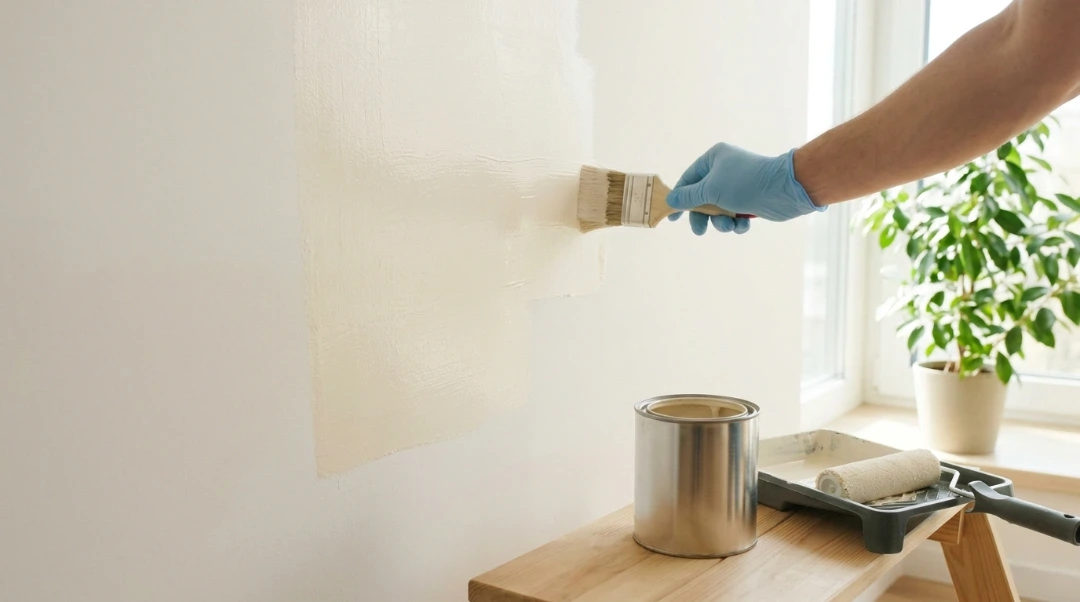
Remove any hardware or leaves from the table. Clean the surface thoroughly. Grease and oils from years of dinners will prevent paint from sticking. Use a degreaser and let it dry completely.
Step 2: Sand the Surface
A lot of people want to know, “Do you need to sand a wood table before painting it?” Almost always, the answer is yes. You don’t have to take it down to bare wood, but you do need to “scuff sand” it with 120-grit sandpaper. This makes “teeth” that the paint can hold onto.
Step 3: Apply Primer
Do I need to use primer on wood furniture? Yes, especially if the wood is dark or oily, like pine or mahogany. A primer stops “bleed-through,” which happens when the wood tannins make your white paint yellow. Put on one thin coat and let it dry.
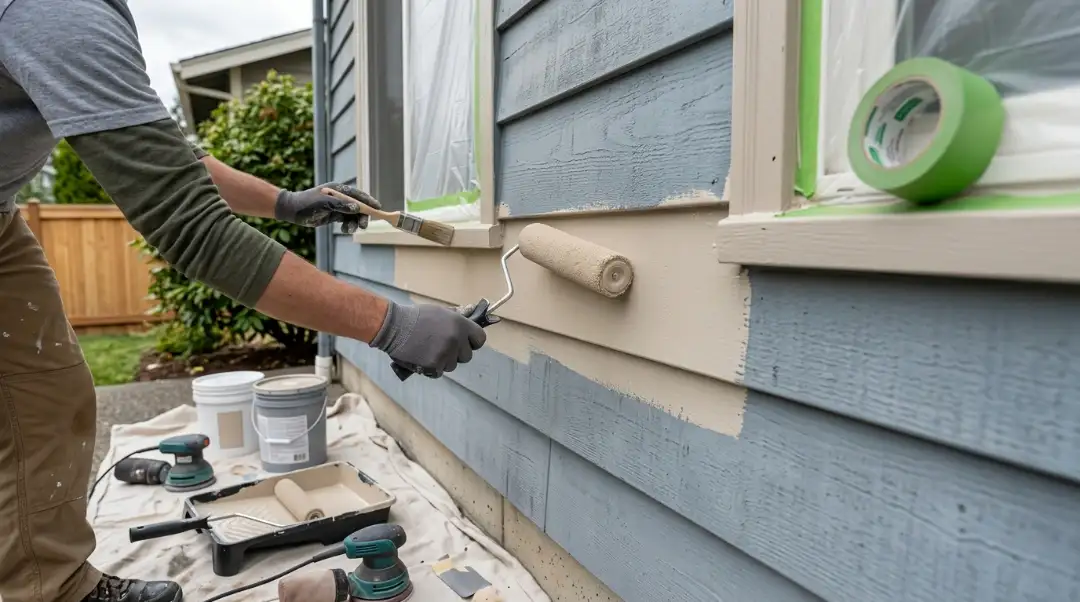
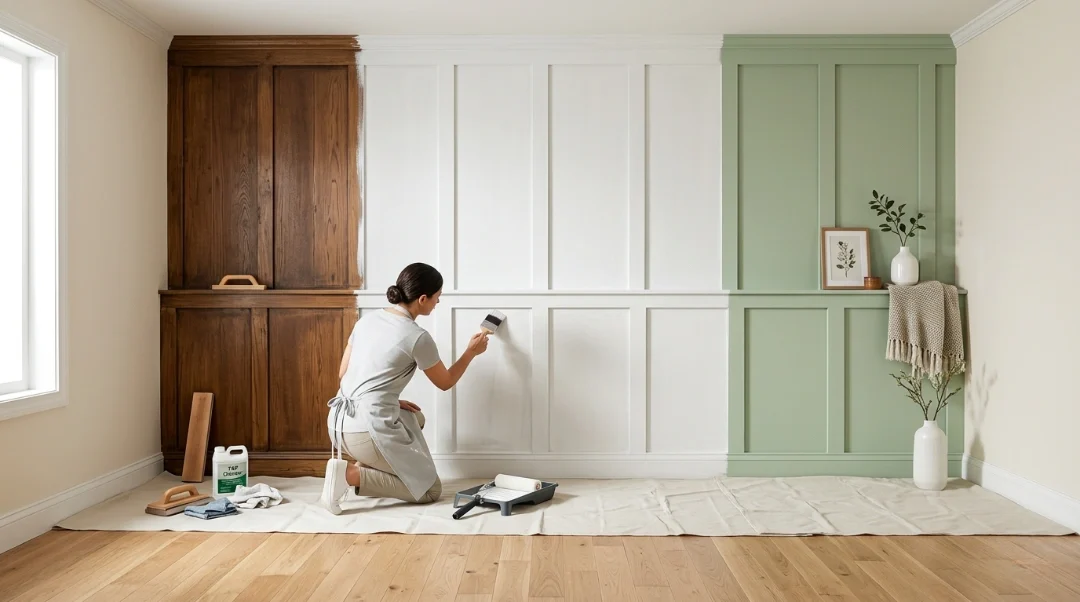
Step 4: First Coat of Paint
Use a brush for the legs and a foam roller for the flat top to put on the first coat of latex paint or oil-based paint. The first coat is only the base, so don’t worry if it looks a little streaky.
Step 5: Light Sanding (The Secret Step)
After the first layer is dry, use 220-grit sandpaper to very lightly sand the surface. This gets rid of any dust nibs or bubbles. After that, use a tack cloth to wipe it down. This is how you paint furniture so that it has a smooth surface.
Step 6: Final Coat and Topcoat
Put on your last layer of paint if you are using a paint that needs a sealer, like chalk paint, put on a polycrylic or wax coat after the paint has dried for 24 hours.
How to Paint a Wood Table Without Sanding
Many beginners ask about how to paint a wood table without sanding. Yes it’s possible in some cases.
When You Can Skip Sanding
- Surface is already matte
- Using high-quality bonding primer
- Using chalk paint designed for low prep
When You SHOULD NOT Skip It
- Glossy finish
- Heavy varnish
- Deep scratches
Even light sanding usually gives better long-term results.
4 Common Mistakes to Avoid in Painting a Wood Table
Mistake 1: Skipping the Prep Work
It may seem like a lot of work to clean and sand, but not doing them is the quickest way to mess up your paint job. Paint won’t stick well to surfaces that are unclean, greasy, or shiny. Your results will be far greater if you put in the time to prepare.
Mistake 2: Using the Wrong Applicator
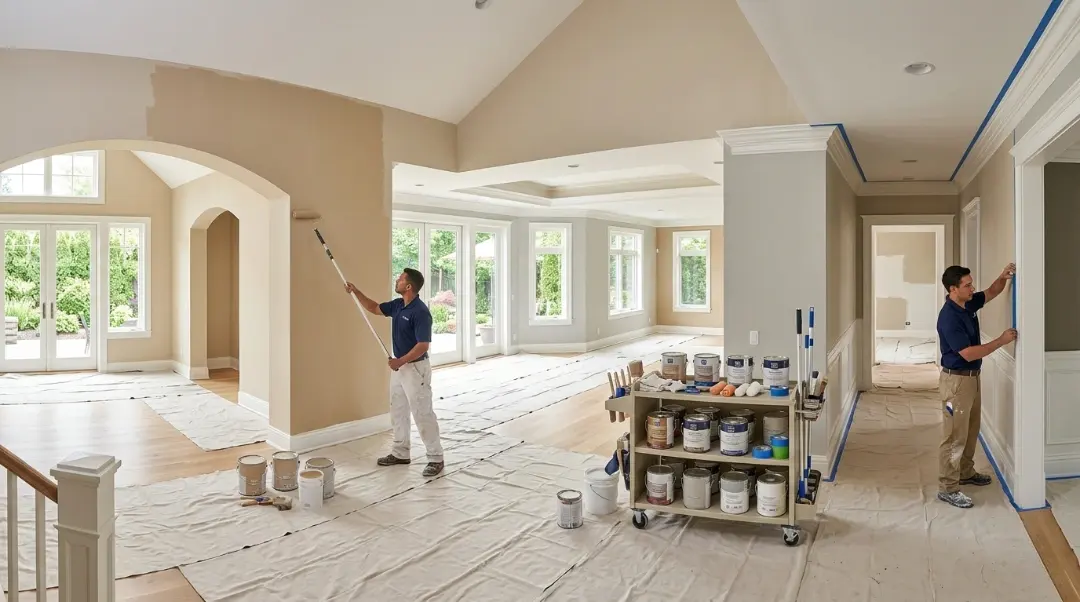
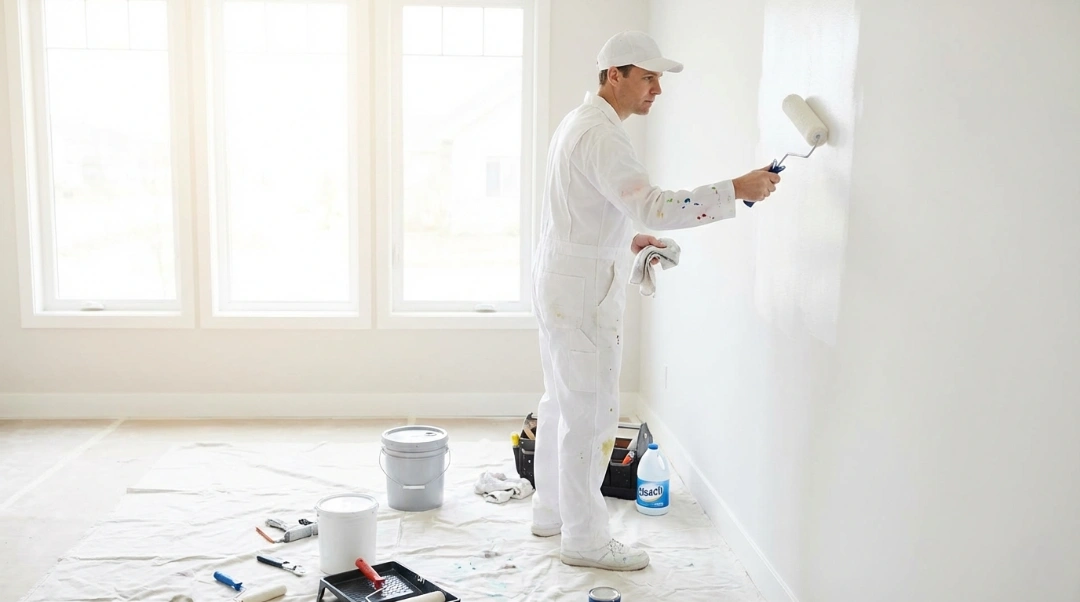
A bad paintbrush leaves bristle markings that are very hard to sand out. For flat surfaces, always use a high-density foam roller. For legs and small details, use a synthetic brush with fine bristles. A paint sprayer makes furniture look like it came directly from a factory, which is the best way to get a perfect finish.
Mistake 3: Not Letting Paint Dry Fully Between Coats
Being impatient might ruin a paint job. When you put a second coat of paint on top of wet paint, it will wrinkle, peel, and look like a mess. Always stick to the manufacturer’s recommended dry time, and if you’re not sure, wait longer.
Mistake 4: Forgetting to Seal the Paint
Paint alone is not durable enough for a table surface. The topcoat is what gives your painted table the ability to withstand daily use. Don’t skip it, ever.
Best Paint for Wood Tables (Comparison Table)
| Paint Type | Best For | Pros | Cons |
| Chalk Paint | Distressed/Vintage Look | No sanding required usually | Needs a topcoat; show brush marks |
| Acrylic/Mineral | Modern/Satin Finish | Built-in topcoat; very durable | Dries very fast (hard to fix drips) |
| Enamel Latex | General DIY Use | Easy cleanup; low odor | Can be “soft” for several weeks |
| Milk Paint | Authentic Antique Look | Eco-friendly; beautiful depth | Comes in powder; requires mixing |
Pro Tips for a Factory-Smooth Finish
If you want your table to look like it came from a high-end showroom rather than a DIY garage, follow these pro-level tips:
- Use a Paint Sprayer: If you have a large project, a HVLP (High Volume Low Pressure) sprayer provides a flawless finish without a single brush stroke.
- Check the Humidity: Never paint on a super humid day. The paint won’t dry correctly, and you’ll end up with a “sticky” finish.
- The “Flood” Method: For the tabletop, load your roller well and “lay it on” without over-working the paint. Let the paint level itself out.
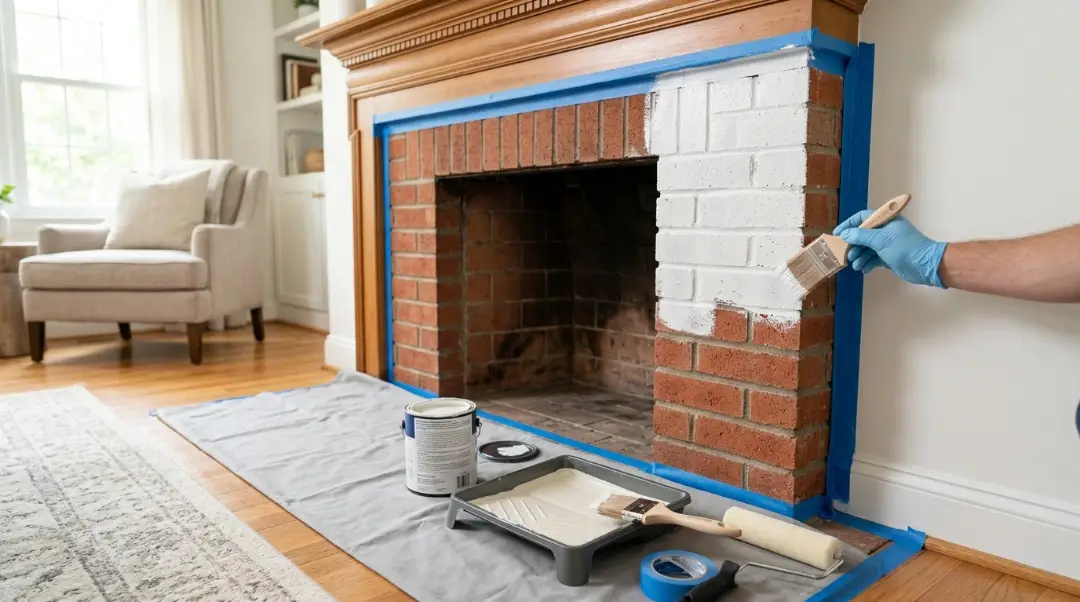
- Can I paint over varnished wood? Yes, but you must use a “bonding primer.” Standard primer will peel right off a glossy varnish.
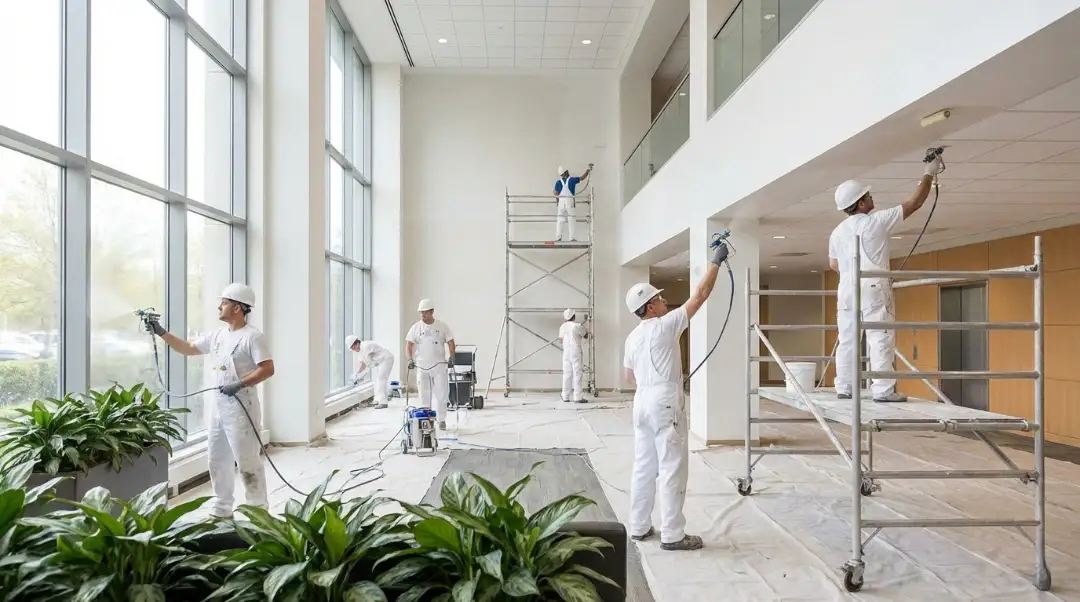
Why Choose Us
At Inter Color Painting LLC, we bring real hands-on experience to every furniture and interior project. Our team understands the small details that make painted surfaces last longer and look better.
If you’d rather leave the hard work to professionals, our Interior Painting Services Seattle WA team can help transform your furniture and home with flawless results. (Recommended internal link placement.)
We believe in:
- Proper surface preparation
- Premium materials
- Long-lasting finishes
- Honest workmanship
Conclusion
Learning how to paint a wood table is a simple DIY project that delivers big results. With proper prep, the right paint, and patience between coats, you can transform almost any table into a beautiful centerpiece. Remember the keys to success: always clean and prep properly, use quality primer and paint, apply thin, even coats, and seal for durability. If you want guaranteed professional results without the hassle, the experts at Inter Color Painting LLC are here to help. Contact us today to discuss your furniture or interior painting project and get a smooth, long-lasting finish you’ll love.
FAQs
How do you paint a laminate table top?
Plastic, not wood, is what laminate is made of. You need to apply a specific bonding primer to paint it. You need to sand with 120-grit paper so the primer has something to hold on to.
What is the best way to paint a dining table and chairs?
The best way is to disassemble what you can. Paint the chairs separately and use a foam roller for the flat surfaces of the table to avoid brush marks.
How long should I wait between coats?
Usually 2 to 4 hours for water-based paints, but always check the back of the paint can. Rushing the second coat can pull up the first coat, creating a mess.
Do I really need to sand between every coat?
You don’t have to, but if you want that “glass-like” feel, a quick 220-grit sand between coats is the “secret sauce” of professionals.