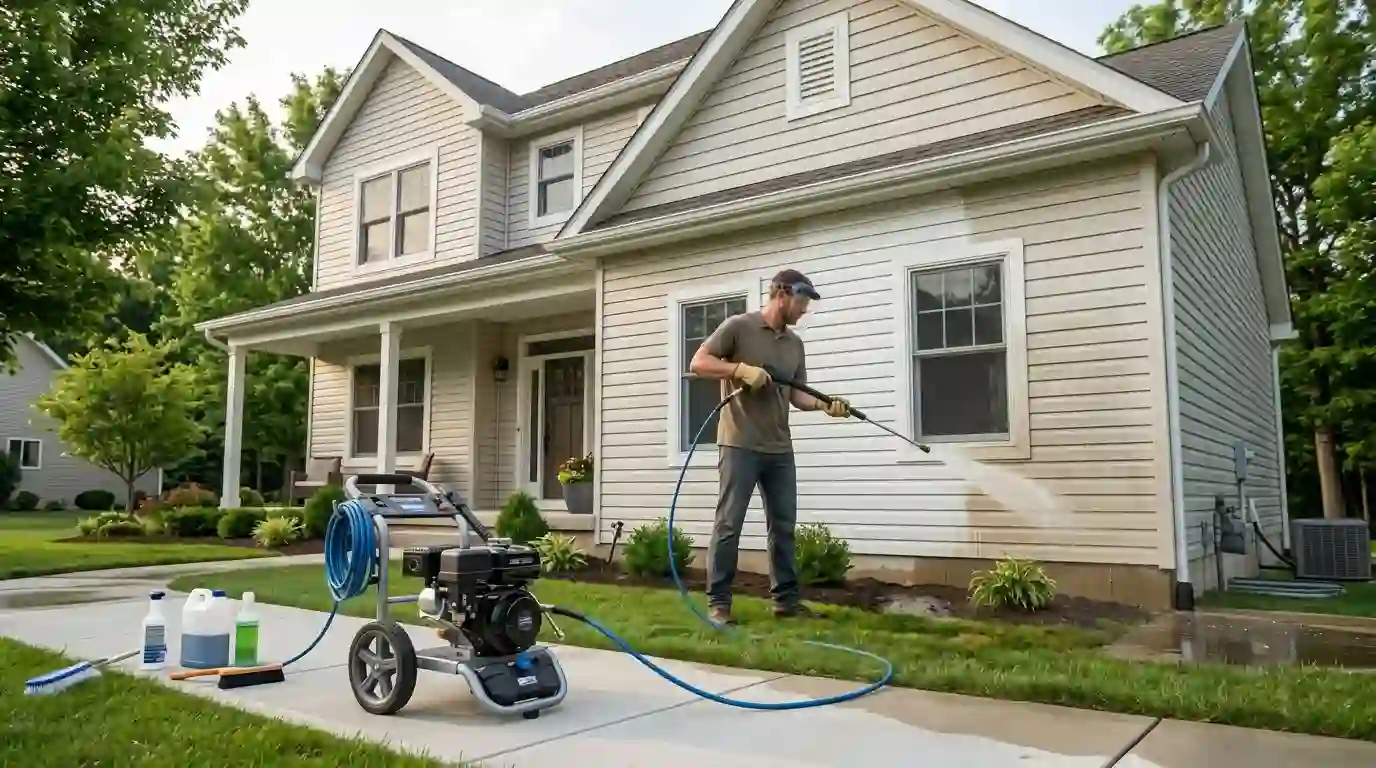
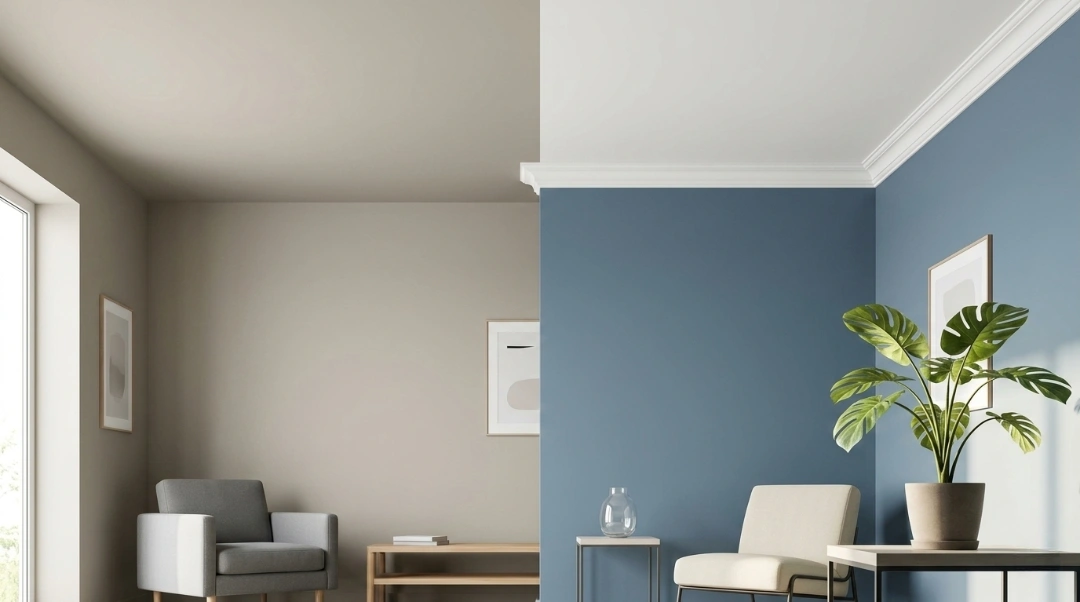
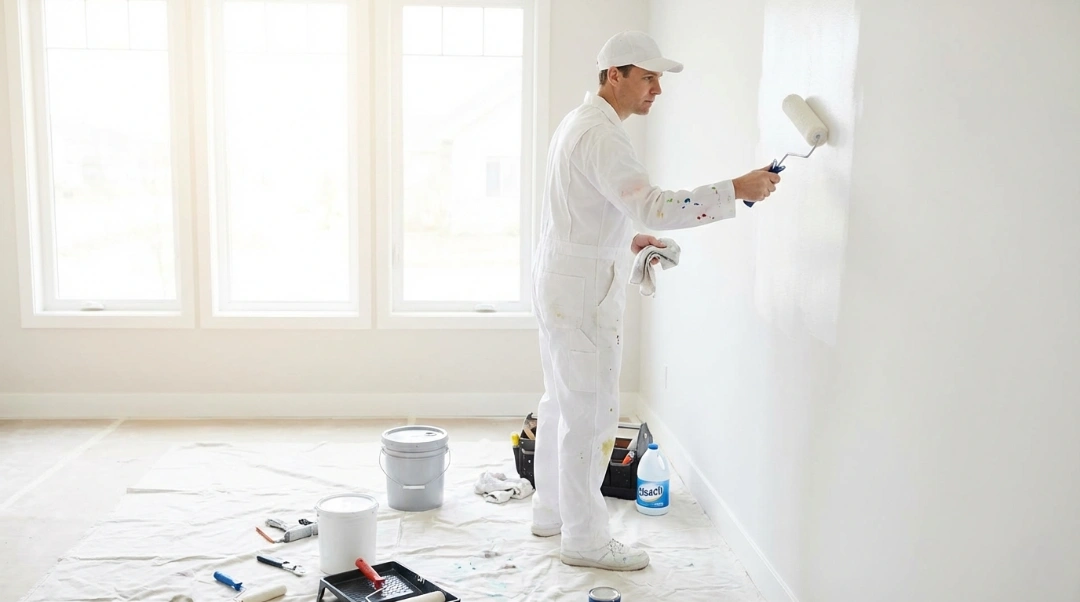
Have you ever looked at the bumpy walls in your living room and wished for the smooth wallpaper look you see on Instagram? Textured walls from the 1980s and 1990s can be a real pain to work with. Can you put wallpaper on walls that have texture? Yes, of course, but you need to plan ahead and use the right materials for it to work. As a professional painter in Seattle, I’ve done dozens of these jobs, turning orange-peel disasters into showstoppers. This guide cuts through the hype and gives you real-world steps to get your walls ready for wallpaper without the stress.
People love wallpaper because it gives their homes a quick personality boost. But does wallpaper work on textured walls like knockdown or popcorn? Light textures? No problem. Heavy ones? Get ready to work hard. Don’t guess; use these tried-and-true methods for a perfect finish that will last for years. We’ll talk about everything from getting ready to getting professional tips, whether you’re updating a bedroom or a rental.
Can You Put Wallpaper on Textured Walls?
Yes, you can put wallpaper on textured walls, but the texture must be light to moderate for the wallpaper to adhere smoothly. For heavily textured walls, you’ll need to sand, skim coat, or apply lining paper before installing wallpaper to prevent bumps and uneven surfaces.
The Factors That Matter: What Kind of Texture Do You Have?
Before you even think about buying a roll of paper, you need to play detective. The strategy for success changes drastically depending on the type of texture adorning your walls.
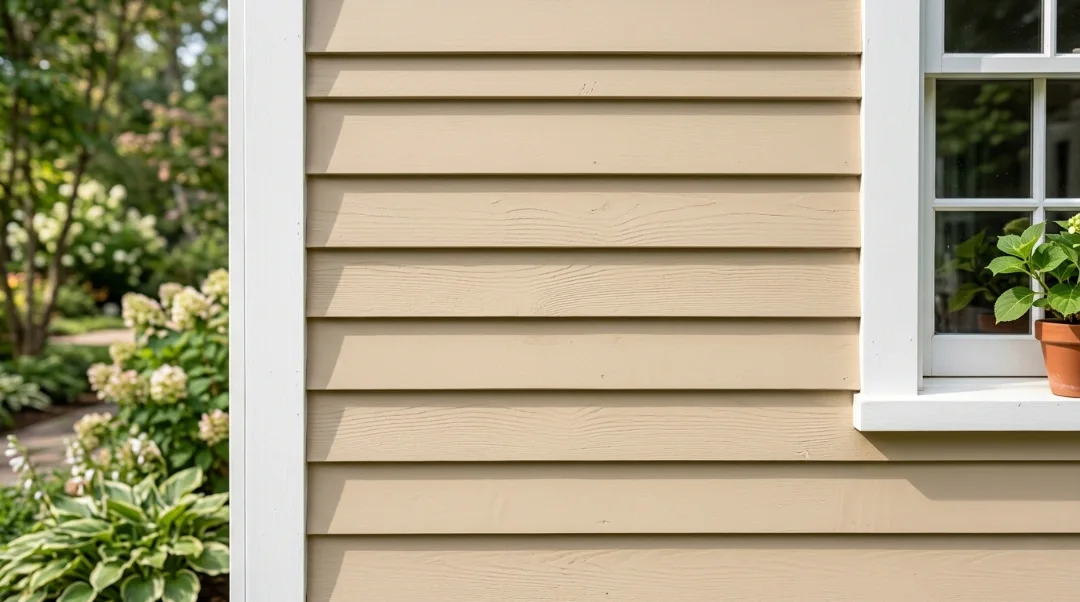
1. Orange Peel Texture
This is the most common texture and resembles the dimpled skin of an orange. It’s subtle, inconsistent, and often spray-applied.
- The Challenge: The small, random bumps can trap tiny air pockets, which may look like small pinpricks beneath a thinner paper.
- The Solution: This texture is often manageable with minimal prep, especially if you use heavy-duty vinyl wallpaper. A simple sanding and a heavy-duty primer can be enough.
2. Knockdown Texture
This texture starts as a splatter (like stucco) that is then “knocked down” with a trowel, creating flat, uneven surfaces with defined edges and valleys.
- The Challenge: The sharp, defined edges of the knockdown can cut or rub against the paper backing, and the valleys create significant air gaps.
- The Solution: You will almost certainly need a primer and a wallpaper liner (more on this later) to bridge the deep valleys and soften the sharp points.
3. Popcorn or Heavily Aggregated Texture
Often found on ceilings but occasionally on walls, this consists of large, dense aggregates that create a rough, sponge-like surface.
- The Challenge: Adhesion is minimal to non-existent. Trying to stick wallpaper directly to this is a recipe for disaster.
- The Solution: The only reliable solution here is removal or a skim coat. Anything less will fail quickly.
4. Textured Wallpaper
This is a specific scenario where you might be wallpapering over textured wallpaper (like old vinyl Anaglypta).
- The Challenge: If the old paper is firmly attached, you’re adding texture on top of texture, which can create a distorted, uneven finish.
- The Solution: If the existing wallpaper is stable and its texture is mild, you can often prime and paste over it. If it’s peeling or its texture is aggressive, removal is mandatory.
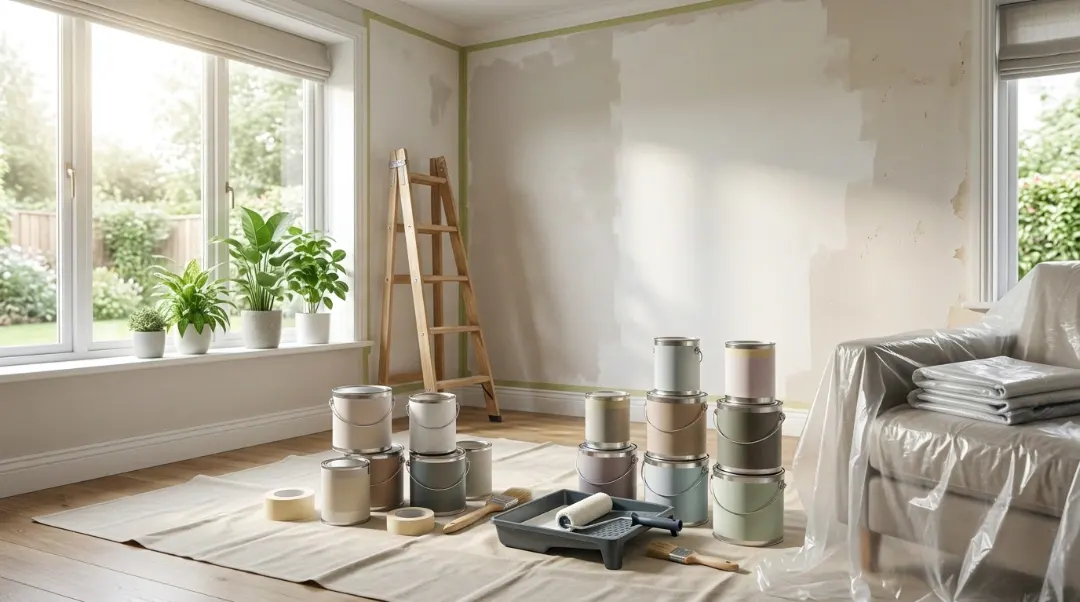
How to Prepare Textured Walls for Wallpaper?
This is the most crucial section of your entire project. The level of prep you choose will directly correlate with the quality and longevity of your final result. We break this down into three proven methods, from least labor-intensive to most thorough.
Sanding and Primer
This is your go-to if you have a very mild orange peel texture and are using a heavy-duty wallpaper.
A Step-by-Step Guide to Getting Your Textured Walls Ready:
- Light Sanding: Using a pole sander with 80-grit sandpaper, gently scuff the surface of the wall. The goal is not to remove all the texture, but to knock down the highest peaks the points that will be taking the most stress from the wallpaper. Do not over sand, as you can damage the drywall beneath.
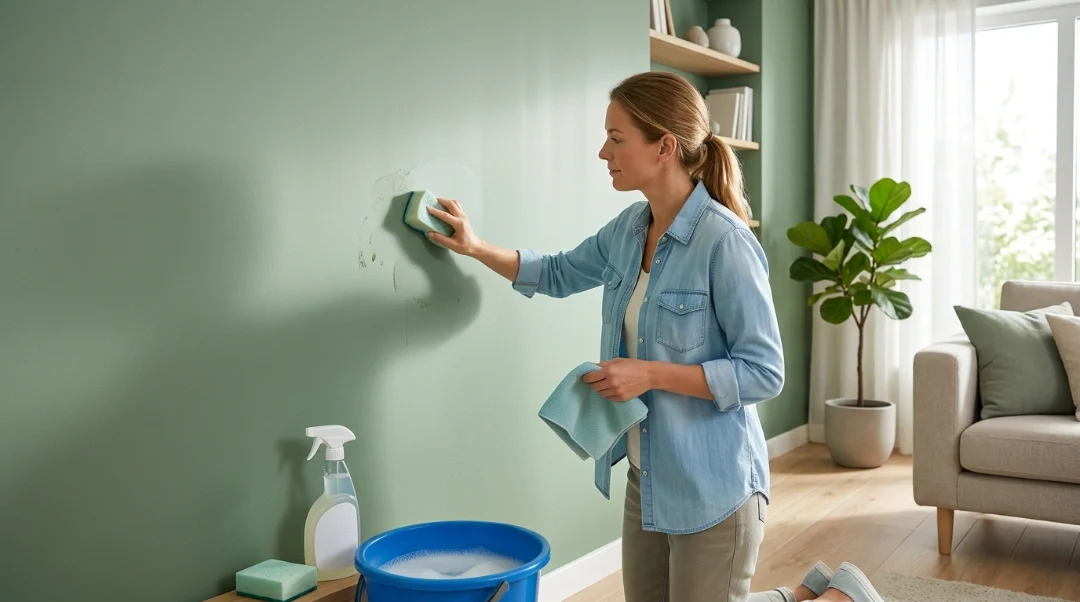
- Clean the Dust: Vacuum the walls thoroughly, then wipe them down with a damp (not soaking wet) cloth or a tack cloth to remove all fine drywall dust. Adhesives absolutely will not stick to dust.
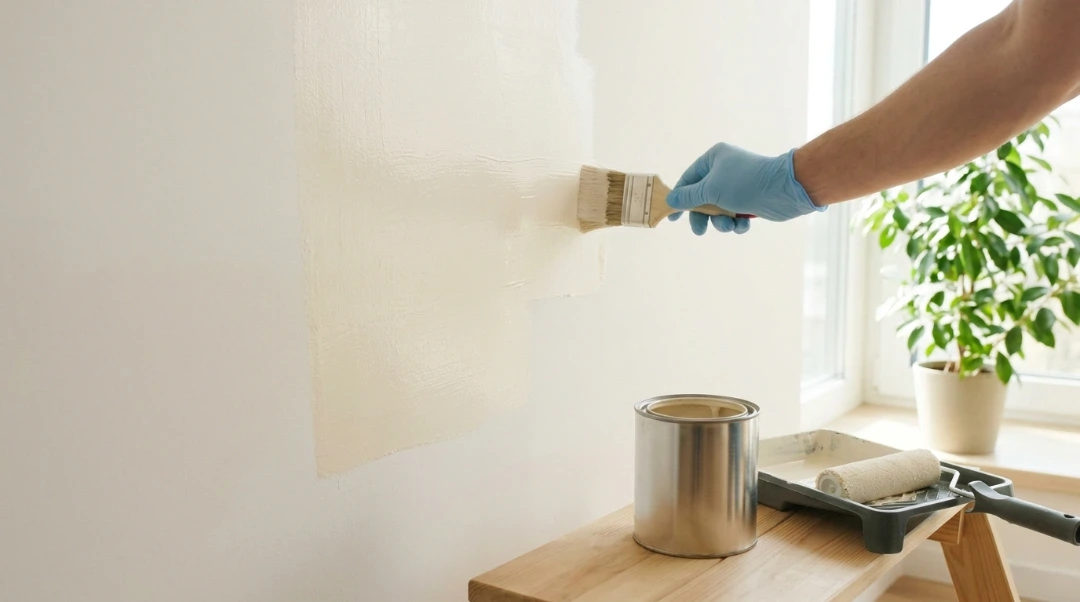
- Apply a Specialized Primer: This step is non-negotiable. Forget standard paint primers. You need a specialty product like a Gardz or a high-quality, oil-based, pigmented shellac (BIN). This seals the surface, prevents moisture from the paste from damaging the wall, and most importantly, it creates a surface with a “tooth” that the adhesive can firmly grip.
The Wallpaper Liner
The most underrated solution for medium-to-heavy textures (like knockdown) is the use of a blind or lining paper. This is a thick, blank paper (often fiberglass or pulp) that is designed to be pasted onto the textured wall before the decorative wallpaper.
- How it Works: The thick liner paper bridges the valleys and dips of the texture. It effectively creates a smooth, continuous, and highly absorbent surface for your final wallpaper layer.
- The Process:
- Clean and prime the textured wall first (as in Tier 1).
- Apply the liner paper using a heavy-duty adhesive. The liner goes up exactly like standard wallpaper, but you butt the seams together (do not overlap).
- Allow the liner to dry completely (24-48 hours).
- Apply your final decorative wallpaper directly on top of the smooth liner paper.
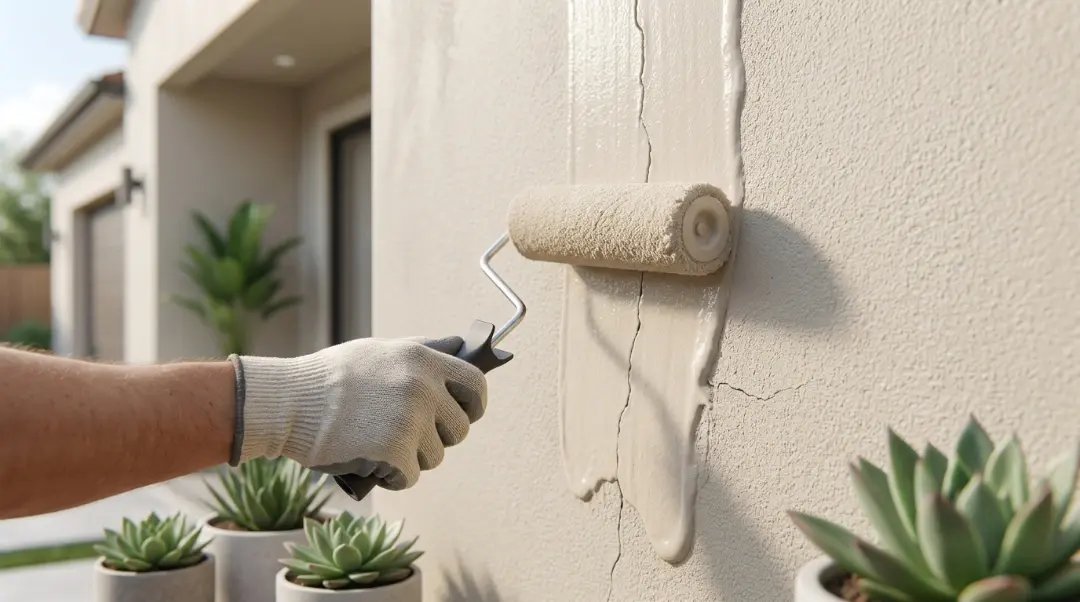
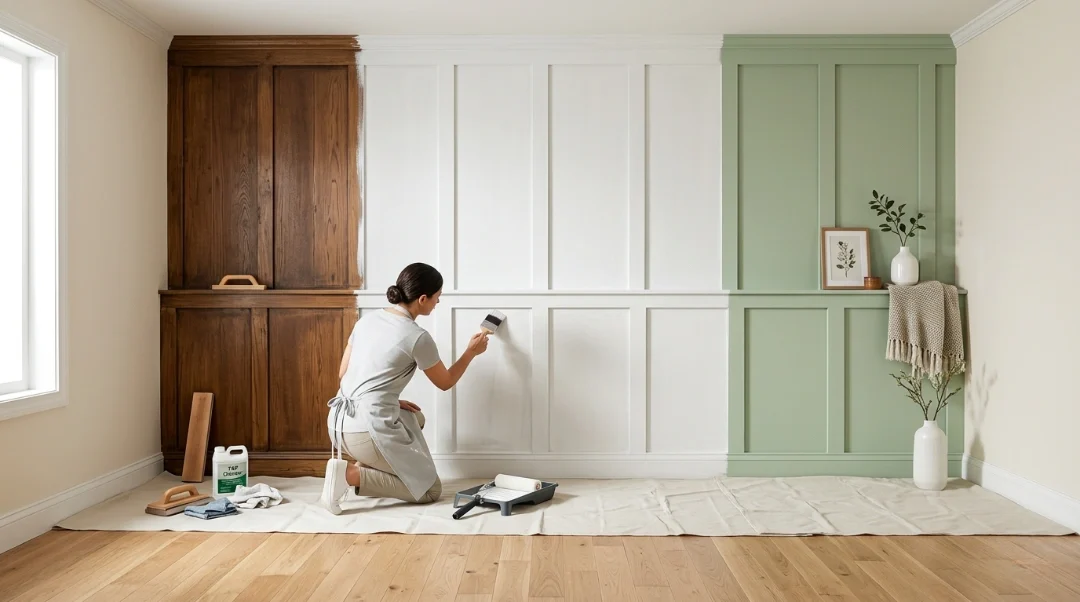
Skim Coating
If you have thick texture, or if you are aiming for a perfect, museum-quality smooth wall beneath a high-end paper, a skim coat is the only way to go. This involves applying a thin, smooth layer of joint compound over the entire wall surface.
- The Process: This is a professional drywall technique and is the most labor-intensive, requiring multiple coats and extensive sanding. It essentially turns your textured wall into a brand-new, perfectly smooth canvas.
- The Advantage: Once skim-coated, primed, and sealed, your wall is functionally no different from any new construction wall. You can use any type of wallpaper even the thinnest papers with guaranteed, perfect results.
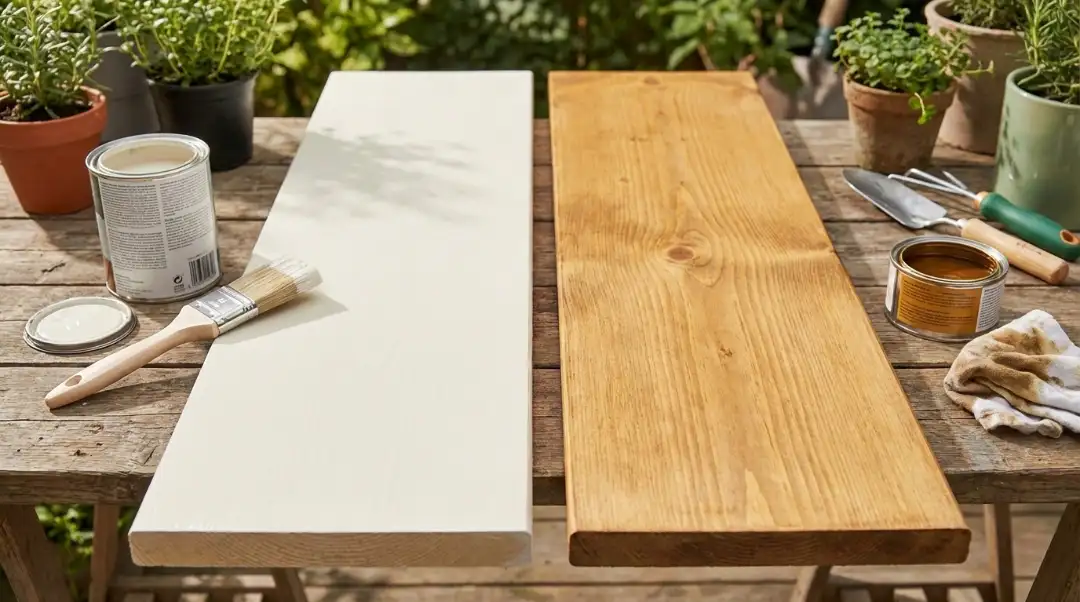
Best Types of Wallpaper for Textured Walls
The wall is ready once the prep work is done. Choosing the correct material, on the other hand, can make things more forgiving and give them a nicer finish. When choosing the ideal wallpaper for walls with texture, check for thickness and weight.
Non-Woven Paper
These sheets last a long time because they are generally manufactured with synthetic fibers that make them thicker and less likely to rip than regular paper. The “paste-the-wall” approach is used to hang them, which is usually cleaner and faster. Their thickness helps hide any small flaws that may still be there, which is why they are a great choice for putting up wallpaper over textured walls.
Textured Vinyl Wallpaper
This includes papers that have a texture built into the pattern, which is frequently dubbed “Anaglypta” or “embossed.” The pattern on the wallpaper’s texture helps hide the wall’s actual texture. The sturdy vinyl material stands up very well to the powerful glues that are needed for textured surfaces.
Fabric-Backed Wallpaper
These wallpapers are thick and fancy. The fabric backing makes them stiffer and less inclined to bend or fold, which makes the final installation smoother. This type of paper looks great on a wall that has been professionally skim-coated or lined.
What to Avoid
When preparing for installing wallpaper on textured walls, stay away from these:
- Thin Paper or Foils: They are too thin and will conform to the texture, highlighting every bump, creating an unpleasant topographical map effect.
- High-Gloss or Metallic Finishes: Any reflective surface will catch the light, drawing immediate attention to the shadows and inconsistencies created by the underlying texture.
- Standard Peel and Stick Wallpaper: This is the riskiest choice. While highly convenient, the adhesive on most standard peel and stick wallpaper for textured walls is designed for perfectly smooth surfaces. It will stick only to the peaks of the texture, leaving the rest of the paper unsupported. This almost always leads to bubbling and corner peeling within months, especially in humid environments.
Pro Tip on Peel and Stick: If you insist on using peel and stick, you must use a wallpaper liner (Tier 2 prep) underneath, or use a “heavy-duty” commercial-grade peel and stick product specifically marketed for textured walls.
Applying Wallpaper to Textured Walls
Once the wall is prepped (either sanded, lined, or skim-coated), the application process is similar to a smooth wall, but with a few critical adjustments. The technique for how to apply wallpaper to textured walls requires extra care and attention to the edges.
Choose the Right Adhesive
Since the wall is still slightly more challenging, you need maximum adhesion. Forget pre-pasted papers; you need a high-solids, professional-grade vinyl adhesive. This is often the best adhesive for textured walls because it is heavy-bodied and sets slower, giving you more time to work the paper into the subtle texture of the wall.
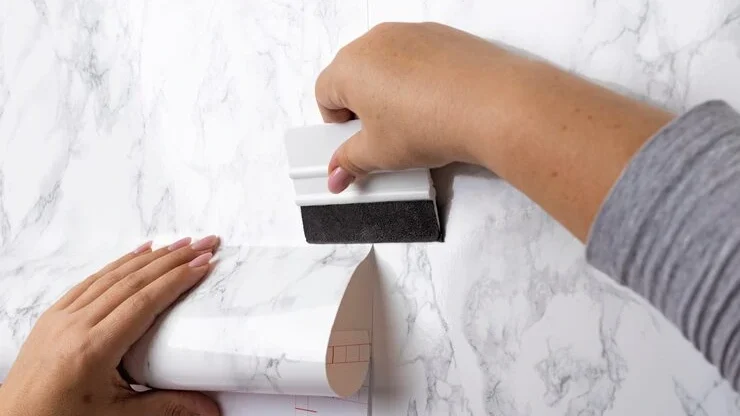
The Power of the Seam Roller
For smooth walls, you use a smoothing tool to push out air bubbles. For textured walls, you need a specialized seam roller. This is a small, hard-rubber roller designed to apply firm, even pressure along the seams and across the body of the paper. Use it extensively to ensure the paper is forced into the subtle valleys of the texture. Be gentle, but firm, and work slowly.
Edge and Corner Security
The edges are where wallpaper on a textured wall almost always fails.
- Use Seam Adhesive: Apply a thin bead of specialized seam adhesive (often sold in small tubes) under the edges and corners of the final panels. This is a belt-and-suspenders approach to prevent lifting.
- Overlapping: If using thick, non-woven paper, a slight 1/16-inch overlap on the seams can provide extra security against the texture pushing the seams apart, though ideally, you should always aim for a perfect butt-joint.
Wait, Don’t Paint!
We commonly get asked about painting over textured painted walls before wallpapering. While you should prep your textured walls (as in Tier 1), you shouldn’t necessary paint them with a decorative coat. The specific primer gets the wall ready for the glue, whereas a regular latex wall paint keeps water out and can make the wall slick, which can hurt the glue’s ability to stick. Stick to the specialist primer only.
Tips and Tricks for a Successful Project
- Test a Sample: Before you commit to the whole room, buy one roll (or a large sample) of the paper and stick it up in an inconspicuous spot. Monitor it for 24 hours, paying close attention to the seams and corners. This simple step can save you hours of wasted effort.
- Use the Right Tools: A high-quality utility knife with constantly sharp blades is essential. Dull blades will rip the paper when trimming, which is especially noticeable against a textured backdrop.
- Work Slowly: Applying wallpaper to a textured wall takes patience. Don’t rush the process of smoothing. You need to take the time to press the paper firmly into all the subtle peaks and valleys.
- Check the Warranty: If you’re using high-end wallpaper, check the manufacturer’s warranty. Most void the warranty if the paper is applied to an unprepared textured wall. This alone should convince you that prep is mandatory!
Ultimately, the question can you put wallpaper on textured walls comes down to preparation. There is no magic wallpaper that instantly makes a rough wall smooth. It is your commitment to sanding, lining, or skim coating that delivers the spectacular final result.
Does peel-and-stick wallpaper work on textured walls?
You can use peel and stick wallpaper over textured walls, but only if the texture is very light, like a fine orange peel finish. Peel-and-stick wallpaper needs a smooth, even surface to stick well. Textures that are moderate or heavy, such knockdown, slap brush, and popcorn, will make the wallpaper lift, bubble, and not stick well over time. Before you install, it’s best to test a small area first or smooth the wall by sanding, putting up a wall liner, or skim coating it. This makes sure that the wallpaper sticks properly and leaves a clean, smooth surface.
Final Thoughts
So, Can You Put Wallpaper on Textured Walls? Yes, but only if you know how to do it right. You need to know the texture, prepare the surface, choose the suitable materials, and install them carefully. There are several ways to get a smooth, elegant finish on even the most uneven walls. These include skim coating, wall liners, thick vinyl wallpaper, and the correct glue.
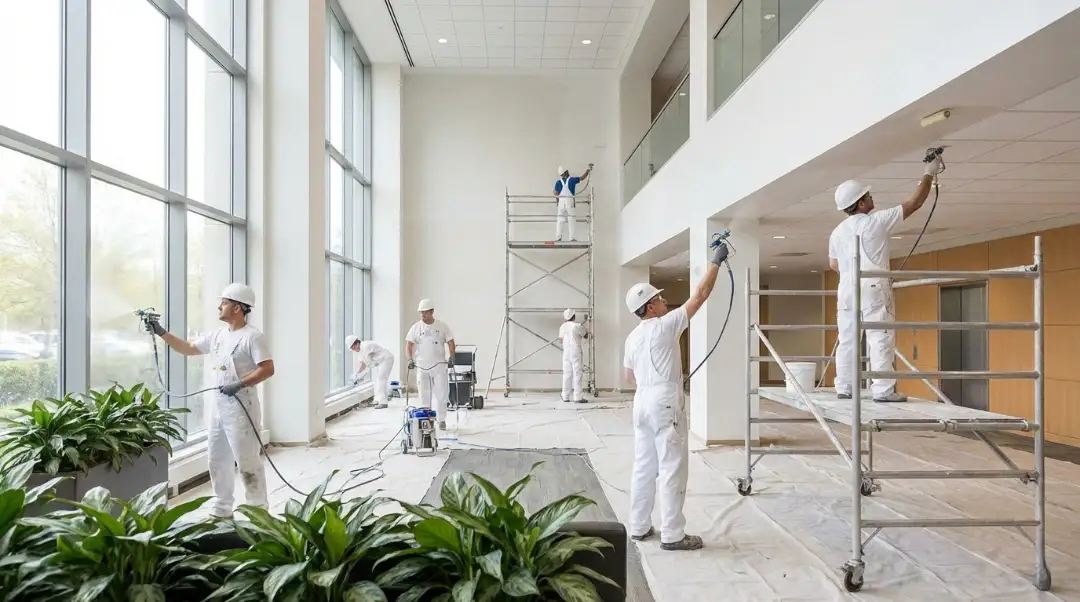
Seattle Painting Expert is delighted to offer excellent Wall Texturing Services in Seattle. If you live in the Seattle area and want professional help smoothing out rough surfaces, fixing up ancient walls, or getting your home ready for wallpaper installation, we can help. We can turn your walls into a perfect canvas for any design you have in mind.
FAQs
Is there a special peel and stick wallpaper for textured walls that actually works?
Generally, no. Most peel and stick wallpapers are PVC-based and thin, designed for flat, non-porous surfaces. For textured walls, the only types that might work are those specifically labeled as “Heavy-Duty Vinyl” or “Commercial-Grade Removable.” Even these perform best when applied over a thin layer of wallpaper liner.
What is the most reliable way to ensure wallpaper on textured wall does not peel?
The most reliable way is using a full skim coat followed by a specialized wall primer like Gardz. This eliminates the texture completely, ensuring 100% adhesive contact. If a skim coat is not possible, use a thick wallpaper liner as a stable base.
Will painting over textured painted walls help the wallpaper stick?
No. Applying a coat of standard latex paint over your existing textured, painted wall is redundant and can even make the surface slicker. You must use a non-vinyl, heavy-bodied, dedicated wallpaper primer/sealer (like Shieldz or Gardz) to ensure the proper porous surface needed for the paste to grab.
How can I tell if wallpaper works on textured walls I have before starting?
Purchase a sample of your desired wallpaper and a small can of primer. Prime a 2-foot square section of your wall. Apply the sample paper over the primer. If the paper fully adheres and the texture does not show through the surface after 24 hours, you have a good chance of success.